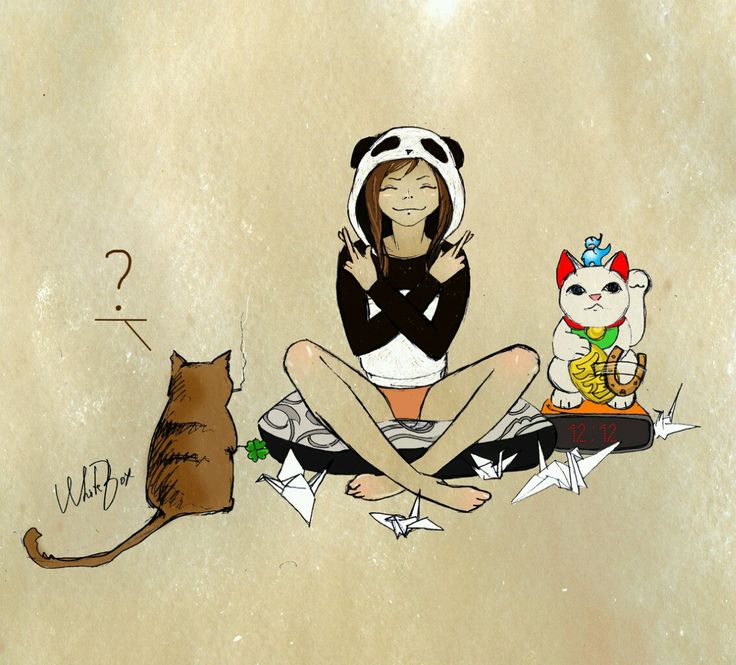
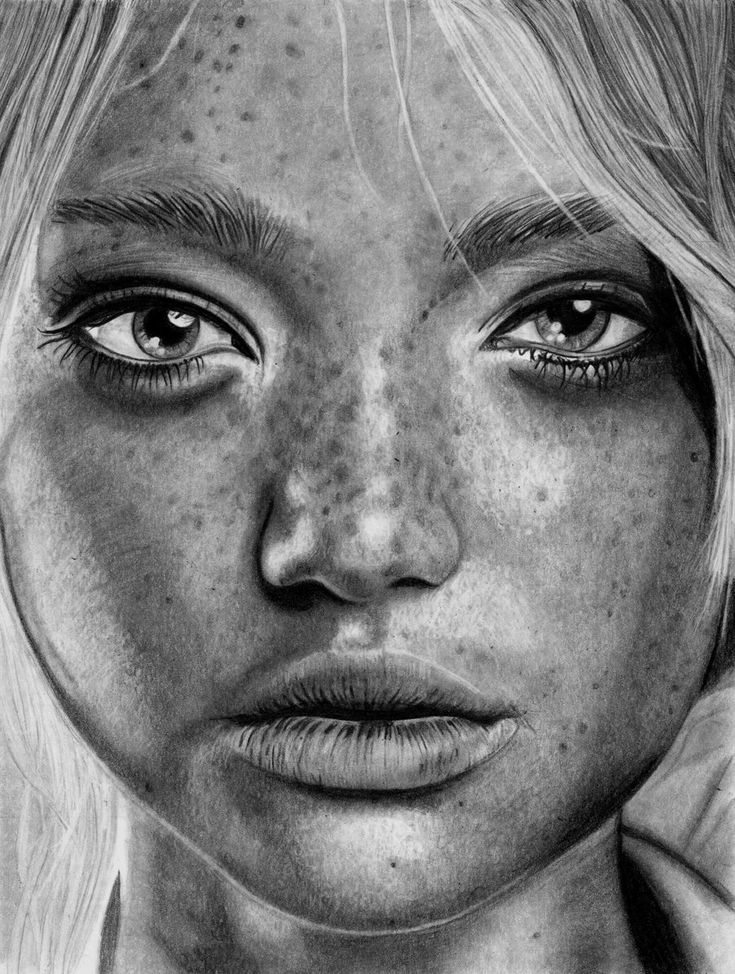
Black and white portraits to draw
Portrait Drawing Black White Art
Etsy is no longer supporting older versions of your web browser in order to ensure that user data remains secure. Please update to the latest version.
Take full advantage of our site features by enabling JavaScript.
Find something memorable, join a community doing good.
(1,000+ relevant results)
11 Essential Tips – Improve Drawing
How to Draw Portraits in Black and WhiteHow to Draw Black and White Portraits
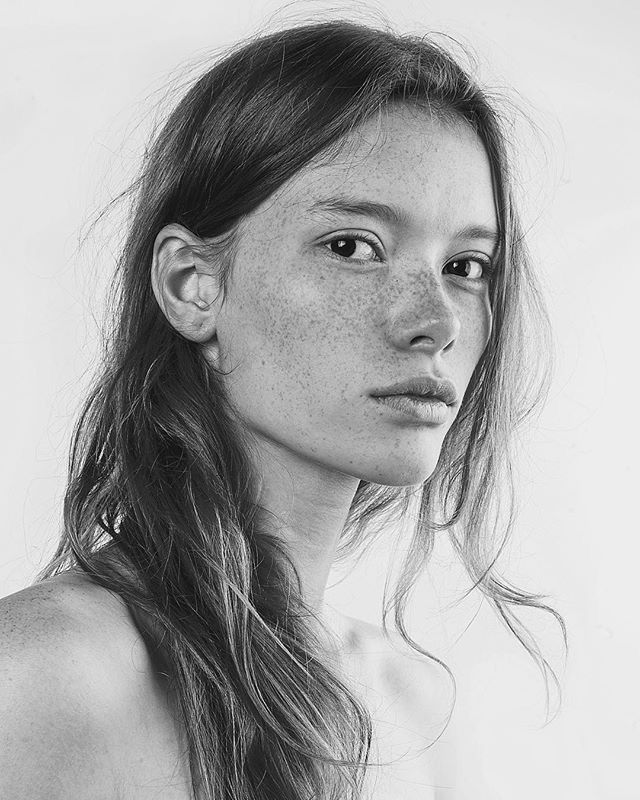
Have you ever wanted to learn how to draw portraits in black and white? Drawing pictures in black and white is a more straightforward approach than working in color since you’ll only be worried about tone, not color, but that doesn’t mean it’s easy. Many artists struggle to draw realistic black and white portraits because of how challenging it is.
Drawing in black and white is different from drawing in color that many artists choose to focus on developing their skills in either or the other. That doesn’t mean that this is the approach that you’ll need to take, it’s just worth mentioning so that you don’t become discouraged if capturing the perfect black and white portrait eludes you.
Please look at this drawing and sketching video course I have created. Use this link.
Most artists start out by working in black and white, then they progress to color. That’s because the most common drawing tool that people begin their artistic journey on is a #2 graphite pencil. How often did you find yourself doodling with your pencil in class when you should have been paying attention and taking notes? Don’t feel too bad, most artists will tell you that they were often more interested in art than any other subject, and that impromptu, spontaneous doodling is probably what gave birth to the passion you have today for art.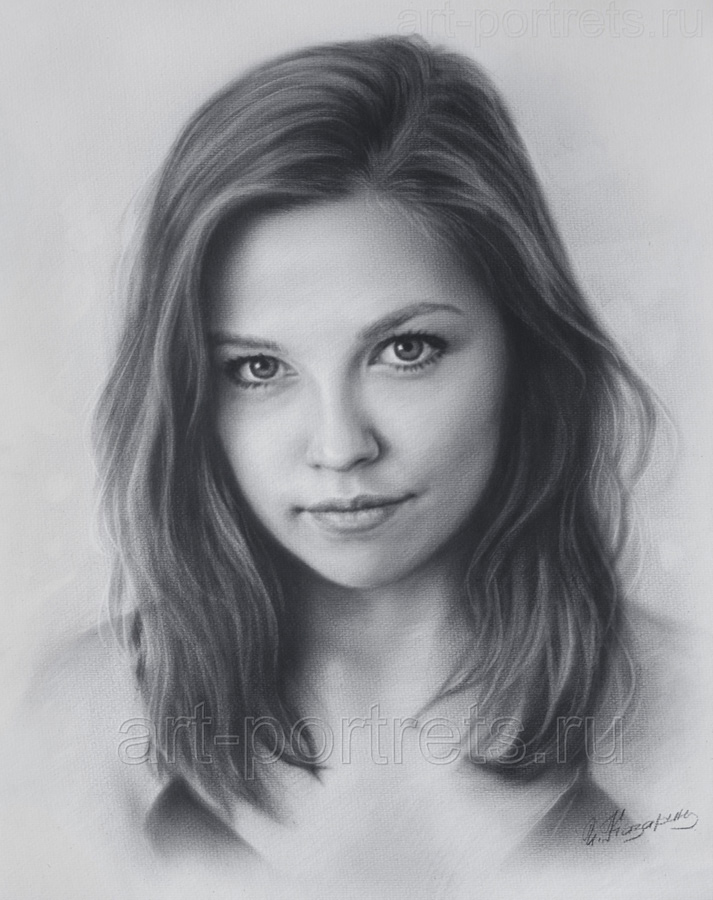
While graphite may have been the first material you really explored art with, it also forces you to draw artificially. When you look at the world around you, how many grey tones do you see? Not many, if you see any at all. The point is that when you’re drawing anything in black and white, you are artificially transforming what you see in color into black and white.
How can you successfully create a portrait using only black and white? There are two keys that you have to execute if you want to have a successful black and white portrait. First, you have to make sure that the features and proportions you draw match your subject.
All people share similar facial traits, but it’s the subtle differences in our characteristics and how they relate to one another that makes us unique. Next, you need to be able to execute your portrait using a full range of values. Lighting is critical in a black and white portrait, and setting up a unique lighting source can mean the difference between completing a dull portrait and a portrait that is interesting and dynamic.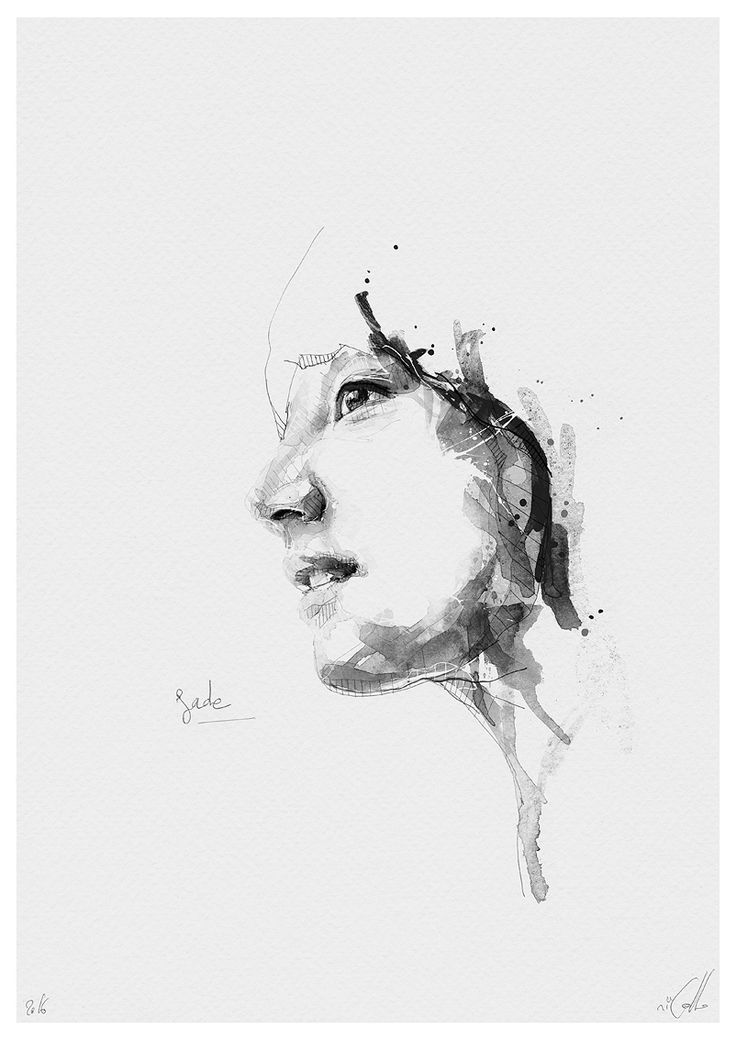
Related Posts You May Like to Read:
- How to Draw a Nose From Different Angles
- What Makes a Good Self-portrait?
- The Best Books on Drawing Portraits
- The Best Online Pencil Drawing Classes
- Is It OK To Draw From Photos? 5 Pros and Cons
Draw From a Monochrome Photograph
One of the challenges with drawing black and white portraits is that you have to convert a color image into one that’s black and white. To avoid having to change a color image to black and white, why wouldn’t you choose to work with a monochrome photo as your reference for the drawing?
When you use a monochrome photo as your reference when drawing a black and white portrait, you can draw exactly what you see instead of translating color into black and white. This has the added bonus of also giving you a much more unobstructed view of the different values in your photo, which will then allow you to create a more realistic and accurate portrait.![]()
But what should you do if you already have the perfect photo to work from, but it happens to be a color photo instead of a monochrome one? That’s simple, you’ll need to convert your color photo into a black and white one. The simplest solution is to use a black and white copy machine to make a copy of your photo. Unfortunately, while simple to do, a black and white copier isn’t going to give you the best results. The best way to convert a color photo to a monochrome one is to use photo manipulation software. There are many different commercial and free photo manipulation software options you can choose from, and most of them can convert a color photo to monochrome while retaining all of the details and values.
Create Prelinmary Black and White Sketches
What is the best way to improve as an artist? No, it’s not hoping that you’ll magically get better. It’s through practice. Unless you want to spend a small fortune on supplies, you shouldn’t practice creating finished pieces.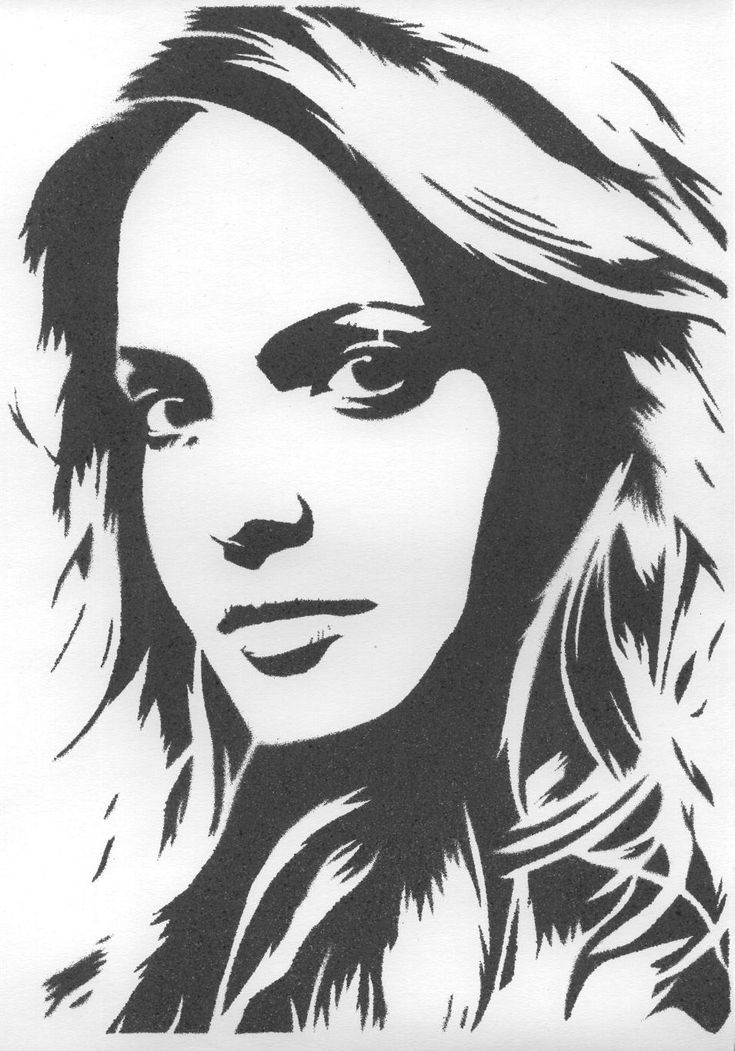 You should practice by sketching.
When you want to learn how to draw black and white portraits, practicing sketching them is the only way to do it. You need to learn to identify different values so that you can recreate them in your drawing. One trick to help you spot the basic values of a picture is to look at it and squint your eyes. This will cause the details to become more obscure while allowing you to see the different values more easily.
When sketching in black and white, don’t worry about details. Instead, study how light creates shadows and highlights so you can learn to create dynamic looking portraits. You should practice sketching using whatever medium you are most comfortable with. You should also spend a reasonable amount of time using whatever medium you plan to draw with. Most people that practice sketching use graphite, but if your intention is to work in charcoal, you’ll need to spend time working in charcoal to get used to how the material works on different surfaces.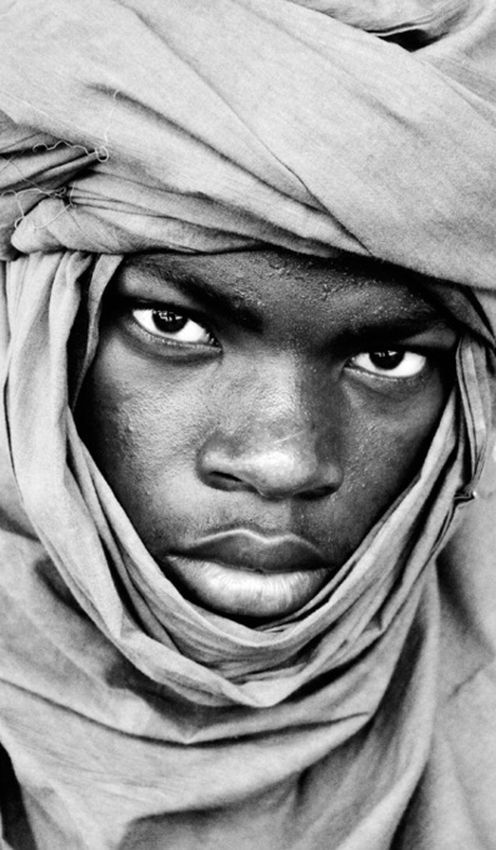
While using the medium that you plan to work in is a good idea, it’s also a good idea to practice using different mediums. Graphite and charcoal might seem like the most obvious choices, but why not try ink or watercolor? The point is that you need to step outside of your comfort zone and try new things. You never know when you’ll end up stumbling on something that you fall in love with.
Use a Grid to Map the Basic Proportions and Features
The first rule in drawing a solid portrait is to capture a solid likeness of your subject. No amount of shading and mastery of light and shadow is going to do you any good if you can’t draw a portrait that looks like your subject. The likeness of your subject is the foundation that the rest of your drawing will be built on.
If the representation isn’t solid, then your drawing will fail to come out the way you want it. It’s one thing to say that you need a good likeness of someone, it’s something else entirely to be able to execute that likeness.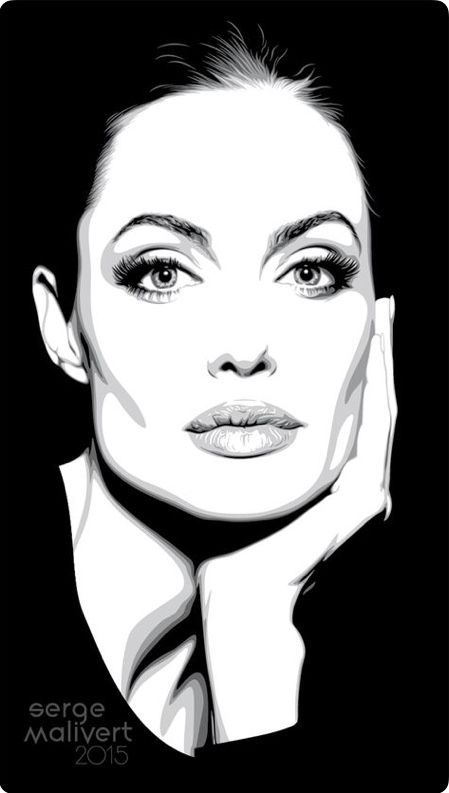 Some artists have a natural ability to draw people and capture their likeness that most people don’t understand. If you aren’t the kind of artist that can just pick up a pencil and sketch out a face that looks just like your subject don’t beat yourself up about it. Most artists can’t do this, and there are ways to work around your inability to freehand sketch a perfect likeness of someone.
One of the most popular methods that artists use to capture a likeness of their subject is the grid method. What is the grid method? It’s a method for achieving a likeness of a person by using a grid. How do you use it? The first step is to choose the right photo, so look for one that has interesting lighting and an angle that you’re comfortable with. It’s also a good idea to work with a monochromatic photo for your reference image since it will make the rendering process much more straightforward. After you have your photo picked out, take a ruler out, and measure an equal distant amount along each axis of the photo.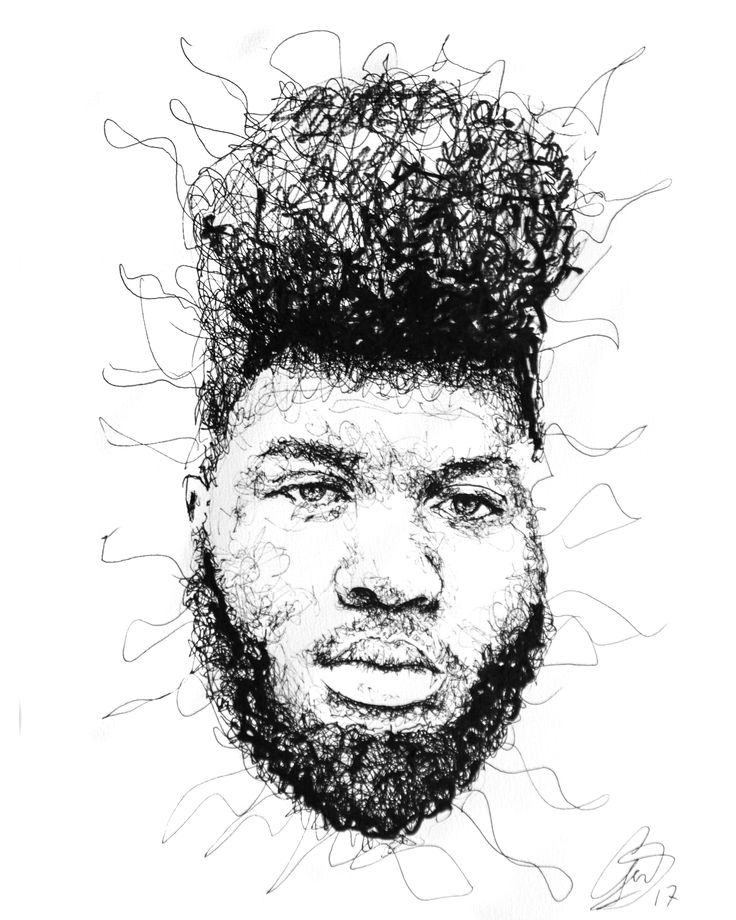 For example, you could use a ruler and mark off every inch on the width and the height. Then you draw lines connecting opposing marks, creating a grid.
The simplest way to make the grid method work is to draw an image that’s the same size as the reference photo that you’re using. If that isn’t feasible, then you want to do it at a simple proportion. For example, if you’re drawing a picture that’s twice as big as your photo, and your photo’s grid is divided into 1-inch squares, you’d mark off 2-inch squares on your paper.
No rule says you have to keep things simple, it just makes your life a lot easier if you do. After your grid is drawn, all you have to do is copy what you see in each grid on your reference photo onto the paper you’re drawing on. Make sure that you sketch lightly while transferring details over so you can erase as needed. You shouldn’t be afraid to revise your sketch as often as it takes to get a good likeness of your subject, so sketching lightly is a must.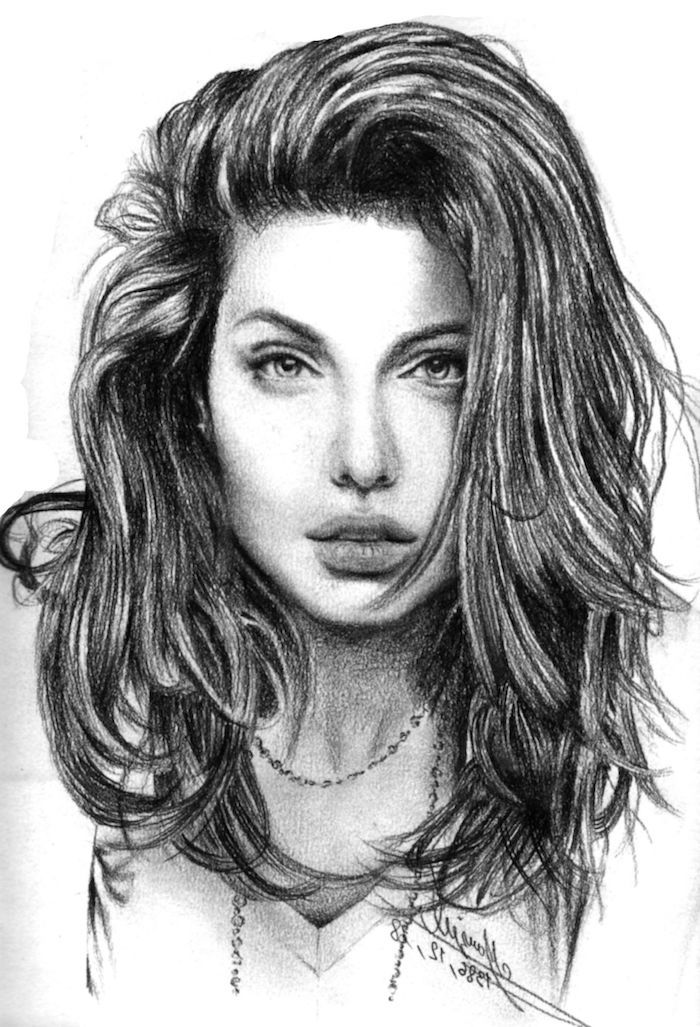
Sketch a Basic Contour Outline of the shadows in your drawing
When drawing in black and white, value is incredibly important. When you’re working in color, you might be able to get away with having some values that are slightly off. But when you’re working in black and white, mistakes are going to stick out like a sore thumb. That’s why you need to learn to spot different values and practice rendering them until it becomes second nature.
Do you know what makes a portrait interesting? There are quite a few factors that will influence how interesting a portrait looks, not the least of which are the shadows and highlights. When appropriately used, shadows and highlights help you give the illusion of a three-dimensional object when drawn on a two-dimensional surface. Faces aren’t flat. They have noses that stick out, eyes that recede, etc. How can you show this when drawing on a two-dimensional surface? A big part of that involves the use of shadows.
The shadows on a face vary greatly depending on where the light source is coming from. Light from above will cast the eyes, under the nose, and the upper lip in shadow. Most artists know this and are comfortable depicting this. What you need to do is practice drawing portraits from many different angles with many various light sources. When doing these practice sketching, remember that you are sketching. You don’t care about the details.
For this particular exercise, all you care about is the general shape of the drawing and the shadows on their face. For the shadows, you want to draw a contour line surrounding the entire area that is in shadow. You don’t care about the value, you just want to outline every area in shadow. What’s the point of doing this? The point is that it teaches you to recognize shadows, which is an essential part of executing a quality black and white portrait.
Simplify the Value Range in Your Drawing
Having a wide range of values in a black and white portrait can have great results, or it can overcomplicate things, making it harder for you to pull off the look you’re going for. Every artist has made the mistake of blending too much, of taking things to far.
It’s a fine line to walk, but you have to be able to look at a drawing, decide that it’s reached a point where you’re happy with it, then avoid overworking it. If you spend too much time on a picture and blend it and try to capture every single value that you see, it can lose a lot of its spontaneity. It can go from being interesting to look at to being dull.
Learning how to avoid overdoing it is a challenge. It’s hard to simplify your work and intentionally leave out details and values, but once you get used to doing it, you should see the creativity in your work improve. How can you get started on the path of simplifying your work and using less of a value range when you draw? The easiest way to get used to using fewer values when you draw is to use a drawing medium that restricts what you’re capable of producing. When you’re drawing with graphite, charcoal, colored pencils, or even Conte crayon, you can blend to achieve a wide range of values. You can also produce a wide range of values using watercolors, acrylics, inks, and pastels. As long as you have a tool that will allow you to blend it and be accustomed to blending your work extensively, it’s going to be tough to simplify things.
If you want to reduce your value range and get used to drawing using a more simplified value range, start by sketching using black ink and white paint pen on a grey paper. This gives you three values and only three values. Sure, y0u could use hatching and cross-hatching techniques to expand your value range, but you have to resist the temptation. Just sketch in black and white and use the grey of the paper as your mid-tone. It will seem odd at first, but after a while, you should notice that you’re able to pick out the highlights and shadows more quickly, and you’ll be able to capture the essence of your subject in a more simplified manner. Once you get used to this, you can switch back to your medium of choice, and begin to incorporate more values, while still being careful not to overdo it.
Draw a Portrait with a Dark Background
When you’re trying to create a dynamic looking portrait, a wide range of contrasts between darks and lights can help make your drawing feel more energetic. Drawing a portrait with a dark background is a great way to create a lot of contrast in any picture. There are two ways that you can approach a portrait with a dark background, and you should use whatever method you are more comfortable with.
The first option is to use something like charcoal to draw with. Charcoal offers exceptional covering power, so you can sketch out your portrait, scrub in a dark background, then get back to adding details and shading to your portrait. When working with charcoal, make sure that you use a paper with some texture, and having plenty of workable fixative on hand is also a good idea.
Your other option is to work on a dark paper and use white colored pencil or white charcoal. This approach will give you a more dynamic-looking drawing, but it isn’t without its challenges. Working from dark to light is the opposite of how most of us draw, so it can take some getting used to. But once you get used to this approach, you should be able to create some of the most exciting work that you’ve ever done.
Once you master working from dark to light, you might want to try your hand at scratchboard. With scratchboard, you work by scratching away the black surface of the board to reveal white underneath of it. You can employ the same techniques that you use with pen and ink, only you’ll be working in reverse. Scratchboard isn’t easy to work with, and if you make a mistake fixing it can be difficult or impossible. It’s also not cheap, so make sure that you are comfortable working dark to light before working with scratchboard.
Draw a Face with Light Background
Drawing a face with a light background is more challenging than working with a dark background because of the difficulties you’ll have in drawing enough contrast. One way to overcome this issue is by drawing a portrait that has bright highlights and dark shadows. Try finding photo reference that has light coming from exciting angles, which causes shadows to be cast over your subject’s face excitingly. If you can’t find a photo with the attributes you’re looking for, make yourself. All you need is a willing model, a spotlight, and your phone, and you can easily capture the perfect reference for your drawing.
Draw Using Correct Tools Supplies
As an artist, you should always be trying to expand your skills by trying new things. With that being said, once you are comfortable using certain mediums and trying to complete a drawing that you can show or sell, then sticking to what works for you is a good idea, at least in this case.
If you want to get great results when you’re drawing, you need to use professional quality materials. Sketching with a ballpoint pen and cheap paper is fine when you’re sketching. When you’re trying to complete a professional-caliber portrait, make sure that you use professional-caliber supplies.
Drawing with Charcoal Pencils
For many artists that work in black and white, charcoal pencils are their go-to medium for portrait work. Charcoal offers the ability to achieve intense darks, and you can also get bright highlights by erasing charcoal, or by adding white charcoal on time of your drawing.
Charcoal pencils offer charcoal benefits without having to use charcoal sticks, which can be quite messy. But, if you want to cover large areas quickly, using charcoal sticks to block in dark regions is still a good idea. It will save you time, and it will also keep you from using up a lot of charcoal pencils while filling in dark areas. This set of charcoal pencils will create excellent results. Click here to check the price on Amazon.
The best surface to use charcoal pencils on is one with quite a bit of texture. Without sufficient texture, charcoal doesn’t adhere well to a surface and will tend to smudge around. While using a textured surface is usually your best option, there are many artists who work on smooth surfaces with charcoal.
This is a more challenging approach, but if you can master it, you’ll be able to work in more detail than on a rougher surface. If you want to use a smooth surface, it’s a good idea to spray it with workable fixative before you get started, this will give the paper a little more tooth to grab the charcoal. You should also spray your drawing with workable fixative regularly to help keep it from smudging.
The last way that you can use charcoal pencils to draw a portrait is definitely the most challenging, but it can also produce the most amazing results. This method involves adding water to your charcoal drawings. Wait, water and charcoal can be used together?
They can if you work on watercolor paper, and you are careful when you are applying water. Using a water brush is usually a good idea since it allows for precise control. When you add water to charcoal, you’ll get an effect similar to ink and wash, which adds a level of spontaneity to your work that can bring it to another level.
Drawing a Portrait with Black and White Pencils
If you aren’t a big fan of charcoal, and a lot of artists aren’t due to its messy smudgy nature, then drawing with black and white-colored pencils is an option that you should start to explore.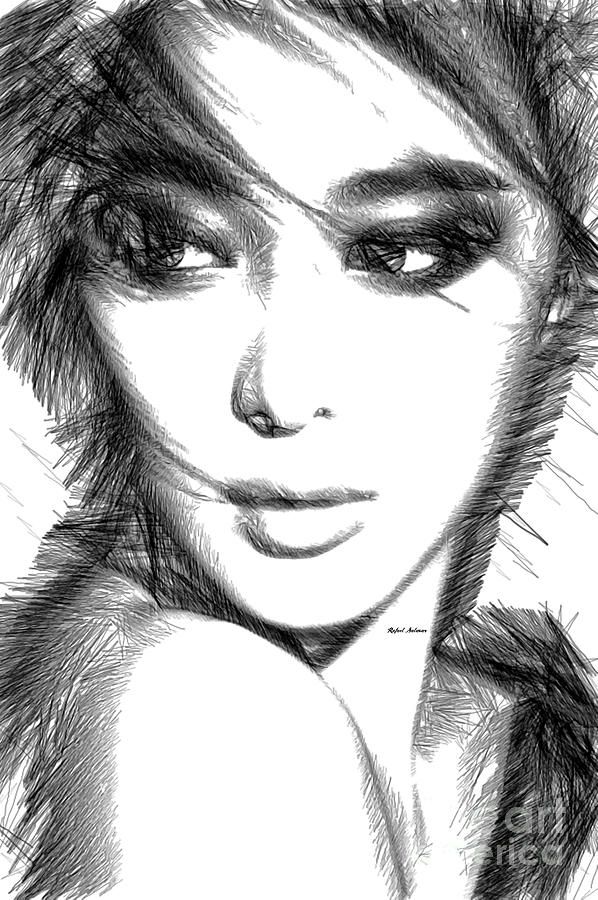 Black and white-colored pencils give you the ability to produce bright highlights, dark shadows, and a wide range of values in between. When working with colored pencils and creating a black and white portrait, your best surface should be a smooth grey paper.
This gives you a neutral color to work with as your base, which you can then add shadows and highlights too. Working on a smooth surface allows you to work with precision, and since quality colored pencils can be blended, you should be able to produce any tones that you need to complete your drawing. This set of black and white pencils offers excellent value. Click here to find out more on Amazon.
In addition to using standard colored pencils for your portrait work, you might also consider using watercolor pencils. Watercolor pencils behave similarly to traditional colored pencils, but when you add water to the mix, they transform into watercolor paint. You can use a small amount of water to aid in blending, or you can use water liberally to create a watercolor style painting.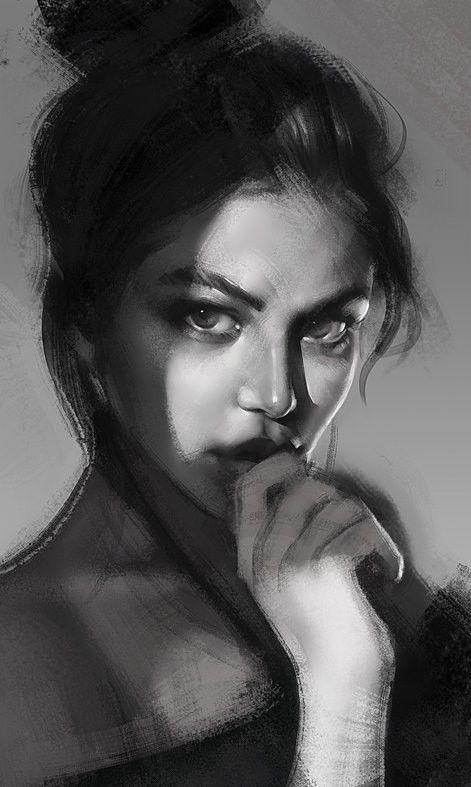 In either case, make sure that you use a heavier paper to handle the water without warping and tearing.
Drawing a Portrait with Graphite Pencils
If you are most comfortable when working with graphite when drawing portraits, then you aren’t alone. Graphite is an extremely popular drawing medium because it’s easy to use, inexpensive, and most artists are very experienced and comfortable using it. When working with graphite, make sure that you use both soft and hard graphite. Click here to find out about graphite pencils on Amazon.
Soft graphite will allow you to get darker values and blend more easily, harder graphite is ideal for sketching in the portrait and adding fine details. What type of paper should you use when drawing a portrait with graphite? That depends on what kind of style you are working in. If you want to produce a portrait with soft traditions, then the smooth paper is your best option. If you prefer to work in a looser, rougher style, then the rougher paper should work great.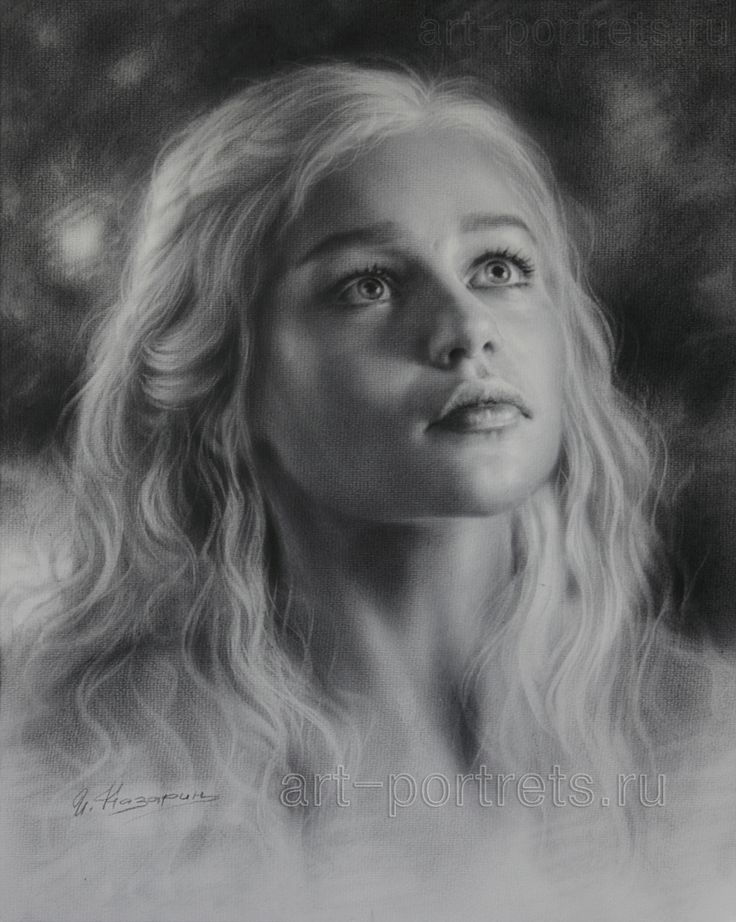
Create Art With My Favourite Drawing Resources
General Drawing Courses. I like Udemy if you want to develop your knowledge of drawing techniques. Udemy is an excellent choice due to its wide range of creative courses and excellent refund policy. They often have monthly discounts for new customers, which you can check here. Use my link.
Sketching and Collage. Take a look at this sketching resource I have created. Use this link.
Proko. Is one of my favorite teachers who surpasses in the teaching of Anatomy and Figure drawing. Prokos course breaks down the drawing of the human body into easy-to-follow components aiding the beginner to make rapid progress. For this, I really like Proko.
Art Easels. One of my favorite ways to draw is by using a drawing easel, which develops the skill of drawing on a vertical surface. The H frame easel is an excellent vertical way to add variety to the style and type of marks you create when using a drawing board.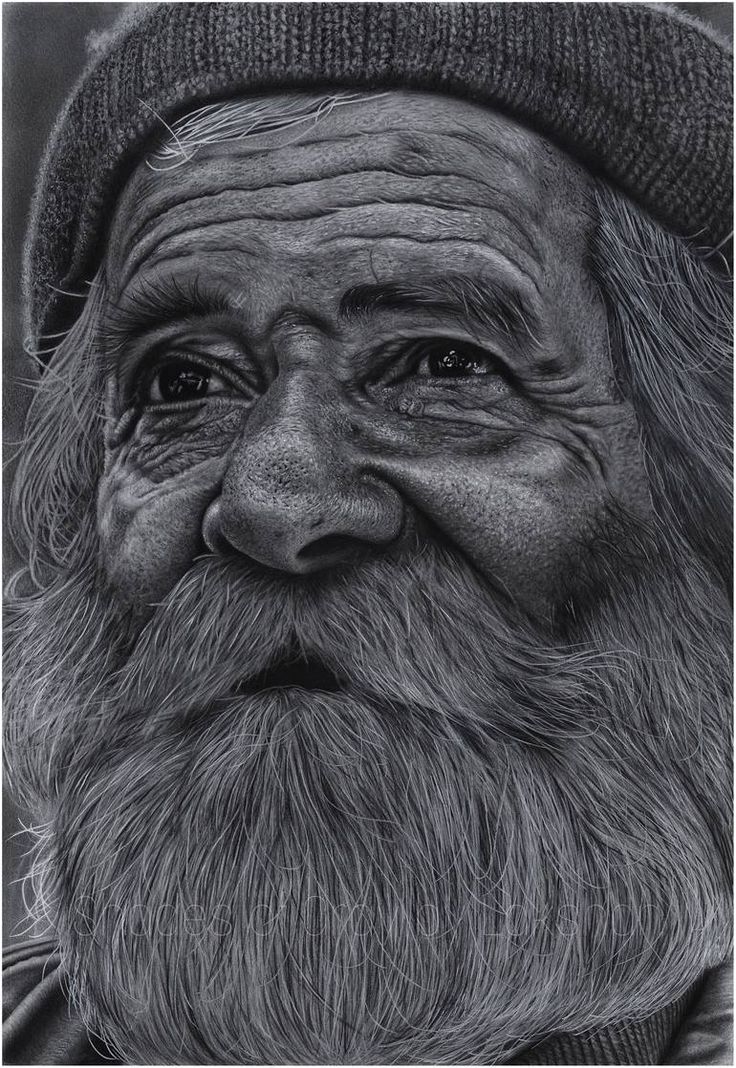
To see all of my most up-to-date recommendations, check out this resource I made for you.
What are black and white drawings called. Black and white in painting, graphics, photography and cinema
Final result:
Painting in Photoshop is nothing like working with an album or canvas. And since you don't have to worry about wasting paper, there are plenty of cool tricks you can use to draw better portraits even without outlining the original photo.
In this tutorial I'll show you how to draw two portraits in Adobe Photoshop using a Wacom Intuos graphics tablet and PhotoDune sources.
What does resemblance mean?
Similarity is a fairly simple concept. It means how similar the drawing is to the original item. If you are an artist, you will be asked millions of times to draw portraits, characters or designs based on real people. Understanding similarity is an incredibly useful skill to help keep customers happy.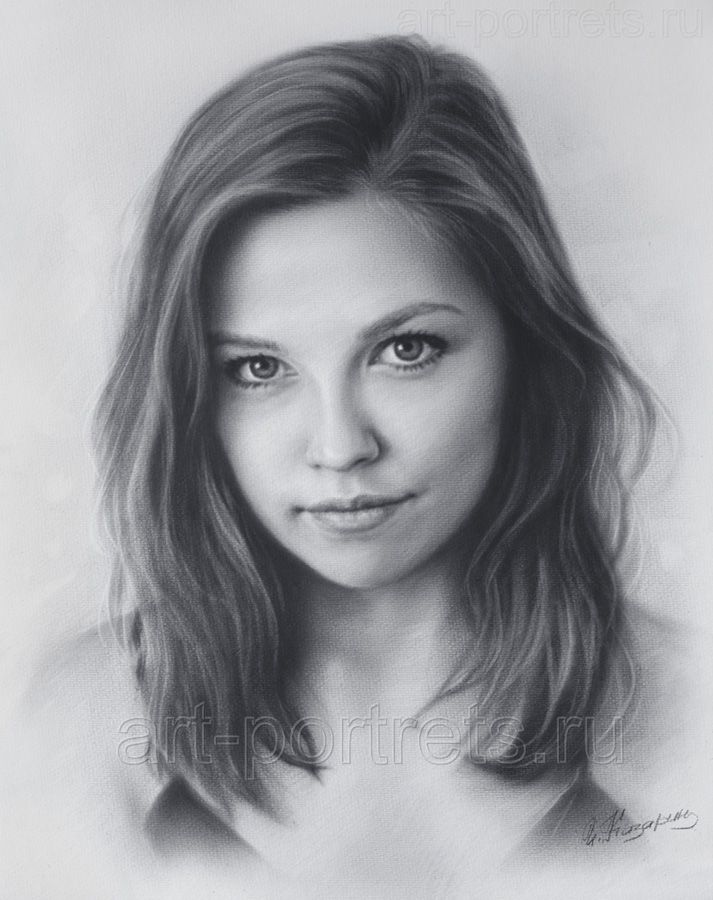
The more you practice, the closer your drawing will be to a real photo!
Even if you don't want to completely replicate someone else's face, studying similarity is an excellent practice in general facial anatomy.
Practice. Walkthrough
Step #1. Select the desired tool
Once you have created a copy of the original image, select the desired tool ("Lighten" or "Darken") in the toolbar (Tools palette).
Step #2. Adjust the highlights
Set the properties of the selected tool to Highlights. Paint with the Dodge tool brush over the light areas of the image if you want to increase the contrast. On the contrary, paint with the Burn tool brush if you want to reduce the contrast.
Step #3. Adjust the dark tones
Set the properties of the selected tool to “Dark tones” (Shadows). Paint with the Dodge tool brush over the dark areas of the image if you want to reduce the contrast. On the contrary, paint with the Burn tool brush if you want to increase the contrast.
To begin with, let's discard some rules
Rule of 5 eyes
In any art school, they study quite a lot of material about portraits. Some of these rules work great, but many can just be confusing.
You must have heard or seen the classic rule: "The head should be 5 eyes wide."
Why it doesn't work
Not every face is the same, so you can't use a template approach. The subject may have large eyes, or you may simply want to draw a portrait in a caricature style. One way or another, you need to compare the drawing with the original image.
Square Heads
Another rule or technique commonly taught is to represent the head, starting by drawing it as a cube. The cube represents the direction in which the head is turned and helps to deal with various angles.
Why it doesn't work
Both rules aren't bad, but they won't help with realistic drawing. Cubic heads, for example, are better for understanding the general position and different planes of the face. This can later be used in shading. But sometimes, if we limit ourselves to certain rules, we end up focusing on the rule itself rather than the subject.
Something "simple" like how to draw a cube can end up being a challenge in itself!
Keep the confusion to yourself! I'll show you how to make it simple, because we only need a couple of lines.
Choosing a Canvas
The basis of oil painting is the canvas. Good models are made of linen, mounted on modular stretchers with strong wedges and a cross. The material is carefully pulled, its fibers should be parallel to the sides of the wooden base. Main types of canvases:
- fine;
- medium;
- coarse.
Depending on the weave of the threads, there are three types: theatrical - 2x2 fibers, picturesque - 3x3, repin - 4x4. The surface of the material must be smooth, scratches, dents and cracks are signs of poor quality goods. The shape of canvases can be square, rectangular, round or oval.
But it is difficult to find suitable frames for the latest options, although they look interesting in the interior of small rooms.
Achieve similarity with grids and guides
If you really want to learn how to draw any face, it's worth getting used to using grids and guides.
Grid allows you to see the original image divided into parts. Thanks to this, when drawing, you can concentrate on a separate area. This helps make the process easier, while also allowing you to see the photo in a different light. Don't worry about "can't draw faces" - just focus your efforts on the similarity of each cell.
Photo of a young girl from PhotoDune.
The guides are also great for knowing where to place each piece.
Basic guides mark the positions of the eyes, nose, mouth and center of the face. Once these lines are created, they can be used to better understand the relationship between each detail and end up with a great result.
Photo of a young guy from PhotoDune.
New in the Premium section
4
Create a test scene to be filmed
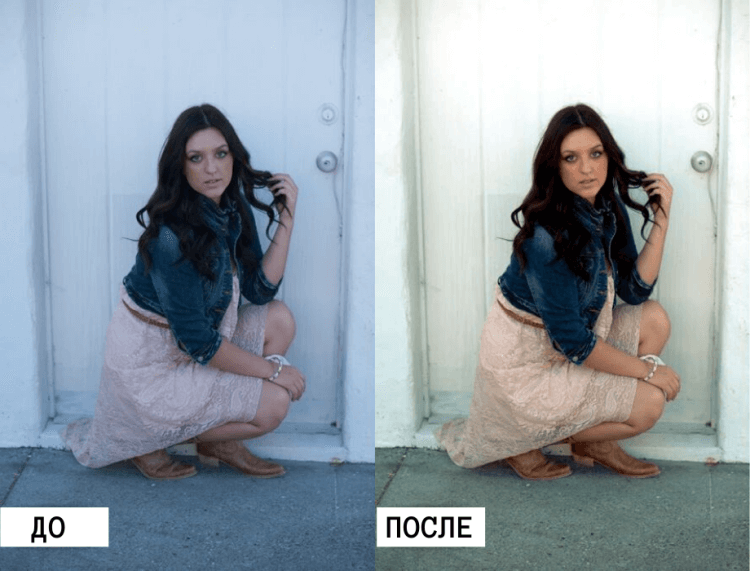
Let's use one of the tools to "flexibly" convert a color image to black and white.
To create the original color image, we chose objects whose colors are complementary or close to them. We placed a pink flower on a blue background, set the scene on a table near a window, but not in direct sunlight.
We deliberately chose soft lighting so that thick shadows with sharp edges do not form on the flower and background.
Open your photo in Photoshop Elements. To perform the conversion, simply select the “Enhance” -> “Convert to Black and White” command from the main menu (Enhance -> Convert to Black and White).
A dialog box opens with a variety of ready-made conversion templates. It also contains controls for adjusting the contrast and lightness of the red, green, and blue areas of the original image.
Let's take a closer look at the black-and-white image conversion software.
Why paint in black and white?
I know you want to start painting incredibly realistic portraits as early as possible, but before you can walk, you need to learn how to crawl. Don't take on too much at once. Study the similarity, and then move on to color.
To fully focus on the concept of similarity, we will draw both portraits in black and white. Many digital artists also refer to this as "grayscale" painting. However, no matter what you call it, the goal of painting with this technique is to gain confidence in creating lighting, shadows, as well as general tones.
Skillful use of Levels, Curves and Lighten/Darken tools
In the final part concerning the conversion of a color image to black and white using Photoshop Elements and Photoshop, we will turn your attention to the use of tools such as "Levels" (Levels), Curves, Burn tool and Dodge tool. These tools will expand your possibilities in processing black and white photographs.
How to Draw Faces in Digital Painting: Easy Angles
Let's start with the classic pose. If drawing people intimidates you, start with female portraits and centered head positions. Women, especially young girls, are easier to draw because their features are softer and you don't have to worry about details like wrinkles or facial hair.
Step 1
Open the portrait of the girl in Photoshop. Desaturate the photo by going to menu Image> Corrections> Hue / Saturation (Image> Adjustments> Hue & Saturation) and reducing the parameter Saturation (Saturation) to -100 .
To keep the resolution close to the original photo ( 590 x 886 px ), I'll create a new document 600 x 900 px . Let's place both windows side by side. This will greatly simplify the work.
Detach both windows and place them side by side.
Step 2
Let's add guides. There are two types that will help us. The first is a grid, all of its sections are the same, as in a blueprint. The second type is guides. They focus on the basic shapes of the original photo.
I prefer the second option.
Comparison of mesh and guides: on the left is a grid with the same sections, and on the right are guides that focus on the main details.
Press Ctrl + R to open the Rules panel for each document. Then drag the cursor away from the vertical and horizontal rulers, placing guides. Repeat the same lines for the blank document so they match.
Step 3
Now let's start redrawing our photo with basic shapes. Use a large round Brush (Brush Tool). Don't worry about details or a clean sketch just yet. See, thanks to the simple guides, you now have a better understanding of how the head should be positioned.
Step 4
Let's move on to the main features of the face. Using guides, I put in little dots, marking where each stroke starts and ends. Based on the dots, I start drawing the nose, mouth and right eye on separate layers.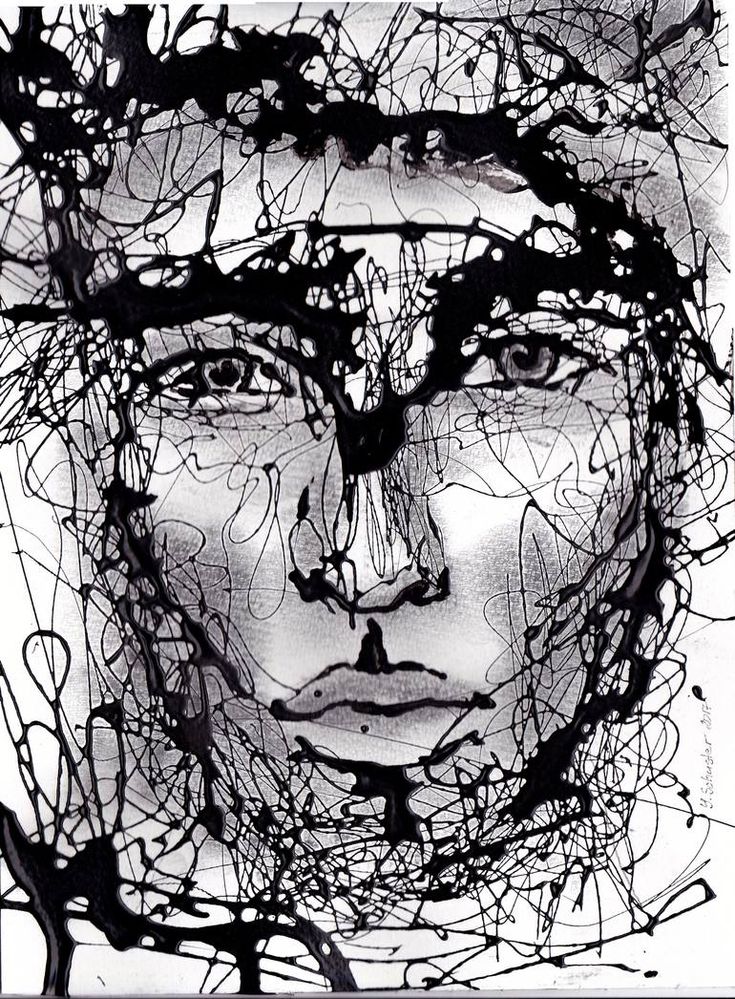
The eyes can be the hard part. Therefore, let's cheat a little and create a second eye from the one already drawn. Just Duplicate the (Duplicate) layer with the first eye, and then flip it by going to the menu Edit> Transform> Flip Horizontally (Edit> Transform> Flip Horizontal). Now use the Move Tool () and place the left eye in the right place.
Complete the last details of this rough sketch. Guides can be hidden at any time by going to menu View > Show > Guides (View > Show > Guides).
Step 5
I know what you're thinking... Not too similar, right? We haven't finished sketching yet.
Use a rough sketch as a base, clean it up and add details before moving on to shading.
Try not to be lazy. You may need to redraw the face two, three or even more times before the drawing looks like a photograph. Cut Rough Sketch Opacity to 30% , then create a New Layer (New Layer) above it and use this base layer as a guide.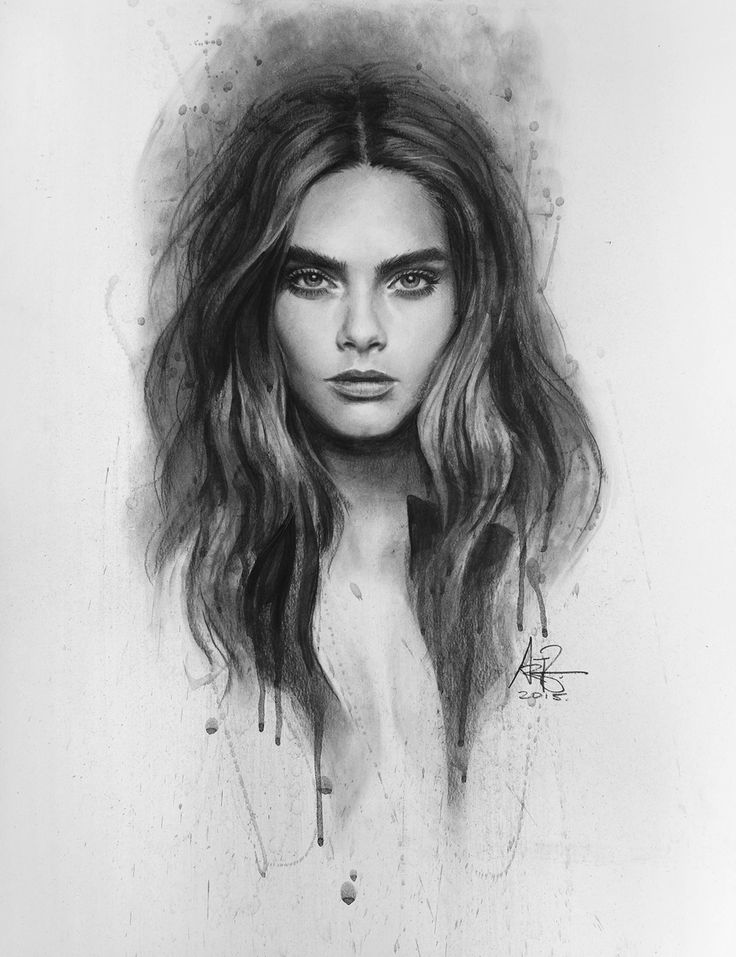 To paint as cleanly as possible, use a small round Brush (Brush Tool) with a radius of 5 px and spend enough time.
Don't worry if the sketch doesn't look exactly like the photo right now. You will still have the opportunity to improve it.
Here is my final result. Now you can move on to shading.
Step 6
Apply the main tones of the portrait with the Soft Round Brush (Brush Tool). At this stage, you need to constantly check the similarity of the drawing with the photograph. If something doesn't look right, trust your gut and make the necessary adjustments.
Notice how much shading helps? We can further improve the look by correcting a few problem areas.
Going back to the original photo, her face is not perfectly symmetrical as we depicted it. In fact, her head is tilted slightly to the left, which affects the position of her eyes and face. To fix everything, I use tool Rectangular area (Rectangular Marquee Tool) and select the area around the head.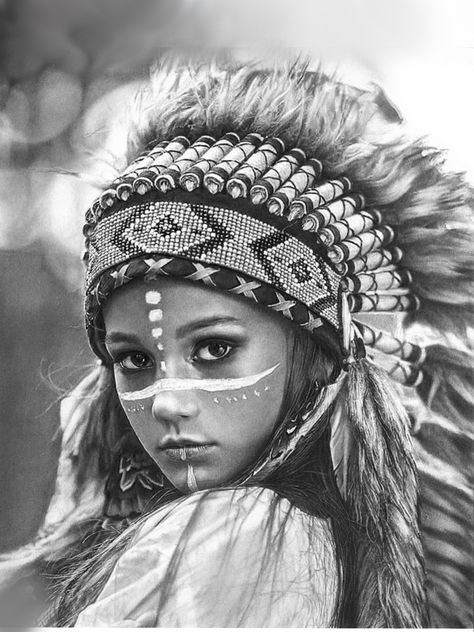
Just in case, I'll create a copy of the head by right-clicking and choosing Copy to a new layer (Layer via Copy). Now turn the head slightly by pressing Ctrl + T to activate the tool Free Transform (Free Transform).
Step 7
Continue painting and study the original photo well. One must understand its light and shadow. Since I drew too big eyes, I will correct the face using the Liquify filter (https://design.tutsplus.com/articles/paint-better-portraits-with-the-liquify-tool-in-adobe-photoshop—cms-23625 ). Merge all layers then press Ctrl + J to create a copy of your drawing. Go to menu Filter> Plastic (Filter> Liquify). Select the Pucker Tool and make the eyes smaller. Be careful - we don't want the effect to be too harsh.
Here is a quick animation of the changes obtained in the Liquify filter (Liquify).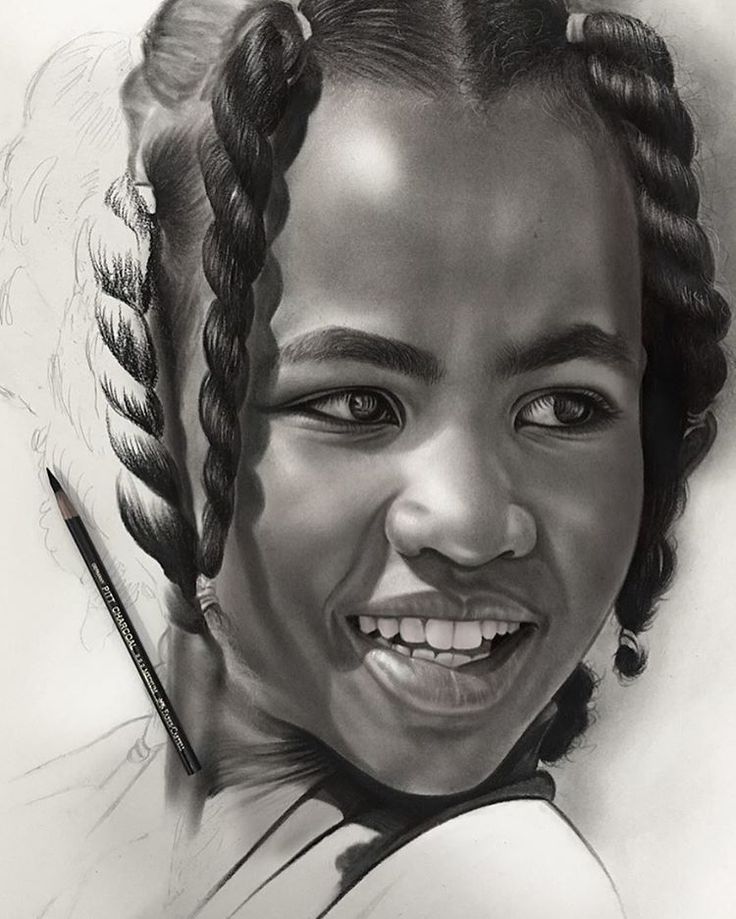
You can also see that I have adjusted the jaw. Just move it to the right place with tool Warp (Forward Wrap Tool).
Step 8
Now that we've done most of the work, all that's left is to finish the drawing. The last details help a lot to change the portrait, so keep adjusting everything until you are happy with the result.
Not bad, right? Let's see what we can do in our next portrait.
Applying Levels
Highlights
Highlights are controlled by the white slider on the right side of the histogram. The most common correction is to move the slider to the left towards the right edge of the graph. If you continue moving to the left, there will be a loss of detail in the bright areas of the image. In other words, you will artificially create "overexposure".
Darkness
The leftmost black slider will help you adjust the lightness of the dark areas of the image. Move it to the right - towards the left end of the graph - to deepen the shadows.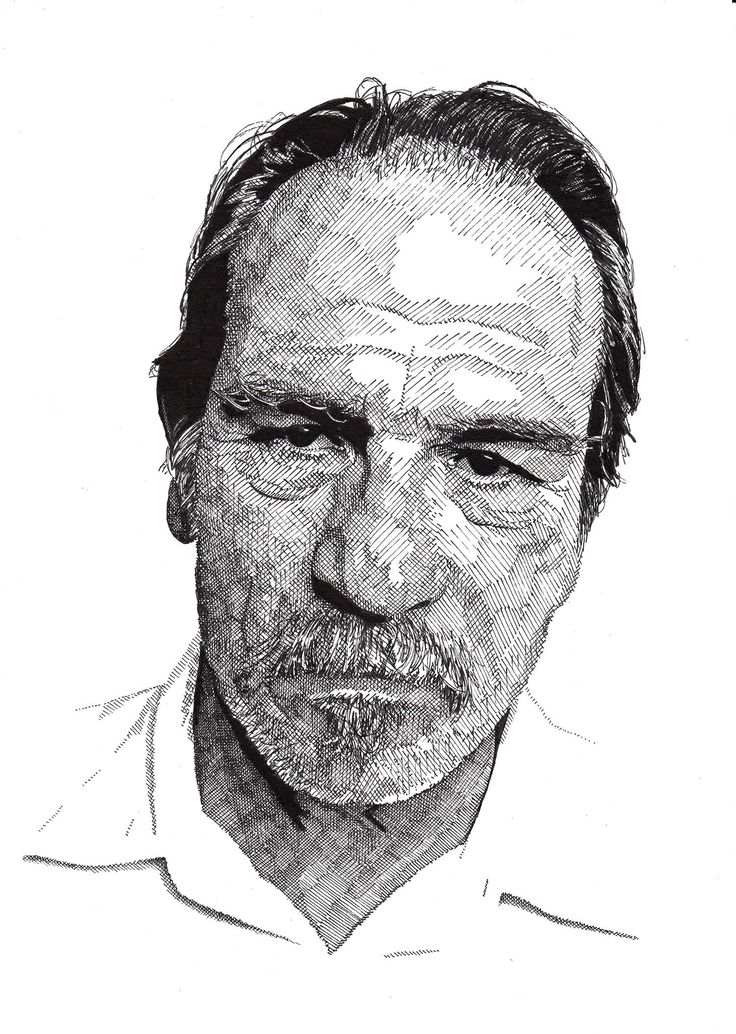 If you want to make your photo more graphic, move the slider slightly to the right, past the right edge of the graph.
Midtones
In addition to controlling the lightness of the highlights and darks, Levels allows you to adjust the midtones using a gray triangle initially located in the center of the histogram. Move the triangle to the left to lighten the midtones, to the right to darken it.
How to use Levels and Curves
Curves are more flexible than Levels, so it's easy to get carried away adjusting light and shade with the Curves adjustment layer. Remember that if at some point a fragment of the tone curve is close to the horizontal line, then the image will look unnaturally “flat”, with no contrast.
Photoshop Elements Feature Note
Version 9 and newer allows limited control over the shape of the tone curve. The corresponding tool is called here “Color curves” (Color Curves). To use it, select from the main menu "Improve" -> "Correct color" -> "Adjust color curves" (Enhance -> Adjust Color -> Adjust Color Curves). You will not be able to set a point anywhere on the tone curve, the program gives you the ability to control different segments of the curve using four sliders. They are responsible for dark (Shadows), a quarter and three quarters at the same time (Midtone Contrast), medium (Midtone Brightness) and light (Highlights) tones.
How to Draw Faces Digitally: Difficult Angles
Ah, horrible profile portraits. If you hate drawing sideways faces, start with a simple profile to make things easier.
Step 1
Just like last time, we will start with a photo of a young man, which we will place next to a blank document. This drawing will be much larger, 1250 x 1667 pixels with a resolution of 150 pixels/inch .
Step 2
Create guides again and convert the portrait to black and white. This time I'm going to draw them with the Pen Tool . This will make it easier for us to work. Paint with a small round Brush (Brush Tool).
Photoshop guides can affect how the brush behaves when painting, so it's best to draw them with Pen Tool (Pen Tool).
Now hide the original guides. I also use Pen (Pen Tool) to define the various corners, marking them with bright red lines on New layer (New Layer). Because these angles are more difficult than the first portrait, the extra guides will help make sure we're drawing in the right direction.
Guides for position, facial features and angles. Working with different types of guides will help you draw even better.
Step 3
Copy and paste these lines onto a blank paper and start drawing the big round Brush (Brush Tool). Switch between different types of guides to compare progress as you move on to the next sketching steps.
Side by side windows are great for making sure the picture matches the photo.
Select the rough sketch layer and reduce it Opacity (Opacity) to 25% . Create a new layer again and paint a cleaner sketch with a small round Brush (Brush Tool).
The important thing when drawing people is to understand the structure of the skeleton, don't be afraid to create very detailed sketches.
Step 4
Now let's start painting. Men's faces are more angular, so take enough time to study the guides so you don't go out of line. And since their faces aren't as smooth, I also added some texture with a grunge brush. This slight change will give the drawing a more masculine look.
Use a combination of soft and grunge brushes to effectively simulate skin texture.
Step 5
This time I have better facial features, so I don't need to do a lot of adjustments. The corner of the neck looks a bit wrong, use the Liquify (Liquify) again and its Warp Tool (Forward Wrap Tool) to straighten it out.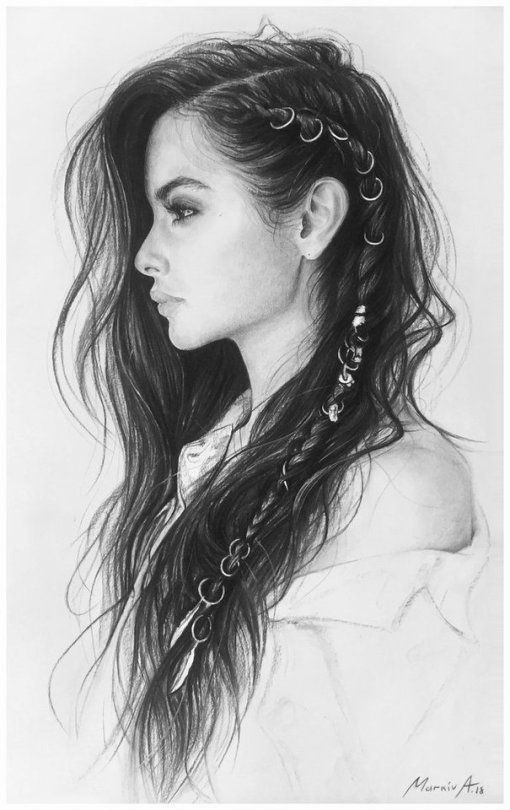
With Plasty you can correct the anatomy in seconds.
Cross-process tinting. Walkthrough
Step #1. Create a Gradient 9 Adjustment Layer0027
Select Gradient Map from the list of adjustment layers. In the dialog box that appears, left-click on the Gradient parameter. In the Gradient Editor window that appears again, select one of the proposed templates with the name “Purple, Orange” (Violet, Orange). Confirm the layer settings by successively pressing the OK buttons in both windows.
Brushes
In order to make a portrait in watercolor, you need several brushes. You may not need some of them in the future, but in the initial stages it is better to purchase them. Some artists use only one brush, but this requires some experience.
Everyone chooses a set for themselves. Some prefer brushes with artificial bristles. Natural wool, for example, goats, also has good reviews. Such brushes are popular in China.
Whichever brush you choose, it will take some time to get used to it.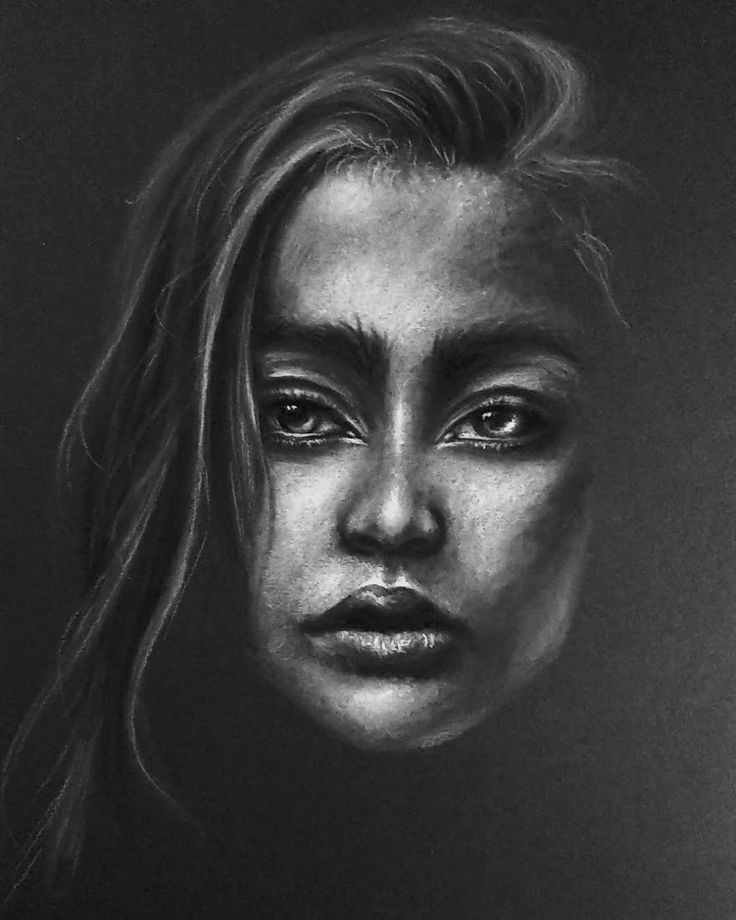
The right brushes
The artist will need brushes, but there is no perfect set for every professional. You will have to choose the right tools yourself. Beginners only need to purchase eight different models:
- synthetic fiber liner - a thin brush that is convenient to write on the branches and stems of plants, clear lines;
- flat column - necessary for drawing small details;
- round synthetic brush - suitable for working on petals and leaves;
- beveled tool - it allows you to use the entire plane of the pile or only its tip;
- large columns - this brush has many functions, it copes with the background and small elements;
- tool with rounded bristles - necessary for creating different textures;
- fan brush - it is used to cover the picture with varnish or drawing glazing layers;
- large tool made of natural bristle - if the artist does not have it in the arsenal, then you can purchase a regular construction flute.
A simple step-by-step master class on painting with wine
All brushes need to be looked after. After use, they are washed in a solvent, warm soapy water and wrapped in a paper envelope, leaving holes for the lint.
The brush must be allowed to dry, as without the casing the bristles will bulge in different directions. Instead of an envelope, you can use a special sink.
It consists of a small bucket-like container. A grate with holes for the tool is placed at the bottom. A large spring is attached to the handle, it holds the brushes during cleaning. Fill the brush washer with turpentine or oil, it makes the pile more elastic. After drawing, the tool is washed in a thinner, squeezed out with a rag and lowered into a container. It will stay upright until the next application. Wring out the bristles before using the brush.
How to Draw a Black and White Dog Portrait in Watercolor Step by Step
In this step by step tutorial, illustrator Matt Jaynes will show you how to create an interesting and effective dog portrait in black and white.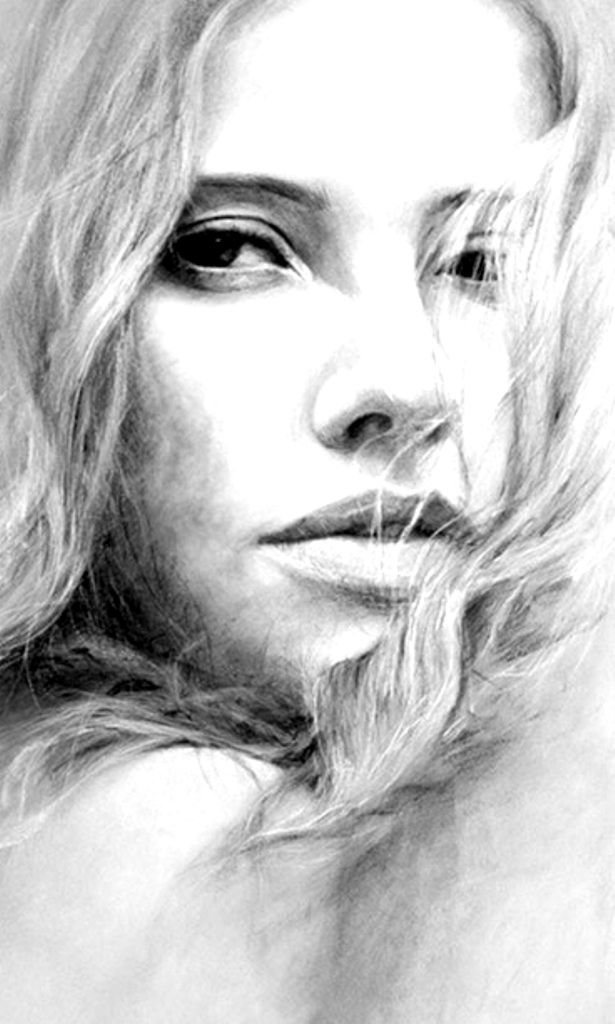
I find that the technique of drawing in black and white can be quite fun. It forces you to focus on the contrasts of light and dark tones and create an image in tint rather than color. The main thing to think about when trying a black and white drawing technique is whether the subject of the image is attractive enough. Think about how to increase the impact of your drawing by choosing a single subject placed in a flat field and in bright light.
Poppy the dog became my nature, and I chose a rather inoffensive portrait, positioning her against the sunlight. In all its glory, a striking profile and rich black hair appeared. Depicting fur and feathers in black and white usually requires careful rendering of form and texture to create a more realistic look. An experienced artist begins by examining a reference photograph. Do not choose a photo that is valuable for the image itself - take the liberty of editing it. This way you can extract as much information as possible.
In the case of Poppy's photo, I have chosen only one area that I want to focus on.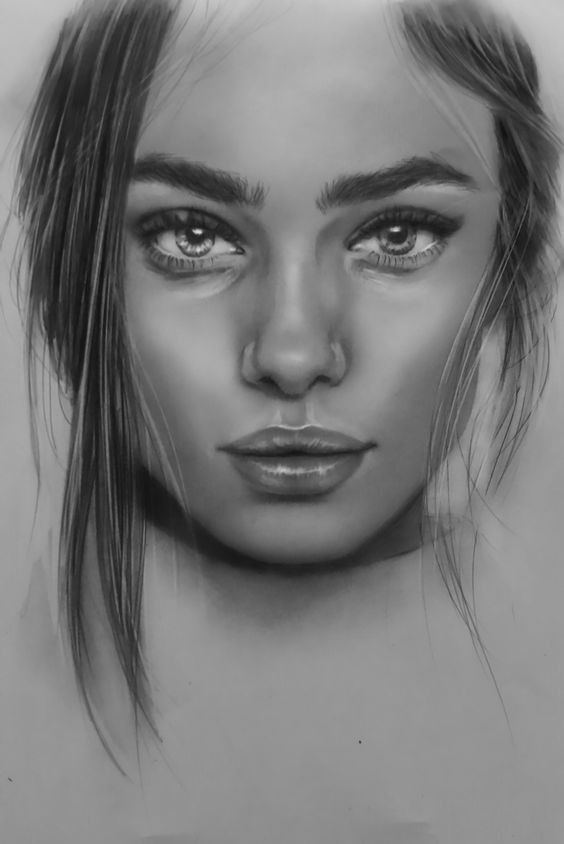 I also increased the contrast of the image (this can be easily done either with Photoshop or the iPad or Smartphone app) to get a better look at the texture of the fur.
Art materials used:
- Paints: Cadmium Orange, Cobalt Turquoise, Lamp Black and Mars Black, Permanent White Gouache .
- Paper : Non watercolor paper 300gsm, 50x40 cm
- Round brushes from Pro Arte Series 007, sizes 0, 2, 7, 10 and 12; nylon from Pro Arte Series 31, size 0000; Royal Sovereign contouring brush size 2
- Masking liquid
1. Sketch the highlights
First, I sketch on thick paper, looking closely at the curls of the wool. When the result completely satisfies me, I transfer it to a sheet of watercolor paper. Apply masking fluid to capture the basic fur shapes and main details, using a large area brush and a cheap 0000 size brush to create fine lines.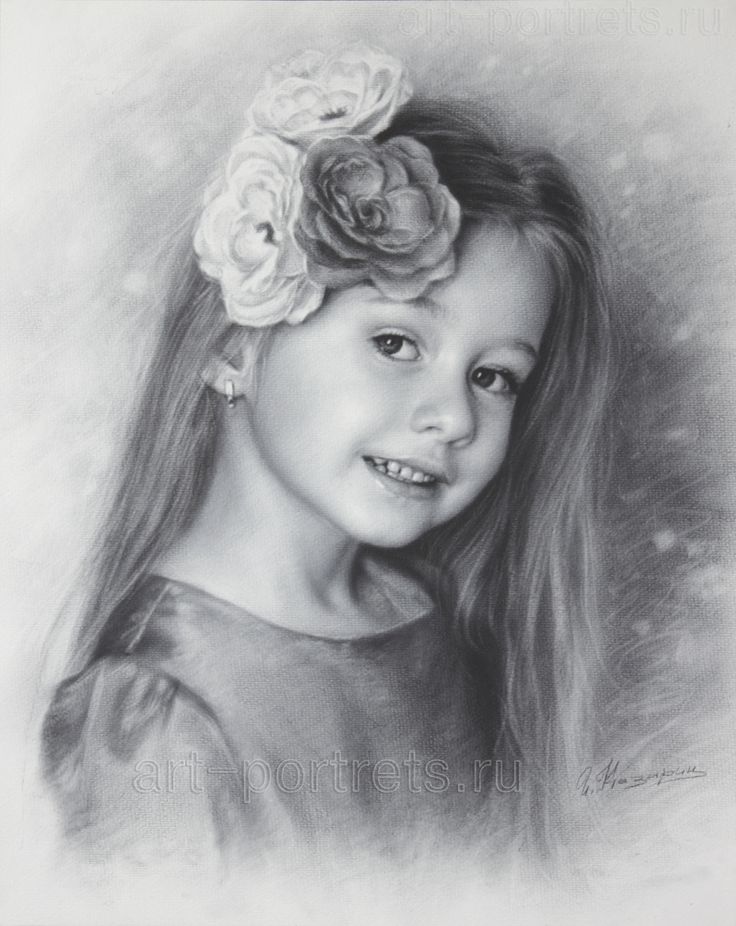
2. Add a bright orange accent
Bringing in a bright color can really spice up a black and white picture. Here a mixture of Cadmium Orange and Cobalt Turquoise is used to highlight Poppy's leash - bright orange looks great on black wool. I also chose to paint the darkest details, including the eyes and the ring on the leash, with black watercolor paint. This means that later I can apply lighter shades, and these details will stand out.
3. Add another layer of masking fluid
Masking fluid should not be used on plain paper. In this case, you need to wait until the layer of orange paint on the leash dries, and only then apply strokes of masking fluid. When I later added more orange, the areas that were protected by the masking fluid helped create the intricate, textured structure of the leash. I also ran masking fluid all over Poppy's leash to keep the black paint from bleeding in the later stages.
4. Black paint coat
Once the masking fluid is dry, apply a base coat of Mars Black (a rich, blue-black color great for creating shadows) and Lamp Black (a warmer shade of black).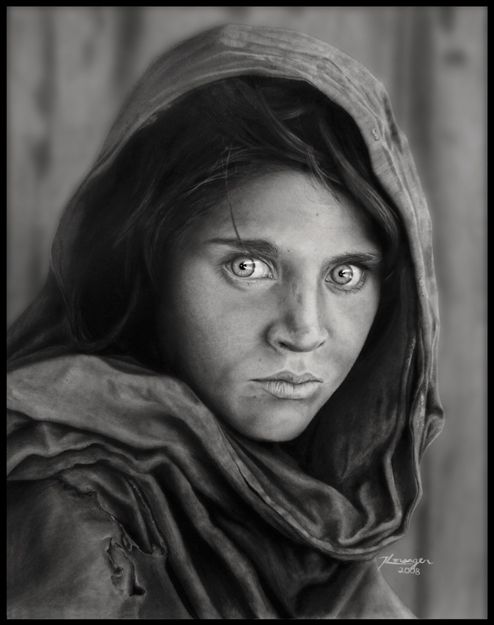 suitable for highlighting details). Try to avoid too much wetting of the layer, as when the black color dries, it can turn into a lighter, gray layer.
5. Building textures
Let the previous layer completely dry. Examine the shape and texture of the coat again and apply more masking fluid, this time paying attention to the finer details of the pet's coat. To change the texture, you need to make sure that these new lines go through the black layer and white paper. When the next layers are applied, this is what will add zest to the surface of the picture.
6. Look closely
Here I start working on the shadows using Mars Black, looking closely at how the fur reflects the light. All the necessary information should be visible in the reference photo, so take a close look at it and draw what you see, not what you want to see. The key here is observation.
7. Remove the masking fluid
Remove the masking fluid with your fingers. Make sure the painting is completely dry before doing this; if it is wet, then the masking liquid can damage the surface of the paper.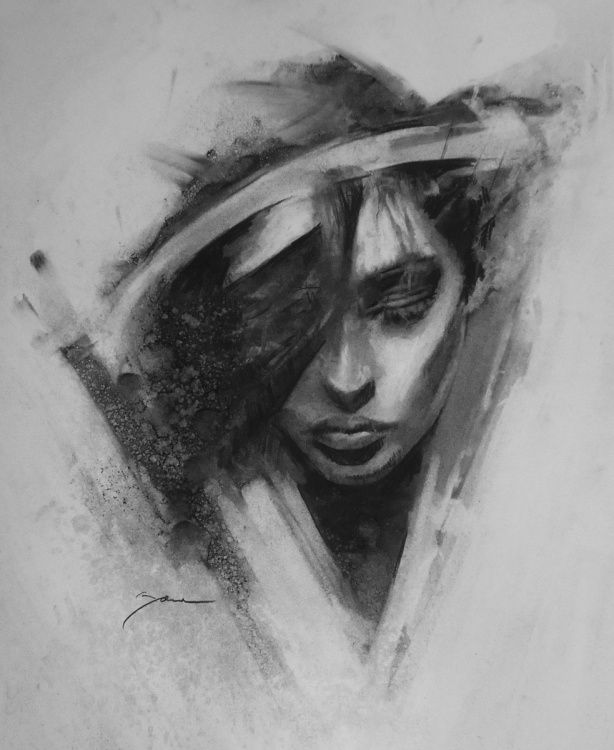 Once the masking fluid is removed, it is necessary to pay attention to how the different forms of fur fit together and decide what else needs to be added to the pattern.
8. Shade layer
The masking fluid will keep some areas of the paper under Poppy's fur white, so they need to be darkened a little to give shadows that can soften the black layer. Painting over areas previously covered with masking fluid gives the coat a layered feel, as the contrasts created in the early layers are evident.
9. Form and Fur Outline
Poppy has a white line on her chest that needs to be masked before applying the next coats. Other outstanding details are also worth highlighting. Once the masking fluid was dry, I painted in the finer details of the fur with small round brushes. I tried to create a sense of form by adding shadows along the lines on Poppy's face and fur.
10. Evaluation time
I stepped back and tried to identify areas that needed additional contrast or adjustment.