Creating 3d models from photos
Photo to 3D Print | 3D Printing Blog
Begin typing your search above and press return to search. Press Esc to cancel.
by Billy | August 20, 2014 | Tutorials
How To Make a 3D Model from Photos in 5 Easy Steps
by Billy | August 20, 2014
The scanning app that is mentioned in this blog post is not available for download anymore.
Click here to learn about the top 20 3D scanners.
Looking for turning a photo into a 3D model? You can easily create 3D printable objects and 3D models from images and photos nowadays. In this tutorial, we will show you how you can turn ordinary 2D pictures of everyday objects into extraordinary 3D models. Turning 2D into 3D has never been easier as this project requires no coding experience and runs 100% on free software. If you think about 3D printing these 3D models, you don’t even have to buy a 3D printer and you can do it all without leaving your house. Let’s get started!
Let’s create a 3d model from photos!
Step 1: Capture the object through Digital Photos.The first step is to capture your object by taking pictures of it. These images will serve as the foundation for the rest of your project and will later become a 3D model. You can do this step either with a digital camera or your mobile phone.
In order to make a 3D print based on photos, we first need to get the right images.
- Place your object in the middle and take photos in a loop, moving completely around the object.
- Shoot another loop from a different angle to make sure you cover the top of the object. Aim for 30-40 total sequential photos.
- For best results, add newspaper or sticky notes around your subject to help 3D building software distinguish where the bottom is.
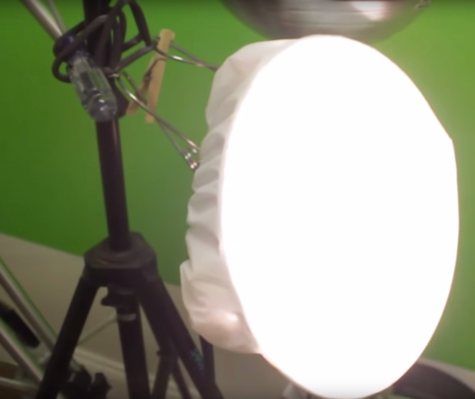
- Try to maintain consistent lighting, object position and focus in all pictures.
- Avoid overexposed or underexposed photos.
- Avoid plain, reflective, transparent surfaces and objects. They don’t make good 3D models.
- For more help in setting up and taking pictures of your object, check out this tutorial.
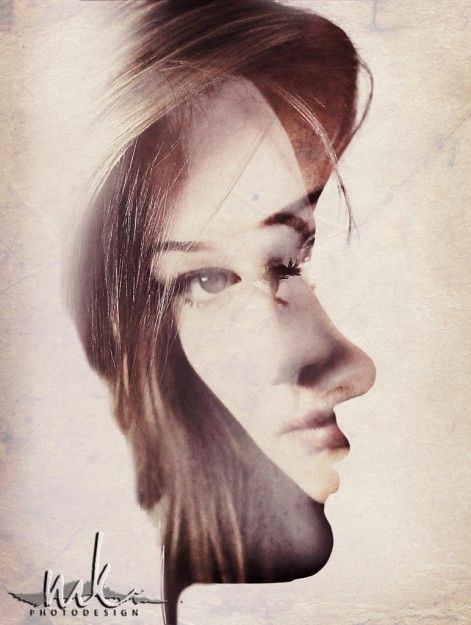
This is how you should take your pictures in order to create a 3D model.
Step 2: Create a 3D Model from Photos: Upload your images to Autodesk 123D Catch
Autodesk’s 123D Catch is a free tool which will help you piece together your 3D model from the pictures you just took. 123D Catch will automatically identify common features from your photographs and convert them into a single 3D design. Your model will be uploaded and saved to Autodesk’s cloud storage.
Sign up for a free account
Upload the pictures
Stitched model from all of the pictures
Step 3: Review and clean up your 3D model.Give yourself a pat on the back for making it this far, you’re halfway through. The next step is to clean up and fix any errors your model might have in 123D Catch. Sometimes the pictures capture extra elements that you don’t want to be included in your model, but you can clean it up with the “lasso” and “heal” tools.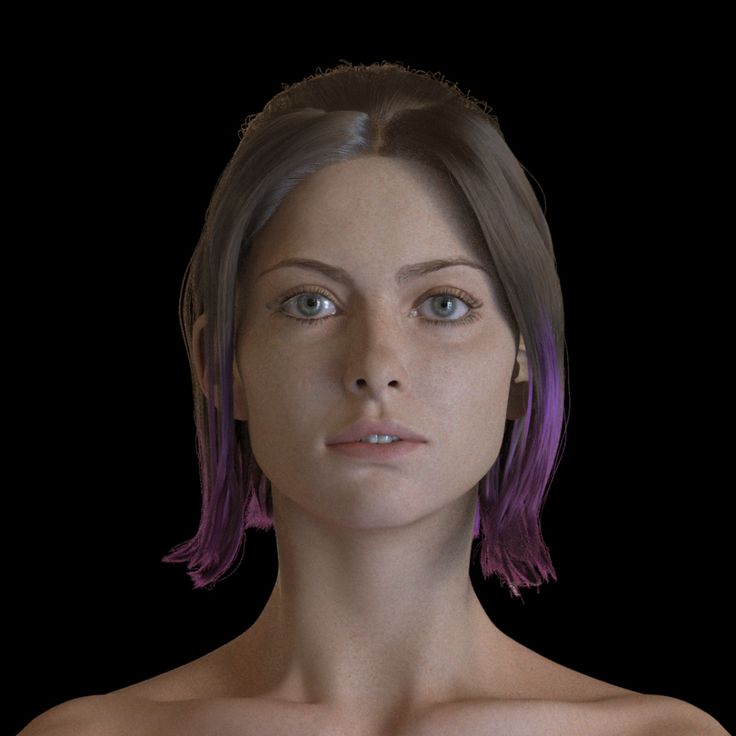 The lasso tool will help you select and remove unwanted areas. The heal tool will help you fill in any holes in your model and fix them.
Is your model missing something? Want to add wings or robot arms? Take it to the next level with Autodesk sister app Meshmixer which allows you to mix , mash, mix, sculpt, stamp or paint 3D designs super easily, starting from over 10,000 models in the Gallery. Learn more about Meshmixer here. Below is an example of mashing the model we just created with the heads of a bear and a swan!
Step 5: 3D Printing Based on your Images: Print your 3D Model with i.materialise.We are ready to print! When you’re happy with your model, click on the 123 Catch drop down menu in the top left and select “Export STL” which will generate your 3D model file in a format 3D printers understand. Upload your file to our 3D Print Lab.
Let us print your photo-based 3D model.
There you’ll be able to choose your materials, the size of your model. The price of your model will be automatically calculated according to its material and size. After following the checkout process your creation will be 3D printed and shipped to you!
Are you looking for more ways to turn your photos into 3D prints? Then you might want to check out our article about the free online app “Smoothie-3D” which lets you turn a single photo into a 3D print. If you want to learn more about our 3D printing materials, feel free to explore our material pages. If you’re struggling to turn pictures into 3D models find a designer on our 3D modeling service to help you out.
How to Create a 3D Model from Photos (Step by Step)
By ExpertPhotographyA- A+
Download as PDF
Subscribe Below to Download the Article Immediately
You can also select your interests for free access to our premium training:
Business Basics
Cheat Sheets
Child Photography
Colorful Cityscapes
Composition
Creative Photography
Creative Portrait Concepts
Digital Photo Collages
Fairytale Portrait Photography
Food Photography
Interior Photography
Landscape Editing
Landscape Photography
Lightroom Processing
Lightroom Presets
Long Exposure
Macro Photography
Milky Way Photography
My Camera and Photography
Organic Marketing
Pets
Product Photography
Sky Photography
Social Media
Still Life
Time-Lapse Photography
Travel Photography
Urban Photography
Wildlife Photography
Your privacy is safe. I will never share your information.
 Since the dawn of time, artists have been trying to replicate the world around us. These days, 3D modelling and printing may be the closest way yet to do this.
A 3D model is exactly that, a model with three dimensions. When you create 3D models, you allow viewers to see height, width, and depth. The process of turning a series of images into a 3D model is called photogrammetry ut you still need to make it.
In this article, we show you how to approach, photograph, and create 3D models from photos.
What You Need to Make a 3D Model From Photos
To make 3D models from photos you will need a camera, software, and a 3D printer.
Camera
A DSLR such as Canon or Nikon will give you many settings, let you photograph RAW, and provide high-quality images.
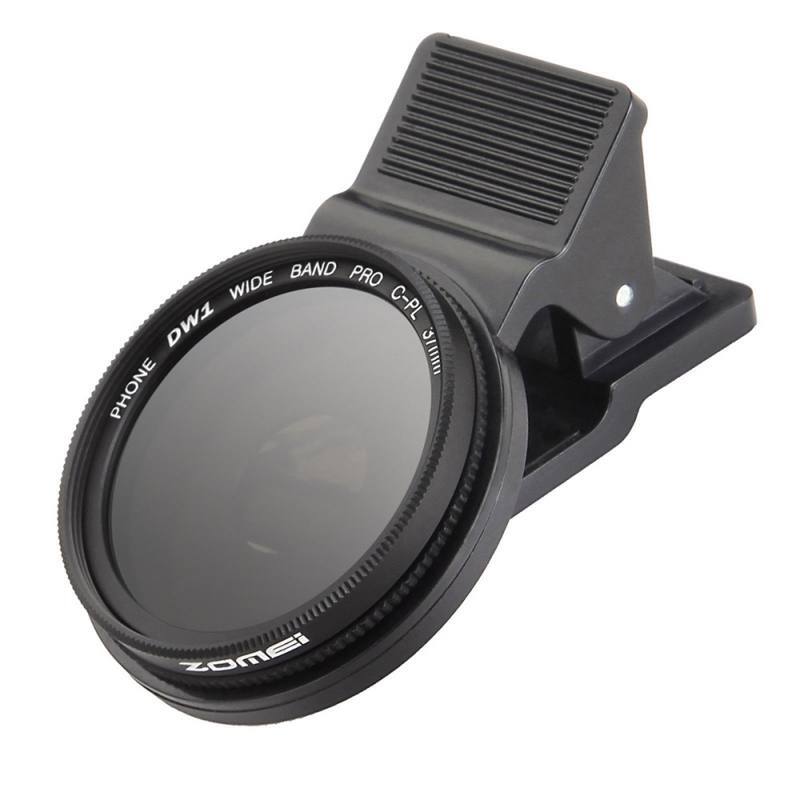
You will also need a wide-angle lens without huge amounts of distortion. For example, a 24-70mm would be perfect.
You will also need a sturdy tripod. A good tripod allows you to shoot from head height when fully extended.
Software
You have to use software to create a 3D model from photos.
For 3D modelling, we will use the Agisoft Photoscan.
Two alternatives to Agisoft Photoscan are:
- Regard3D is a structure-from-motion program, creating a 3D model from a series of photographs.
- VisualSfM is another GUI application, resulting in 3D reconstructions using a series of images.
For creating meshes and cleaning your 3D image, there are other options. AutoDesk Maya is a great alternative, and so is Mesh Mixer.
©Pierre Moulon – Sceaux CastlePrinter (Optional)
Once you have your 3D model, you want to bring it to life through 3D printing. If you do not own a 3D printer yourself, there are websites specified for this, such as i.materialise.com. These sites allow you to upload your 3D model while choosing the size and the material.
Step 1. Adjust Your Settings
For my example, I tried to capture the Harry Hill Bandholtz statue in Budapest. It was small enough to capture in less than 100 images and I could move around it 360°.
For the camera settings, the lowest ISO possible will provide the best quality image.
Next, set the aperture. The depth of field has to be, at the minimum, mid-level. A shallow depth of field would only place a small area of your subject in focus.
Lastly, these two above settings give you the shutter speed value.
I recommend using Manual mode. This lets you change any values you want without them affecting other settings.
Here are the settings that I used for my example picture.
Step 2. Choose Your Subject
Choose your subject carefully. 3D photographing a huge building or monument could cause many issues.
By choosing something too big, you risk not fitting the entire subject in your frame. You may also find that you cannot move around it easily. Large structures also need more and more images to create 3D models.
My advice is to location scout first.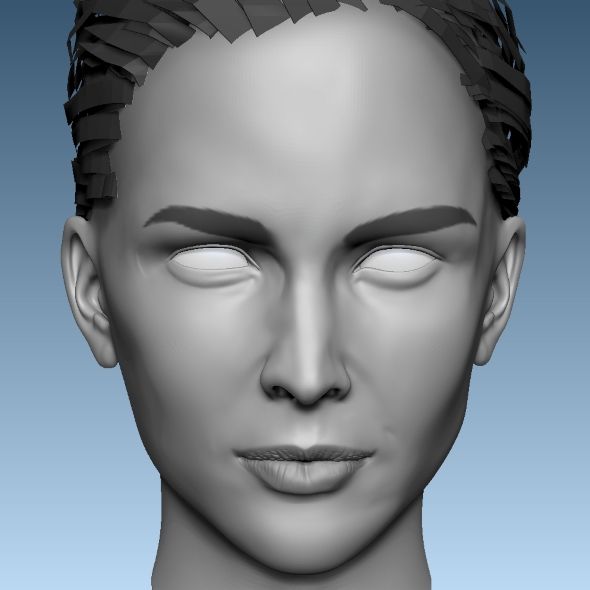 Go out with your camera, and consider leaving your tripod behind. Find a subject and take some reference shots.
Step 3. Take Your Images
To make a 3D model from photos, you need to think about panorama imaging.
Panoramas are created by photographing a scene from many camera perspectives without actually moving. You take a picture, move the camera along the same axis and photograph again. You repeat this process until you have captured the entire scene. It could cover a 360° field of view.
When you stitch these images together, you get one image showing the entire scene. You need an overlap of around 80%. Each new image you shoot needs to show 20% more of the scene than the last image. It allows the 3D software to match the images correctly.
This is why you should shoot in portrait orientation. This allows you to get the height of the subject in its entirety.
For each, you need to take a mini-panorama. This will give you the length of the subject.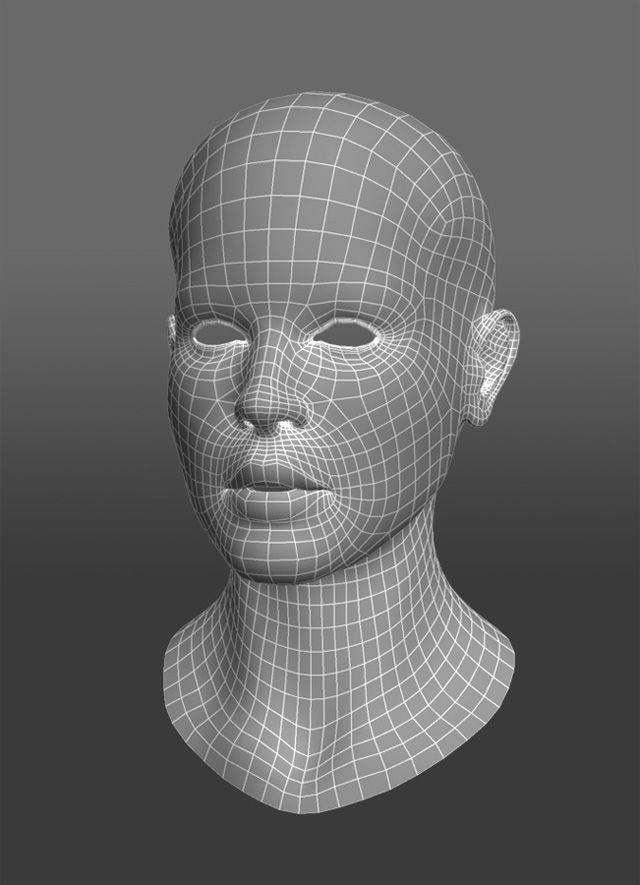 It will also ensure the overlap that you need to create a 3D model. You will have to move the camera, take three images and move the camera again.
The three images will follow a simple process. The first will have the subject in the middle. In the second, the subject will rest on the left rule-of-thirds intersection, and the third will rest on the right intersection.
Using the rule-of-thirds grid on the camera’s Live View, you can line everything up. Use the on-camera spirit level to ensure it is level.
Change your location by taking two medium steps from the last location. Repeat the three steps above the entire way around the statue. In each position, take three images.
Below is a drawing about my process, showing how many images I took and from what angle. I took a total of 132 images from 44 different positions, covering the full 360° view of the statue.
Step 4 – Install the Software
Go to the Agisoft Photoscan website and download, install, and run its 3D software.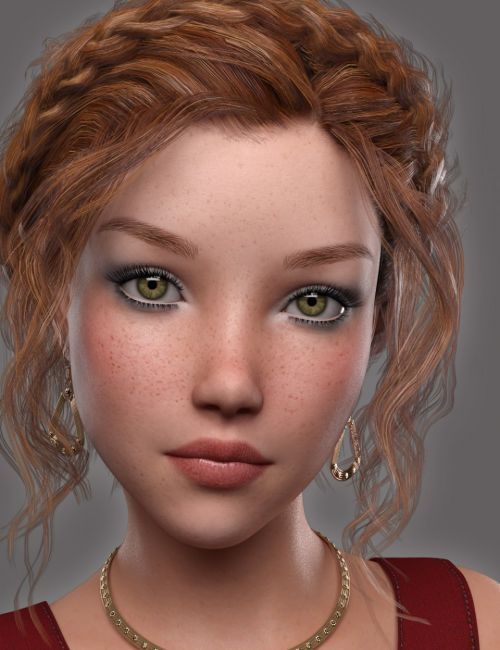
Step 5 – Add and Align Your Images
Click on Workflow > Add Photos. Locate the folder where your Jpegs are stored. Next, select every image in the left-hand browser window. You can do this with Ctrl/Cmd + A.
Go back to Workflow > Align Photos. Set the accuracy to Highest and Generic Preselection to Disabled. Under Advanced, set the Key point limit to 100,000 and Tie point limit to 40,000.
Press Ok. This process might take over an hour, depending on computer speed and the number of images.
Troubleshooting Tips
I had a problem with the camera allocation that Agisoft Photoscan uses as default.
When I first looked at the model, I was disappointed the statue was not as sharp and as ‘full’ as I had hoped. The trees and surrounding objects appeared in the shot.
This partly came from the 3D software reading the wrong placement of between 6-8 camera angles.
I tried to move these independently but instead chose to rename the files to something more coherent. The file names had the original names given by the camera.
After changing the file names and recreating the 3D model, the program placed the cameras correctly. You can see the difference in the image below.
One way is to try aligning the photos again. Add the photos, and then go to Workflow > Align Photos.
In the dialogue box under Pair Preselection, change it from Disabled to Generic. This way, the 3D software spends more time thinking about your camera placements and where your images overlap.
Conclusion
The reasons to use 3D Modelling range from creating special memories of travels to creating a 3D object from a photographed subject. Professionally, if you are an architectural photographer, architect, or work in similar fields, there are benefits in creating a perfect rendition of an existing object.
That said, creating a 3D model from photos is a time-consuming process. You need to have the correct camera setup, tripod, subject, and software to achieve your goal.
3D modelling is the next step in showing off your art. If you are looking for a creative gift, you might consider giving a 3D model. They make great presents for the 3D photographer in your life.
Do you want to make 3D Models from your property photos? Make sure they are the best they can be with our Picture Perfect Properties course!
Creation of a 3D model of an object from photographs Industrial design studio KLONA, Moscow
Creation of a 3D model of an object from photographs belongs to the discipline of photogrammetry. There are two big directions in photogrammetry:
-
phototopography, which helps to map and plan the area;
-
applied photogrammetry, which is needed in construction, architecture and forensics.
3D modeling from photographs is also used for production. Using a set of photos, you can produce an accurate 3D model and create a copy of the object.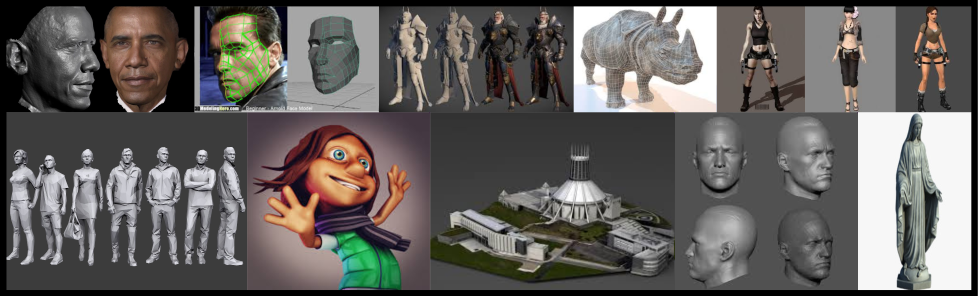
Photogrammetry was originally used only for landscape reconstruction and mapping. Today it works better, as powerful digital cameras allow you to get a high-quality image of the object, which simplifies the 3D modeling process.
3D object from photographs - figurine from a photo
3D Modeling from a Photo: Techniques
The main reason for using this method is that there are no blueprints or the object itself next to the 3D modeler. This technology is useful in that it allows you to model large objects without taking measurements. It is also suitable for areas or objects where it is unsafe for a person to be.
3D modeling from photographs is also used by archaeologists to present the results of excavations.
Read also: Promdesign: 7 new products that make life easier
3D model from photo
Make 3D model from photo: film and games application
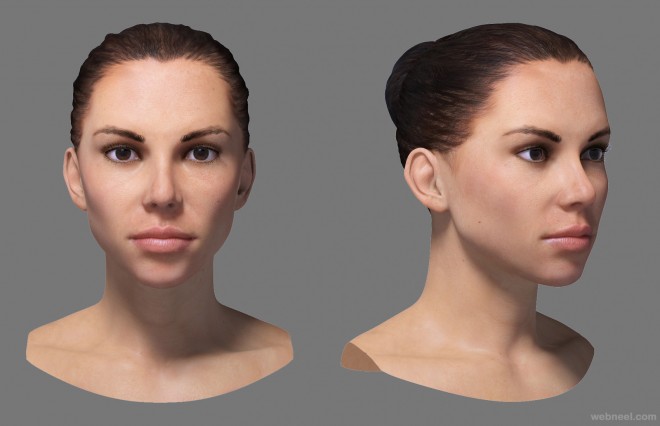
Entertainment is another area where 3D model from photo is used. In the case of movies, modeling is needed for special effects and combinations of shots. Games and cartoons need human prototypes.
Based on their photographs, characters are drawn, this adds realism to them and harmonizes the character. So, Robin Williams became the prototype of the genie from Aladdin, and the characteristic appearance of the evil queen from snow white is the merit of Joan Crawford, the star of the first magnitude of the era of Golden Hollywood.
In the past, it took an artist to come up with the characteristics of a living person for a cartoon or game character. Today, special programs will help with this, we will talk about them below. And if you need a completely new character, contact KLONA: we have a division of animators.
Production of a 3D model from a photo: Disney example
Development of a 3D model from a photo: prototyping services by them. It is important that if the detail is complex, then you need a lot of photos from different angles.
 Of course, if it is possible to provide the 3D modeler with the product itself, and not a photo, it is better to do so.
 3D model from a photo: industrial design
Creating a 3D model from a photo will help you quickly orient yourself and estimate the time needed to develop a real model. For an estimate before the main modeling, this is a good option. However, this is not suitable for complex products with a lot of bumps, corners or for designer items. In such cases, it will be easier to create a 3D model from scratch.
Building a 3D Model from a Photo: Rules
To obtain a high-quality and accurate 3D model, certain rules must be followed.
-
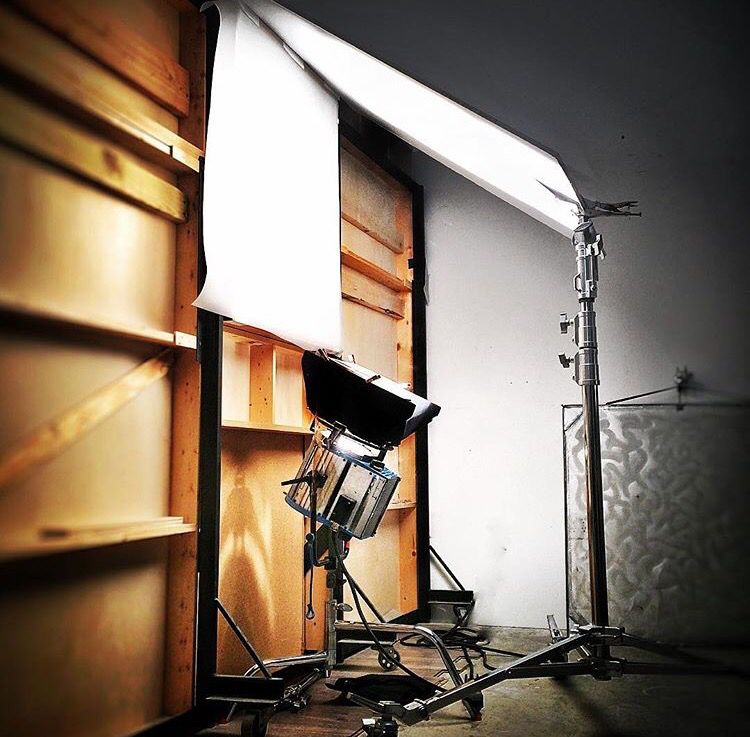
Take a photo in focus. It is most convenient to fulfill this condition if the object is placed on a rotating platform. The camera must be placed close and placed on a tripod. So the object will always be in the center, and it will be possible to catch all the necessary angles.
 It is important that the method is only suitable for small objects.
 -
A large object may not be able to rotate. If it is still possible to find a platform for a car, then it will not work to rotate a residential building, unless you are the Hulk, of course. Therefore, you will have to rotate around the object, always keeping the same distance, from whichever side you are shooting. If all this causes difficulties, then you can call a KLONA photographer, and he will take pictures for you. Also, if you can’t photograph at all, you can take measurements from the product.
-
The camera must be positioned vertically and horizontally , so the tripod must be level.
At least 3 photographs of the item are required: side, front and top views are required. Optional, but desirable, is a half-profile photo.
See also: 7 customer misconceptions about industrial design
Building a 3D model from a photo: additional recommendations
-
The result will be better if you place the object on a plain background.
-
Marked background is a calibrated stand, it will help you get a more accurate 3D model.
-
Images need to be converted or saved in .JPG format.
-
The height and width of all images must not differ.
-
It is important to number all the images, placing them sequentially.
Create a 3D Model from a Photo: Software Overview
In this section, we will talk about programs that will help you turn a set of photos into a 3D model, but it is important to remember that they are amateur and are used for low-budget projects. And if you need a high-quality 3D model with which you need to make a batch of products, contact the CLON studio. With us, you will get the desired result faster.
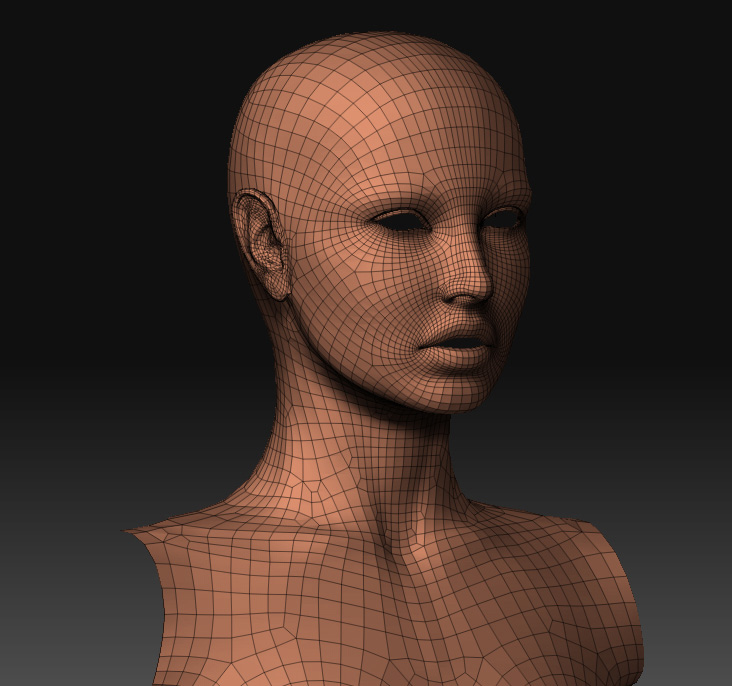
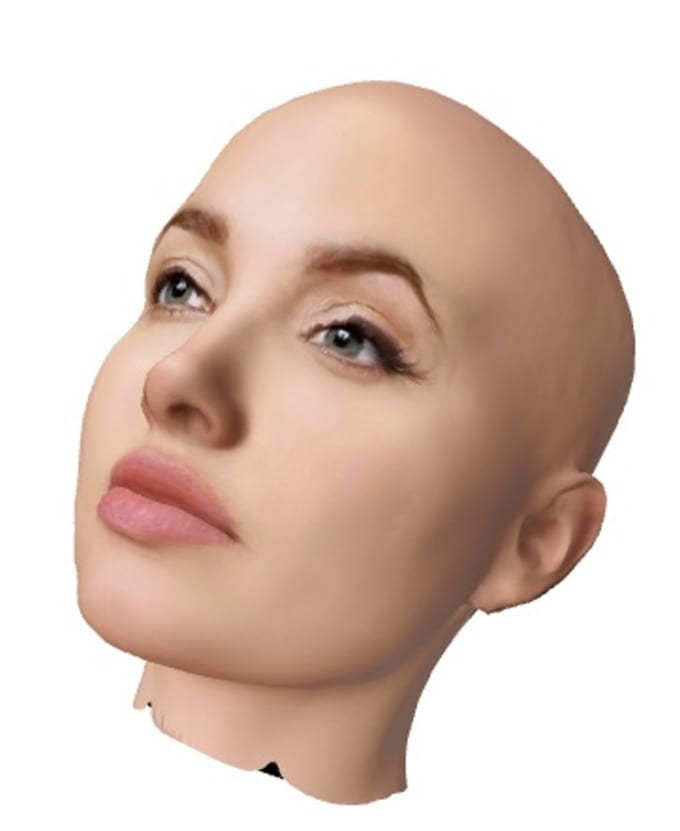
CrazyTalk is a program for creating facial animation. 3D Head Creation technology is built into it, which increases the accuracy of the resulting models.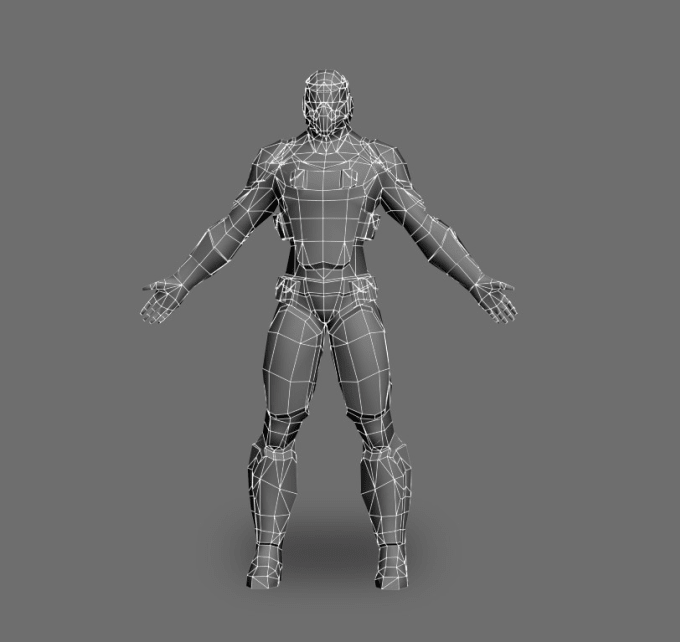 It also allows you to simulate the movement of the lips, which increases realism.
3D modeling and facial animation from photos
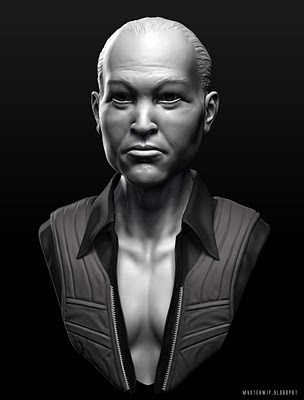
FaceGen is a program for modeling faces in game animation. Among the useful features is a slider that allows you to modify the resulting image. You have dealt with this if you have ever created a character in the Sims game.
Headshop is a program for modeling faces from portrait photographs. In addition to uploading photos, you will need to mark reference points on them, and only then proceed to modeling.
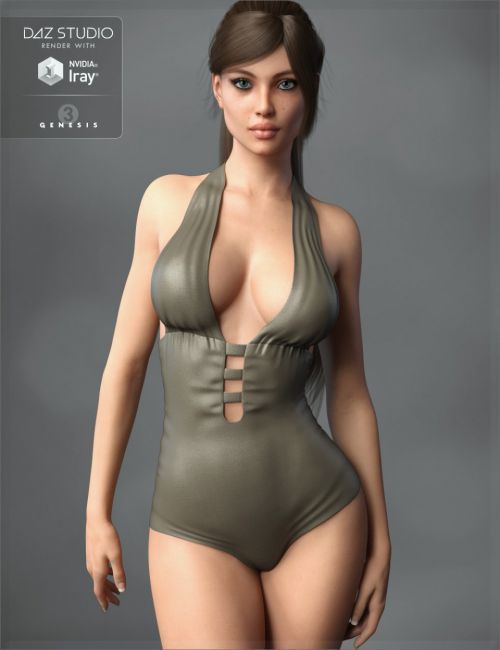
Strata Foto 3D is a program that turns photos into 3D models. Its main advantage is the ability to import and export images in Photoshop. Unlike the previous examples, Starta is mainly used for online stores and apps.
3D object from photos: Starta
360. 3D is a more functional program that requires 4 to 8 product photos. The software provides 3 levels of work depending on the skills of the modeler. It is suitable for professional developers and for beginners, you just need to choose your level of training. 360.3D is best for creating virtual tours. Features include the ability to customize the background, set the lights, and add animation effects.
123B is the easiest program to use, since not only photos from a professional camera, but also images taken with a television camera or tablet are suitable for working with it. It is popular among beginners and those who use the Autodesk 3D editor, since 123B was released by its creators.
3D Modeling from a Photo: Highlights
-
In order to get a 3D model, you need high quality images and a correctly exposed frame. If this is not an option, consider other options.
-
In any case, you will need to edit the resulting 3D model, and for complex models, this process may be delayed.
-
If there are details inside the model or something that needs to be reflected, then you will have to model manually.
-
3D models obtained after photo modeling may differ significantly in size from the original item.
3D modeling from a photo: advantages
-
Allows you to create a 3D model of a large object.
-
Gives you the ability to model existing objects without encountering them live.
-
Allows you not to measure the object.
-
You can make a 3D model from a photo without drawings.
-
Allows you to ignore the internal structure of the object.
-
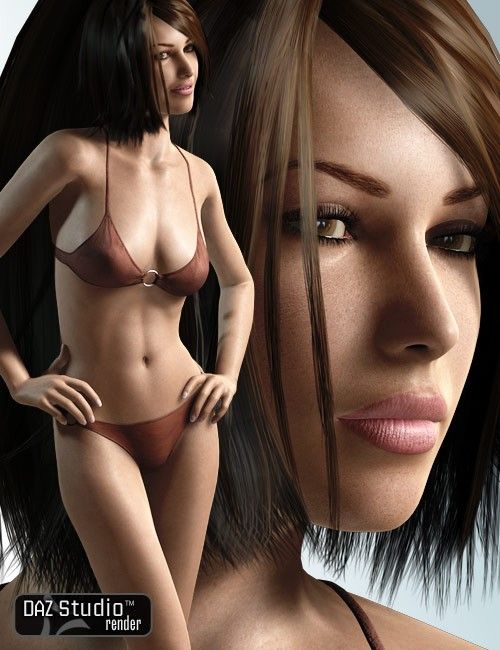
Suitable for 3D face modeling and is used in the development of low-budget games and animations.
-
It is also used to create virtual tours of salons, hotels and shopping malls, to demonstrate goods in online stores.
-
This is a good way if you need to print a 3D model of an object once and the very fact of its presence is important, and not the quality.
A 3D model from a photo is a quick and relatively easy way to create a model, as the software allows you to partially automate the process. If your requirements match one of the items on the list, you should order 3D modeling from a photo in KLONA. Tell us about your task, and managers will help you.
Contact information:
+7 (499) 112 08 50
+7 (910) 479 24 20
Like this article?
Leave your vote :)
Turning an ordinary photo into a 3D model
Top
04/05/2018
Author: Olga Dmitrieva
1 star2 stars3 stars4 stars5 stars
Turning an ordinary photo into a 3D model
3
5
1
33
1
CHIP has prepared an instruction that will help you turn simple photos into full-fledged 3D models.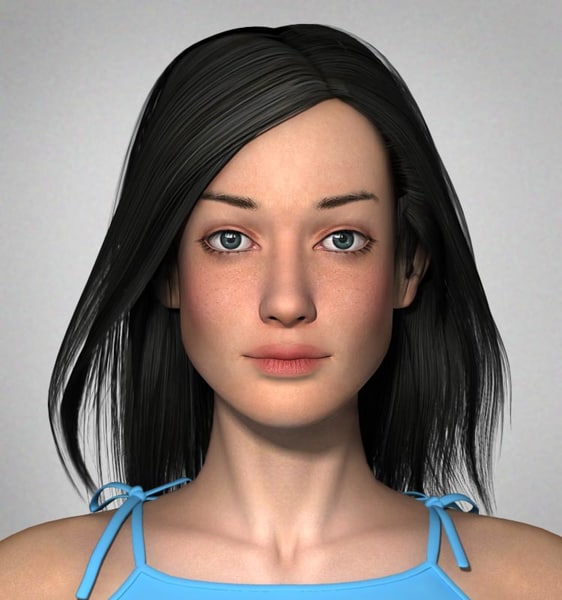 We have selected the right software and described the transformation process in detail.
It's easy to turn your pictures into real 3D models that can be printed on a 3D printer. We'll show you how it works.
Step 1: Convert photos to 3D model
You will need the VisualFSM program to get started.
- Import all photos of the corresponding object into VisualFSM. It is best to take several photos while moving around the subject.
- Click the Compute Missing matches button and then Compute 3D Reconstruction.
- If you are satisfied with the result, and the 3D model can be recognized from different points, click on CMVS. After completing the calculation process, press the Tab key to view the finished 3D model.
Step 2: Optimize the 3D Model
3D Food for 3D PeopleNow you need MeshLab.
- Go to File - Open Project File and import the project created in the first step.
- In the upper right corner you will find a tool that will allow you to remove the excess.
Learn more