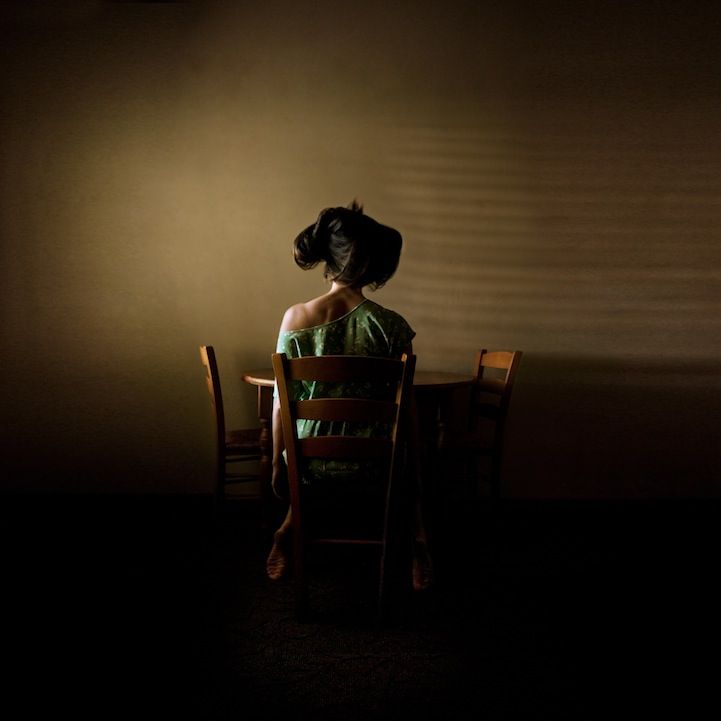
Simple self portraits
Easy Directed Drawing Art Project
This easy art lesson teaches your kids how to draw a self portrait. Below you’ll find a free download with step-by-step instructions and a complete video lesson.
Jump to Tutorial
Jump to Video
Portrait Coloring Page
How to Draw a Self Portrait for Kids Video
If you would like to have your students practice drawing faces, and you’re tired of seeing them draw really small, this self portraits for kids project may be just what you are looking for. It instructs them to draw from the top to the bottom of their paper, and practice their facial proportions while creating their own self portrait.
Self portraits are great projects for students of all ages as they give them a unique chance to express themselves. And the more they learn about the fundamentals of drawing faces, the more freedom they will have in drawing their own.
Student Inspiration
Student sample artUsing Drawing Guides
The best way to get students off to a good start to any drawing is to give them a few guides to follow. Does that mean printing or drawing them first? Nope. The easiest way to get some quick guides is to just fold the paper so the creases can tell them where to start and stop their lines. All of the tutorials on this website have at least one horizontal and vertical dashed line to refer to, and they make quick and easy reference points that actually disappear as the art is colored in.
This project in particular has lots of shapes that fall right on those lines, so there’s very little guesswork involved. The chin should fall on the bottom line, the nose on the middle, and the eyes on the top horizontal line. To get those extra horizontal lines for this project, just fold the paper one extra time in the short direction. Be sure to make a nice crease before opening so it’s easy to see where to draw.
Why Make a Half Portrait with your Students?
Many students tend to obsess over making perfectly matching eyes, ears, etc. when they draw anyone’s face, especially their own. By drawing just half the face, they can concentrate on only one eye, and half the nose, and so one. It also takes a whole lot less time to draw half of a face, so they are free to make their name extra fancy, if desired.
This Half Portrait makes for a great back-to-school project as it will help everyone learn each other’s names, and doesn’t require fancy supplies or take a lot of time. Just imagine how great your classroom will look with lots of colorful faces up on display. Lots of teachers have shared their happy results with this project every year. It’s a keeper, as they say.
You can get a print friendly PDF tutorial simply by joining my email list below. It’s a great way to have my newest tutorials come to you, instead of you searching them out.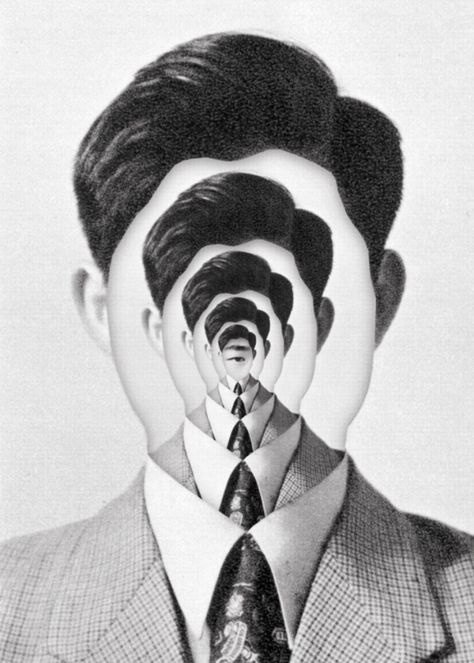
Join my Email list below to get this instant download!
Self Portrait Coloring Page
open self portrait coloring page
Materials for the Self Portrait Project
- Drawing Paper. This is the good stuff you can buy in bulk for a good price.
- Pencils. Don’t waste your money on the cheapest brand. These make nice dark lines.
- Black Marker. A permanent marker will give you a nice dark black color.
- Crayons. Packs with a wide range of colors are most helpful.
- Note: All of the above are Amazon affiliate links.
Directions for a Self Portrait Project
Time needed: 1 hour.
How to Draw a Portrait for Kids
- Fold to make guides. Start the head.
- Draw the neck.
- Add ear, nose and mouth.
- Plan eye with two dots.
- Draw the eye.
- Add eyebrow and hair.
- Draw the name in stick letters.
- Outline letters.
- Trace and color.
Reader Inspiration
A Half Portrait Quilt by CindyMore Self Portraits for Kids Projects
Easy How To Draw an Abstract Self Portrait and Coloring Page
2nd Grade | 3rd Grade | 4th Grade | 5th Grade | Art History | Crayons | Drawing | Easy How to Draw Tutorials | People
Learn how to draw an abstract self portrait with this easy step by step tutorial. Drawing closed shapes will create lots of options for coloring it in!
Abstract Self Portrait Tutorial
Abstract Coloring Page
Abstract Self Portrait Drawing
Why Make an Abstract Self Portrait?
Do your students need more face drawing practice, but you dread the overthinking that is so common when it comes to drawing eyes? Or if they draw them, do they tend to turn out on the tiny side?
This super simple tutorial will avoid all that as it has a kind of formula for drawing eyes extra large. Not to worry though, there’s still lots of places for their own personalization. If fact, my PDF even shares some examples of how to draw different kinds of hair, to help them get started.
When the drawing is done, the drawing will have lots of closed shapes that are just begging to be filled with lots of different, bright colors. Try challenging students to keep any color from touching itself, and see what kind of abstract magic happens.
Using Drawing Guides
The best way to get students off to a good start to any drawing project is to show them how to use guides as a reference.
You may have noticed that all of the tutorials on this site have a dashed line running through the center of each step, both in the horizontal and vertical direction. If students make their own centered lines on their own paper, before drawing, they will have an easy reference to follow.
For instance, the first step of this abstract face starts in the center of the top left quarter of the paper. The line then curves down to the bottom and back up to the center of the right quarter. Those guide lines help students how to get off to a more accurate start — much more so than if they just had a blank sheet of paper to look at.
So does that mean students need to draw a big fat lines down the center of their paper before they start? Goodness no, please don’t! That would most likely be hard to erase and distract from any finished art. No, simply fold the paper in half both ways, make a crease, and unfold. The beauty is that by the time the drawing is done and colored in, the creases will just disappear.
And now, on to our drawing project.
Join my Email List below to get this instant download
Save me to your Pinterest Board!
Abstract Self Portrait Coloring Page
Open Abstract Self Portrait Coloring Page
Materials for Abstract Self Portrait Drawing
- Drawing Paper. This is the good stuff you can buy in bulk for a good price.
.jpg)
- Pencils. Don’t waste your money on the cheapest brand. These make nice dark lines.
- Black Marker. A permanent marker will give you a nice dark black color.
- Crayons. Packs with a wide range of colors are most helpful.
- Note: All of the above are Amazon affiliate links.
Step by Step Directions for Abstract Self Portrait
Time needed: 45 minutes.
How to Draw an Abstract Self Portrait
- Start with a large U.
- Add the two ears.
- Draw the neck and shoulders.
- Add your own hair.
- Draw the centered nose.
- Start the large eyes.
- Add the lids and irises inside.
- Draw a mouth and add two lines.
- Trace with a marker and color.
More Portrait Projects
Half Portrait ProjectMe & My Goals Self PortraitLego Self PortraitCubism Self PortraitDoodle Self PortraitNate Williams Style Self PortraitSunglasses Self PortraitHow to Draw a Hundertwasser Style Self PortraitPost Tags: #Portrait Projects
Similar Posts
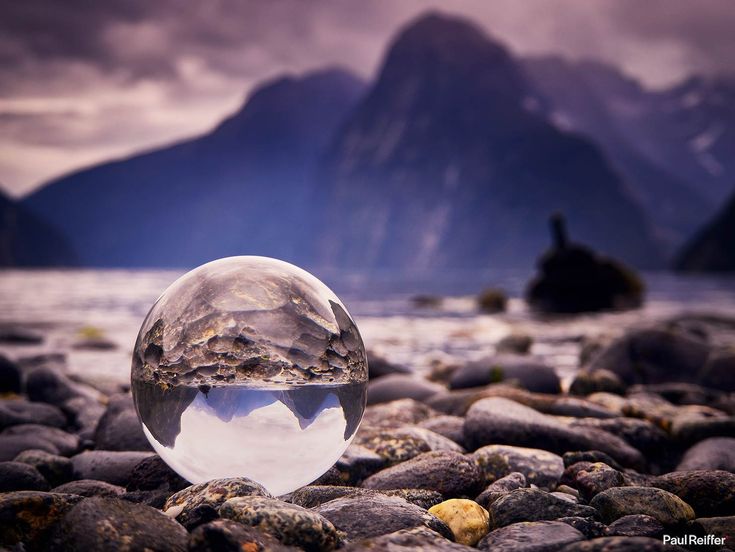
Capture Perfect Self Portraits - Canon UK
Capture Perfect Self Portraits - Canon UKCREATING SELF PORTRAITS
Photographer Amaal Said shares tips to help you transform ordinary selfies into unique self portraits.
Selfies have become a convenient and creative way to capture the events of our lives, whether it's a valuable moment worthy of an archive or an attempt to express our emotions. But how do you turn ordinary selfies into professional-quality self-portraits?
A London-based self-portrait maker with over 23,000 followers on social media, Amaal Saeed has found her unusual self-portraits a great way to capture her life and career. “Self-portraits have always been a portal to the past for me,” she says. - I can turn to them and see what I felt at one time or another in my life; I like that over the years I have become better at photographing myself.”
In this article, Amaal shares methods for creating self-portraits worth publishing, printing and storing in an album. She will also demonstrate how easy it is to capture special moments in your life by handing over the camera to your sister and helping her and her husband organize a spontaneous portrait photo shoot in the park.
1. Start in auto mode and experiment
Most entry-level cameras support portrait mode - the result will depend on the camera, but it usually makes images less sharp to ensure soft skin texture. Taken on a Canon EOS M6 Mark II with a Canon EF-M 32mm f/1.4 STM lens at 1/60 sec, f/1.4 and ISO200. © Amaal Said
Amaal says auto is best to start with mode. “If you're a beginner, you can choose automatic settings on the camera,” she says.
Useful features such as available on the Canon EOS M6 Mark II and other entry-level models such as the Canon EOS 250D, self-portrait and portrait shooting modes help blur the background and soften the texture of skin and hair.
Try using Aperture Priority (Av) to control depth of field. This semi-automatic mode allows you to select the aperture value, that is, the diameter of the hole in the lens through which light passes - the smaller this number, the more light will be used. To create a background blur effect, choose an open aperture, such as f/1.4.
Choosing a wide-aperture lens for portraits can also help you capture expressive images. Amaal especially enjoys working with the Canon EF-M 32mm f/1.4 STM lens. “I like blurry backgrounds, but for this effect you need to choose an open aperture. Higher aperture allows you to isolate the object from the background,” she explains.
She also frequently uses a Canon EF 50mm f/1.8 II lens (new generation available: Canon EF 50mm f/1. 8 STM) as she enjoys taking self-portraits with her face in focus. “Portraits are more sensual,” she says. The Canon EOS M6 Mark II is compatible with a wide variety of lenses from the EF and EF-S lines when mounted using the Canon EF-EOS M Mount Adapter.
2. A suitable location for shooting.
Amaal showed her sister how to use the Canon EOS M6 Mark II for a spontaneous portrait shoot in a local park. © Amaal Saeed
Whether you're shooting in an autumn park or in a makeshift studio, the background can be the basis for great images. Taken on a Canon EOS M6 Mark II with a Canon EF-M 32mm f/1.4 STM lens at 1/200 sec, f/1.6 and ISO100. © Amaal Said
“It's important to understand what kind of background you want, and the chosen location will help create the right atmosphere,” says Amaal. — I like to photograph in parks and create completely different images in different modes. It is important to find a less crowded place where no one will interfere with you when creating images.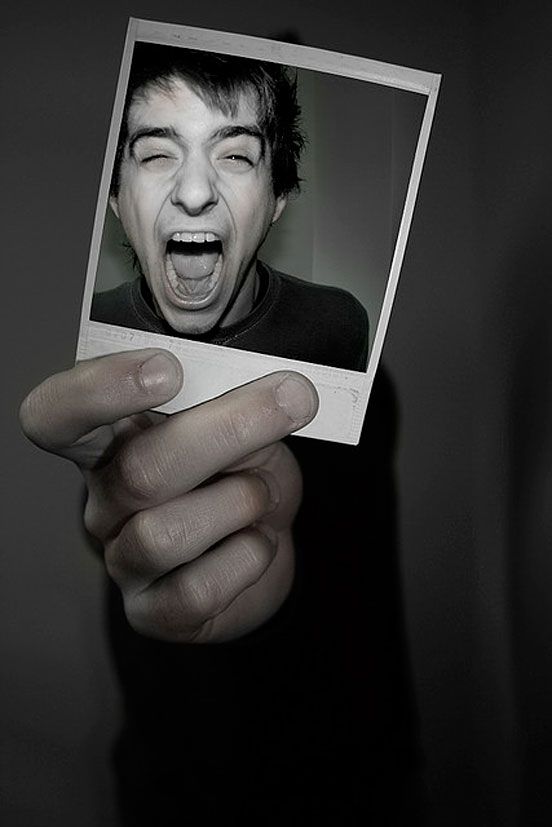
According to her, the environment can affect the atmosphere of the picture, but in some cases, you can limit yourself to a solid background. “I have a white wall in my bedroom that I often use as a backdrop, wearing something bright for contrast. However, even in your yard or somewhere in the house there may be a place to set up a tripod. It's important to find a background that isn't too colorful or distracting."
3. Experiment with lighting and composition
Amaal often creates self-portraits against a monochrome white background so that there is nothing superfluous in the frame, and stands slightly to the side of the composition center. In addition, she recommends leaving space in the frame around the edges of the face so that you can freely crop the image. Taken on a Canon EOS M6 Mark II with a Canon EF-M 32mm f/1.4 STM lens at 1/160 sec, f/1.4 and ISO200. © Amaal Said
“I love the warm tones of the golden hour,” Amaal says of the time just after dawn and before sunset. — The soft light of the sun changes everything for the better. You should avoid shooting in harsh lighting, as it casts too deep shadows. Sometimes I shoot on cloudy days too - even in such weather you can create something beautiful, just make sure you choose the right settings for the lighting.
As for the composition, Amaal recommends removing all unnecessary objects from the frame. “Tweak your composition as you experiment with angles and shooting positions,” she says. “Photos will look completely different if you choose a position slightly to the side of the center of the frame, so it’s worth trying this approach too.”
Leaving space around the edges of the image will help you crop it for Instagram. “I usually shoot portraits in landscape mode because I like to have room on the sides for experimentation,” she adds.
4. Visualization with color
Experimenting with color and fabrics is a great way to create an expressive portrait; Amaal opted for a palette of soft pinks and purples for this multiple exposure self-portrait. Taken on a Canon EOS M6 Mark II with a Canon EF-EOS M Mount Adapter and a Canon EF 50mm f/1.8 II lens at f/1.8, 1/30 sec. and ISO 600. © Amaal Said
Experimenting with your color palette will help you express your personality. “I always start by assessing my feelings and building on them,” Amaal explains. “Sometimes I want to create something atmospheric, and I choose an appropriate outfit, or I just like a new lipstick, and I take it as the basis of a self-portrait.”
“I like different colors. In my self-portraits, they are usually expressed through the hijab and lipstick, but there are a number of possibilities for working with color. Try attaching colorful fabrics to the wall or hanging them from a tall object. Hues can also be brought in through plants and flowers.”
“If you plan your color combinations ahead of time, you can definitely make an expressive self-portrait. Think about what color outfit will work best with the background, and what shades to avoid as they won't provide the desired contrast. Color is especially important when shooting wedding self-portraits, as both you and your partner need to be the main subjects in the frame.”
5. Keep calm
Holding a small mirror near your face not only keeps your hands busy, but also allows you to experiment with unusual compositions. Taken on a Canon EOS M6 Mark II with a Canon EF-M 32mm f/1.4 STM lens at 1/80 sec, f/1.4 and ISO320. © Amaal Said
“The beauty of self-portraits is that you don’t have a photographer to keep a close eye on your face,” says Amaal, who says flowers, mirrors, and the like can help people feel more confident in the lens and become the basis for creative experimentation.
People usually say they don't know what to do with their hands, and that's perfectly normal. That is why I recommend choosing an item that you will be holding.” Perhaps you should choose a large necklace or unusual earrings that you can touch with your hands during the shooting.
6. Use a tripod and self-timer
Amaal recommended to her sister that she mount her Canon EOS M6 Mark II on a tripod and use the touch screen to create interesting compositions.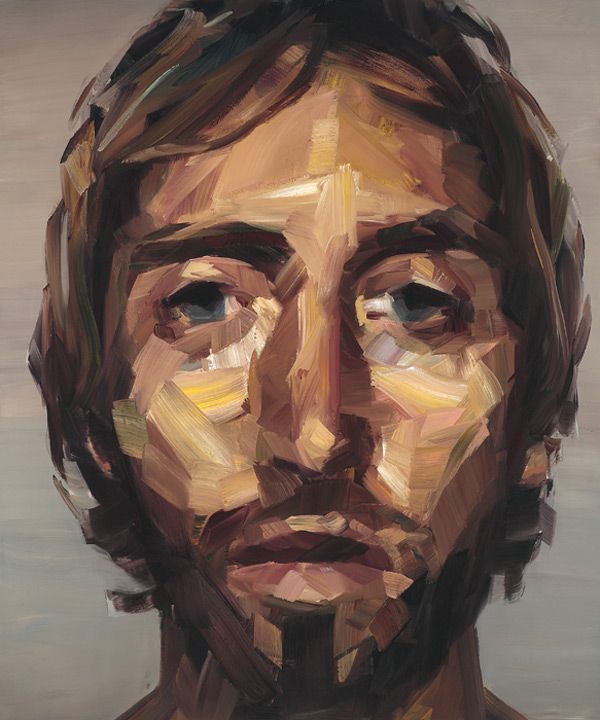 © Amaal Saeed
She also advised her to set the self-timer to give the couple a few seconds to position themselves and prepare to shoot. Taken on a Canon EOS M6 Mark II with a Canon EF-M 32mm f/1.4 STM lens at 1/200 sec, f/1.6 and ISO100. © Amaal Said
Amaal captures self-portraits with the Canon EOS M6 Mark II, a compact and lightweight camera with a 32.5 MP image sensor, 180° flip-out touchscreen, Wi-Fi, and recommends using a tripod and self-timer.
“The Canon EOS M6 Mark II is a great camera to experiment with, and setting up the self-timer is super easy,” she explains. “You can choose a 2- or 10-second timer, but I usually work with a 10-second timer because I like it when I have enough time to prepare.”
Also useful when taking self-portraits is to rotate the screen so that you can see your composition on it.
7. Operate with remote shooting
The Canon EOS M6 Mark II's flip-out touch screen allows you to follow your composition from any angle or rotate the screen for easy self-portraits. © Amaal Said
If your camera does not have a flip-out touch screen, you can try to focus by holding an object in front of the lens and then moving to the same position. Taken on a Canon EOS M6 Mark II with a Canon EF-M 32mm f/1.4 STM lens at 1/160 sec, f/1.4 and ISO250. © Amaal Said
The Canon Camera Connect app allows you to connect a Wi-Fi enabled Canon camera to an Apple or Android device for remote control. The ability to view the image and control the shutter using your smartphone makes it easy to create beautiful, clear portraits. “If you don't want to be distracted and walk to the camera to check the accuracy of the focus, the Camera Connect app will be your lifesaver,” says Amaal. “You will also appreciate its usefulness when changing positions.”
The Canon EOS M6 Mark II's flip-out touchscreen helps you make sure faces are in focus. “Being able to rotate the screen to check the shot really helps me and saves me a lot of time,” says Amaal.
She likes to make her images as clear and bright as possible, so she uses a variety of techniques to bring her subject into extremely precise focus. “Before, when I didn’t have a camera with a flip screen and remote shooting functions, I would take an object - usually it was flowers - and hold it in front of the camera so that the device focused on it, and then take the same position, - Amaal says. “I also like face-tracking autofocus, but it doesn’t always work well in situations where there are additional subjects in the foreground.”
8. Editing and printing pro-level self-portraits
Adjusting the settings for shooting in both RAW and JPEG formats will give you more options when post-processing your images. To enhance RAW images, you can use Canon's free Digital Photo Professional (DPP) editing software, which provides tools for adjusting white balance, saturation, exposure, and more.
“You don't have to be a professional to edit photos,” says Amaal. Exposure is the main factor for me, because sometimes the images are not bright enough. I change contrast and shadows to get the style I want, and I also like to rotate images to see how the effect changes. I also really like black and white self-portraits.”
After editing, you can print your photos directly from your phone using the Canon SELPHY Square QX10 compact printer. It is ideal for creating printed photo cards and is a quick and easy photo printing solution for your favorite self-portraits. For realistic, professional-quality prints, we recommend the Canon PIXMA G printers.
By: Lorna Dokril
0013
Two TikTok photographers share valuable tips for creating unique images.
PORTRAIT PHOTOGRAPHY
The perfect lens for portrait photography
What to consider when choosing a lens for portrait photography.
PHOTOGRAPHY BASICS
How to create amazing bokeh
Follow these tips and use the recommended shooting techniques to create beautiful background blur.
PORTRAIT PHOTOGRAPHY
Abstract Portrait Photography
Experiment with multiple exposures, lighting, light and shadow, and other shooting techniques.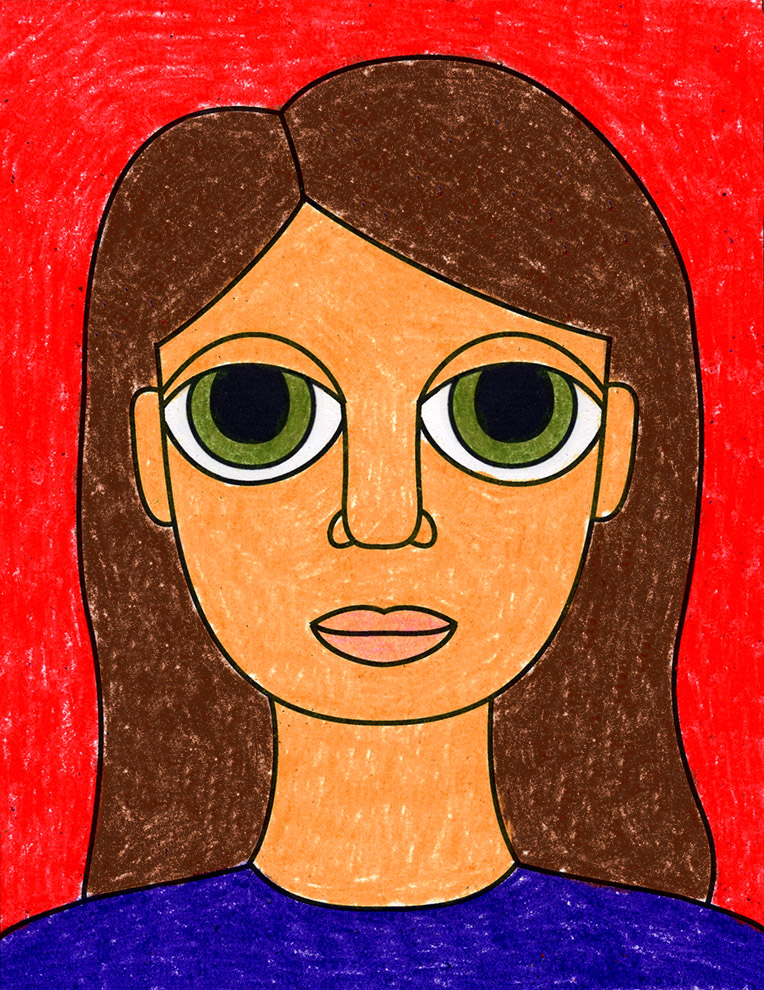
If you see this message, you are browsing the Canon website using a search engine that blocks non-essential cookies. Only essential (functional) cookies will be used on your device. These cookies are essential for the website to function and are an integral part of our systems. To learn more, check out our Notice about cookies.
Delete item or clear [category] because there is a limit of 8 products. Press Change
Reset all selection?
About the project "366 days. Self-portraits" by Andrey Chezhin
© Andrey Chezhin
The idea of the project was simple: I took self-portraits, strictly one photo a day for a year - such a kind of diary. The idea itself appeared in 1990 year. Before that, I took a lot of pictures - maybe every day, I always carried a camera with me, but these shootings were somehow incomprehensible - in the sense that they were not structured in any way. And now I wanted serious, well-thought-out projects. I thought it would be great to come up with some kind of concept that would include absolutely everything that you shoot - and ideally, you shoot daily.
© Andrey Chezhin
Why a self-portrait? Yes, because you are forced to coexist with yourself all the time: you only need a camera - and that's it. All ideas are transmitted to him directly from his head, no need to explain anything to anyone. Rigid framework - year. A special camera was chosen, in which the film was loaded, only one frame was shot a day (it doesn’t matter if it works or not). The camera, of course, is non-automatic - "Zorkiy-4K". This is a rangefinder: it has lenses with a fixed photographing distance of at least one meter, and in my project there was macro photography, medium-range, and long-range photography, so I had to use interchangeable lenses, as well as extension rings, calculate everything, measure distances when shooting - again, this camera is not a SLR, that is, it was not known what exactly would happen. At the same time - since I was shooting a self-portrait - the camera was placed on a tripod or some kind of plane, the self-timer was pressed, I stepped back, took pictures - that's all, such a technology. Then the films were developed, the date, month, year were signed along the perforation from the bottom. Then I didn’t have cameras with automatically imprinted date: everything was calculated only on my honesty ... Then, ten years later, I thought about repeating all this using a good camera, with a date, but somehow it didn’t work out - probably, I had already moved to another plane, and the situation itself had changed.
© Andrey Chezhin
© Andrey Chezhin
I printed six pieces on one sheet 30 x 40, but then I printed some photos separately, large. At that time, I shot film negative of the NK-2 type, bought rolls of 300 meters and cut it myself, inserted it into cassettes (by the way, I still do this sometimes). At that time, I was extremely interested in printing from neighboring frames - how they interact with each other and generally coexist. Around the same time, in the early 90s, I decided never to cut my films again and store them on rolls so that I could see the entire shooting process in real sequence. Of course, it is difficult to print six frames on one sheet, after all, they were all taken in different lighting conditions, but you need to maintain one tone in order for everything to be perceived normally. When printing, I had to cover something, expose something more, mask it ...
© Andrey Chezhin
© Andrey Chezhin
Why is this project interesting? Firstly, this is an honest whole year: 366 days and 366 frames. It doesn’t matter if the picture turned out or not - this is a project in which even white and black frames are works, that is, if the frame is lit up or overexposed, it’s still life as it is, the so-called black or white stripes. You can live a day, guessing what will be on the tape, but the end result is still not known. When you develop a film, you don’t always remember what exactly you shot, so it turns out unexpectedly and interestingly.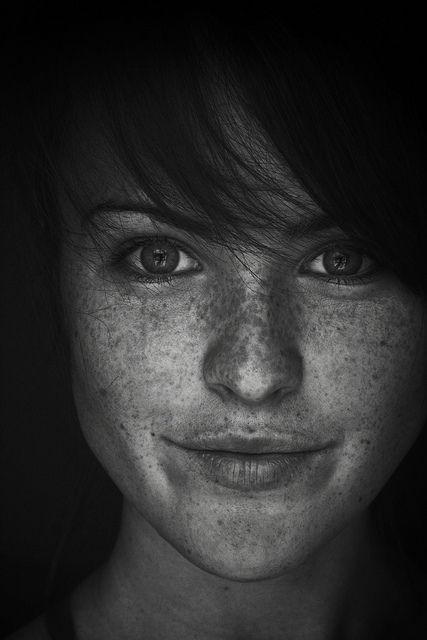 Then I began to think about how to write daily a small text to the photo, but soon abandoned this idea. In fact, a photo diary is something more than just a diary, because you see a certain specific photo.
© Andrey Chezhin
© Andrey Chezhin
When I look at the pictures, I remember every day — or at least one-thirtieth of a second of that day; 1/30 is shutter speed. And there is much more information in each frame than in the text: it turns out to be a kind of mega diary. After some time, my good friend Alexei Varsopko accomplished the same feat: for a whole year, he, looking at my photographs, daily wrote texts, starting from his personal impressions. We even thought of publishing an “eternal calendar” consisting of my photographs and its texts, and leaving some free space somewhere so that the person who bought it could express himself daily: draw something, stick it there, sew it on, etc. To print such a "perpetual calendar", say, in a circulation of 1000 copies, to distribute to fellow artists - and not only to them! I myself would participate again - but, alas, there is no money for the publication. By the way, it is important that the project started on May 11, 1990 years old, and ended on May 11, 1991 - just in time for my birthday: a month before the start, I was walking around, shivering from the fact that I would soon start filming all this.
© Andrey Chezhin
© Andrey Chezhin
In general, of course, the ninetieth year is such a scrap in everything… including me. A lot of things happened in the country: the collapse of the Soviet Union, all this incomprehensible situation after its collapse ... I got married, which is also worth noting; at the same time, my transition from a separate photograph to the implementation of certain concepts was outlined. Shooting self-portraits in such numbers is not so easy. The first suggestions from acquaintances, when I told them about the upcoming project, were to shoot 366 portraits against the same background, from the same angle, and then drive it all through a film projector and monitor the changes in the face, but this option was not of interest to me.
© Andrey Chezhin
© Andrey Chezhin
It is clear that I already had some experience in shooting self-portraits, but after a while I realized: I still need to study, and study very hard. I "registered" in the Public Library: I began to look through a large number of photo albums, both ours and foreign ones. I was looking for photographs that would inspire me for some further creative searches. Naturally, I did not reproduce anything one-on-one: trying on other people's ideas, I came up with my own. In principle, preparation for this project and work in the library helped me a lot in the future. Of course, I had a book in which I wrote down thoughts on how to photograph myself, as soon as they arose, and then - daily - I chose what I wanted to do on that particular day. But, of course, there were other situations when I spontaneously took pictures in a circle of acquaintances or, walking somewhere, saw unexpected situations or objects, in the scenery of which I captured myself. Plus to everything in the same 19In the 1990s I went to France for the first time: all these shots were also included in my project. True, I filmed there so much, and therefore, because of the mass of impressions, I sometimes remembered the project only in the evening, returning to the hotel ... however, against the backdrop of the Eiffel Tower, I nevertheless immortalized myself.
© Andrey Chezhin
Interestingly, closer to the end of the project, I began to use early photos from the project in new shoots.
© Andrey Chezhin
Here, for example, is a crumpled self-portrait from the first series and my legs. In general, the concept continued and developed. I then still cut my hair and shaved once every two years - I must say, after a haircut "under zero" after a couple of years I grew long hair and a curly beard, and then it was all shaved off. Such transformations are also reflected in the project, which is quite funny. Thanks to this project, I can remember when and how parallel projects were born.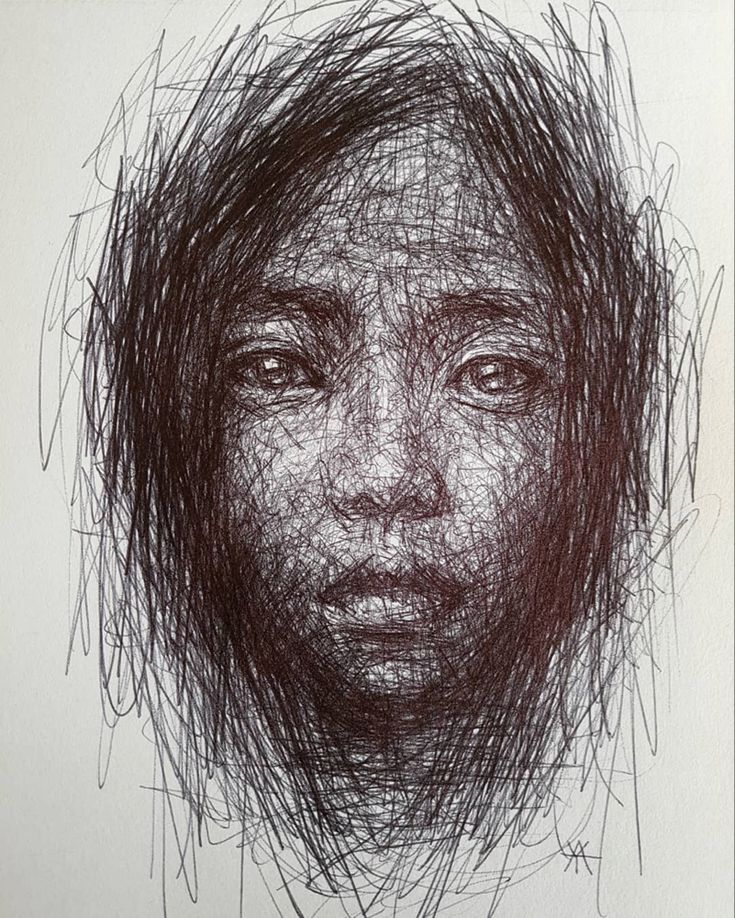 I started shooting the red square as a self-portrait.
© Andrey Chezhin
I made a star out of myself and the ropes, and then took one shot, but then I decided that I needed to shoot something else with these ropes, took out another camera and continued. There were quite a lot of situations when I came up with some kind of picture, and then shot a whole series. It also reflects my passion for postmodernism, love for various initiations; then I was still actively watching films in cinemas, listening to classical music and jazz - all my impressions resulted, of course, in pictures.
© Andrey Chezhin
There were many ideas with mirrors: all this was calculated - here, for example, I am sitting with a mirror opposite another mirror.
© Andrey Chezhin
Here, four pieces of a mirror were glued onto the window putty, turned differently, that's why they give different fragments.
© Andrey Chezhin
And here I just highlighted myself as a projector: there were also many different ideas with the projector.