How to take glare off glasses in pictures
How to Remove Glare from Glasses Miraculously for FREE in App
Is the glare on your glasses bothering you? Do you want to print a photo but the glare on the glass is ruining the photo? Or perhaps you shot a perfect photo for your work life but you can’t use it because your eyes are blocked by the reflection on the glasses.
Don’t worry. I’m going to show you how can you remove glare from glasses for free. You only need to have an iPhone or an Android phone to magically remove the reflection on the glasses.
But before we show you, let me show you what info you can get from this tutorial.
Table of Contents
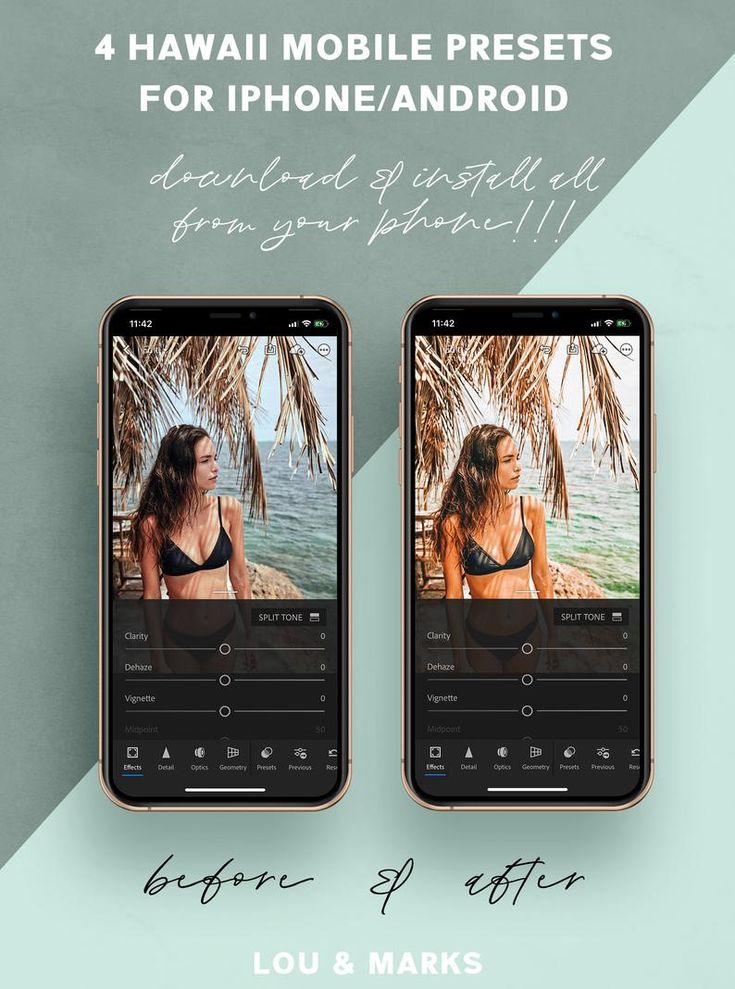
Before and After photos of removing glare on the glasses
Before
After
What causes glare on the glasses in photos?
Glasses reflect light. You and I know this fact.
When light is coming from the front, your glasses reflect that light. This reflection causes glare.
How to avoid glare on glasses in a photo?
Cole’s Classroom has very nice tips on avoiding glare on glasses. Some of them are
- Change the angle of the face to avoid the reflection
- Put the light source behind you. I mean don’t face the light source.
- Tilt the glasses to avoid glare
How to remove glare from glasses online?
I’m going to show you how can you remove the glare using a free phone app. But for some reason, if you want to use an online website to remove the glare, you try either of these two options.
- FREE (takes time + skill but doesn’t cost money) – you can try PicMonkey
- Paid (no effort and skills required but costs $10+) – let our own certified editors remove it for you. You get a FREE demo first. Go to our Photo Editing Service page and fill out the form to send your photo to us.
How to remove glare from glasses on iPhone?
We’re going to use Snapseed to remove the glare from glasses.
Download the free app now to follow along with this tutorial
Download the iOS app on iPhone using the below image.
How to remove glare from glasses on Android phones?
We’re again going to use Snapseed to remove the glare from glasses.
Download the Android app on Google Play using the below image.
How to remove glare from glasses for FREE?
Video tutorial on removing glare from glasses
If you prefer watching video tutorials, we have one on YouTube.
Tap on the Play button and start watching the tutorial.
Step 1: Open the photo and zoom in on the glare
Open your photo in the app.
Now zoom in to the glare to see it clearly.
Step 2: Use the Healing Tool to remove the glare
Tap on Tools > Healing.
Now start dragging your finger on the reflection to remove the reflection from the glasses in a photo.
See the below GIF.
Do it more and more.
Step 3: Remove the glare on the other glass also
Similarly, remove the glare on the other glass also.
Step 4: Tune the glasses to make them look natural
Okay, so we’ve removed the glare now but the glasses aren’t looking 100% natural.
We’re going to change some basic settings like brightness, contrast, etc. to make it look natural.
Go to Tools > Tune image.
Change the setting to this. This one works for me. You can copy these or you may need to use a different setting.
- Brightness: +5
- Contrast: +50
- Saturation: +2
- Ambiance: +2
- Highlights: -13
- Shadows: -27
This is how the photo looks now.
Ignore all other parts except the glasses. See how sharp the glasses look now.
Step 5: Remove the tuning from all parts but the glasses
Tap on the Layers icon.
Then tap on View Edits.
Then tap on this icon.
Start sliding your finger on the glasses. This will temporarily paint the glass red.
See this GIF.
In the same way, do it for the other one also.
Click on this tick after that.
That’s it.
If you want, you can apply some filters to the photo.
Here’s our photo.
Other apps you can use to remove your double chin
If you don’t use Snapseed, you can use these apps also.
The steps will be the same. Only the UI will be different.
- PicsArt
- Photoshop Express
Let TrickyPhotoshop Remove the double chin in your photos
I understand if you’re not getting a good result. This is a complex tutorial for many of us.
I’m here to help you. My team will remove the glare from the glasses in your photos. We provide photo editing services. We’d love to keep our services free like we kept this tutorial free, but we won’t be able to pay our editors and bills.
Conclusion
- You saw how to remove glare from glasses in a photo using an app.
- You can also avoid reflection on glasses by making sure that there’s no bright light source in front of you
- Or you can use our photo editing service if you’re not getting a good result.

5 simple tips to get rid of glasses glare in photographs
About two years ago, my three year old daughter began having eye issues and it turned out that she needed glasses.
All of my studying and learning to find “good” light wasn’t always applicable when attempting to avoid the dreaded glasses glare. I’ve learned some tips and tricks along the way and today I’m going to share them with you.
Attempt to Avoid the Glare:
1. Angles
It’s all the light and your subject’s angle to that light. I always aim for the glasses to be lower than my light. When your light is on the same level as the glasses the light will reflect directly into your subjects glasses.
These images were taken at the same time with the same light but ended up with drastically different results.
Save
must haves
OUR ESSENTIALS FOR TAKING GLARE-FREE PORTRAITS
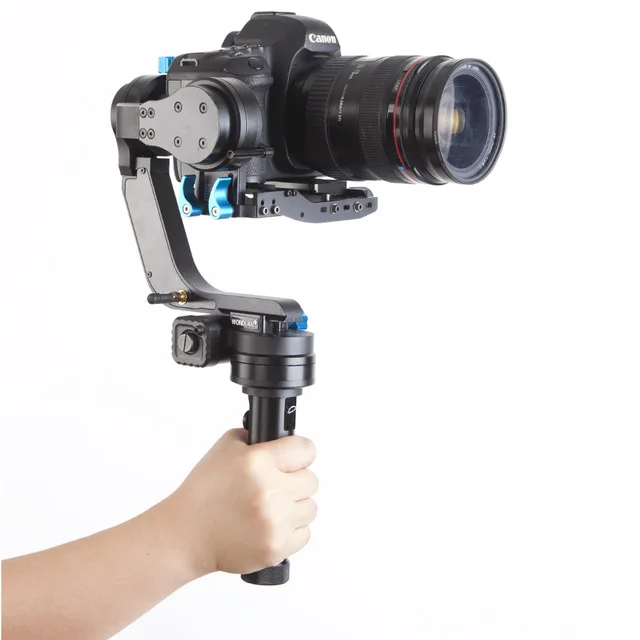
50mm 1.8 lens
It’s called the “nifty fifty” for good reason! This little lens is perfect for portraits, has a wide enough aperture to perform well in lower light scenarios, and is priced just right so you don’t have to break the bank.
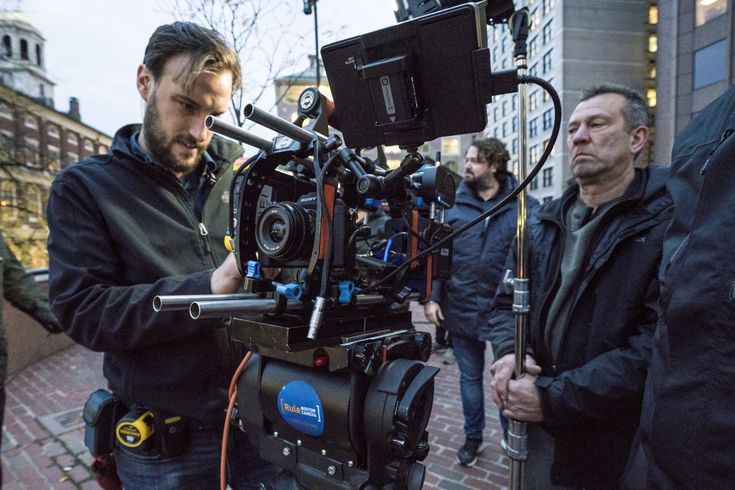
Profoto A1
Creating your own light allows you to place it at the angles that eliminate glasses glare. We love this little studio light because it is small, portable, and creates nice even light that looks great on or off-camera.
Wacom tablet
Do you find yourself doing a lot of intricate editing? Then you need a tablet! Using a fine tip pen on the tablet surface is so nice when having to clone away those little bits of glare. It takes a minute to get used to it, but once you do you will never go back to a traditional mouse!
Subject: Have your subject put their head a bit lower and turn slightly away from the light.
Glasses: Alternatively, you could have your subject tilt their glasses down just a bit. By changing the angle of the glasses, but keeping their face in the same position, the light will not pick up quite as much in the lenses.
Look at the tiny change in how she moved her head. It’s really slight and you can see light being introduced into her glasses.
2. Forget everything you know about catchlights
Those big beautiful catch-lights that light up the eyes? Yeah… sorry… they also light up glasses. With this image, I typically would have had her face towards the window, but that would have made her glasses full of glare and reflections so instead I had her turn her head just slightly away from the window.
Sidenote: How cute is the pipe cleaner crown?! I got the idea from the fabulous Breakout Session from Shalonda Chaddock, The Magic of Childhood.
3. Try backlighting
Light coming from the back will be less likely to shine back into the glasses (unless there is a reflection bouncing back).
3. Take the glasses off
This is not always an option, but one to consider if the person does not wear their glasses full time. I don’t take my daughter’s glasses off for pictures, though. We are at a point now that if she took off her glasses she wouldn’t look like her and that’s definitely not my goal.
So You Got Some Glare? What now?
4. Edit them out (or make them less noticeable)
If the glare isn’t directly on the subject’s eye, I can often edit portions of it out in Photoshop. Use the patch tool to grab the area and drag it to a clean non-glared skin area.
You can also attempt to clone it out by choosing a good area and then cloning just enough of the reflection out. I will often do this at 50% opacity to just make the change subtle. The burn tool can also be powerful in really reflective glare.
If the edit is especially tricky, try a retouching service. I have been pleased with both the work, price and turn around times from many of these companies!
5. Merge two images
Take one shot without glasses and then another shot with glasses. You can then use the eyes from the first shot to add to the glasses shot similar to a head swap. Make sure you take these two images in the same spot and same lighting so that they match up seamlessly!
Save
Remove glare from glasses photo editor
- How to remove reflection in glasses on a photo
- How to remove glare from glasses in photos
- Before and after
- Why choose Retouchme
No wonder so many of us use glasses not only for health and vision reasons, but also as a fashion accessory. It has probably happened to some selfie lovers that the use of various forms of glasses allows you to change your personality or add charm to your everyday look. Nevertheless, the importance of this subject in our life is quite significant. Some of us cannot drive a car or even see the world around us without this wardrobe item. So why should we shoot it when we take pictures? Gone are the days when we couldn't do anything about light reflections, and now is the time to get rid of such an annoying problem and get the best possible image. Beautiful and intelligent software will help us remove the reflection in glasses online, eliminating defects and interfering errors.
How to remove reflections from glasses in a photo
Remove glare from glasses online using the unique Retouchme tool available in every online store. Its effectiveness is confirmed by the number of users and excellent results. It is able to reduce sunlight glare from any type of glass without compromising the overall image.
How to Remove Glass Reflections from Your Photos
A virtually free photo editing tool that will show you how to remove glasses reflections from any of your photos. With a simple interface and some space to use on any digital device, here's what you need to do:
1. Download the app from Android or iPhone online store.
2. Use face images to upload to the app.
3. Select the function “remove glare from glasses in photos”.
4. Send a request to the designers.
5. Wait for the perfect photos to be processed.
Before and after
Only Retouchme can reduce the reflection effect in a few minutes thanks to the precise and fast work of Photoshop professionals. The quality of the work depends on the image and camera settings during the shooting, but due to the fact that only real designers deal with image retouching, each client will receive the most natural effect. When working with a specific photo editor, the problem of glare in glasses can bring a lot of inconvenience even to the most experienced photographer. That's why a free online app can cut down on the time it takes to post-process every beach shot. You no longer need to think about how to remove glare from glasses. There is nothing that can't be fixed with Retouchme. It doesn't matter if the reason is in the additional light or the front flash.
Why choose Retouchme
-
Low cost. Compared to other popular online image editors, this app has a huge cost advantage. Only ninety-nine cents is required for one credit to start processing the frame and remove the reflection in the glasses.
-
Fast. Considering that this software offers a wide range of corrections for every detail of an image, it's impossible to imagine that it only takes five minutes to get the final result.
 This quick resource is of great value to modern users who don't have to spend their time thinking about how to remove reflections from glasses.
 -
Availability. The application for getting rid of glare in glasses is always available for installation on any device. All you need is a built-in camera and access to your personal app store.
-
Simple interface. Each user can immediately start working with this program, without long studies and video tutorials. It's as simple as the alphabet.
Published: April 3, 201
This tutorial shows you an effective way to remove the reflection in glasses from a photo of a person in Photoshop.
Tip: When shooting, ask the model to slightly tilt the glasses and the reflections will disappear. The effectiveness of this approach is demonstrated in the following photos.
- How to Remove Reflection in Glasses in Photoshop CC
- Step 1
- Step 2: Make a Selection
- Step 3
- Step 4. Cleaning the edges
- Step 5
- Step 6
- Step 7
- Step 8
- Step 9,0004
- Step 10
- Step 11
- Step 12. Other eyes
- Step 13,
- Step 14. Use only what you need
This tutorial does not work with Photoshop CS6, but will work with the latest version of Lightroom.
Let's start by editing the image shown below, which I found on Adobe Stock.
Open the image in Photoshop and go to Filter > Camera Raw. Zoom in to 100%.
Select the Adjustment Brush (1). Activate the "Mask" and "Overlay" (2).
Set Feather, Pressure, and Density to 100 (3). Make sure automasking is enabled.
Set the brush size using the "[" and "]" keys. Paint over the areas of reflection to highlight them.
Turn off Overlay and Mask. We have created a selection. Now it's time to make the necessary adjustments.
Right-click on the adjustment brush settings menu and select Reset Local Adjustment Settings. This action will reset all settings.
Make adjustments as needed until the selected area is identical to the rest of the skin. Move the Remove Haze slider to the top.
Don't worry about the reflection on the left. First, remove the glare from one lens of the glasses.
Click OK to apply the Camera Raw filter. Then activate the Spot Healing Brush.
Use a small brush. Use it to paint over the extreme border of the highlight.
Spot restore will blend the edges.
Looks good. But there is still a small amount of highlights on the eyebrow. Let's fix this.
Create a new layer.
Activate the Stamp tool and set the Swatch option to All Layers.
Use a small brush to correct the reflection of the brows. Now we have the top outline.
Let's create a composite layer that will contain a merged copy of all visible layers. Press Alt + Ctrl + Shift + E. See the new layer on top?
Using the Quick Selection Tool, make a rough selection around the lens of the glasses.
Pressing Ctrl + J to copy the selection to a new layer.
Now let's enlarge the selection to hide the seam. Press Ctrl + T to free transform the selection
Drag the top corners so that the lens covers the seam. Press the Enter key.
Hold down the Alt key and click on the Layer Mask icon in the Layers palette (third icon from the left). The top layer will now be hidden. Only the areas that we paint over with white will be visible.
Select the Brush tool. Set the color to white. Make sure the mask area is active in the layers palette and the opacity of the brush is 100%.
Zoom in and paint over the edge with a white brush.