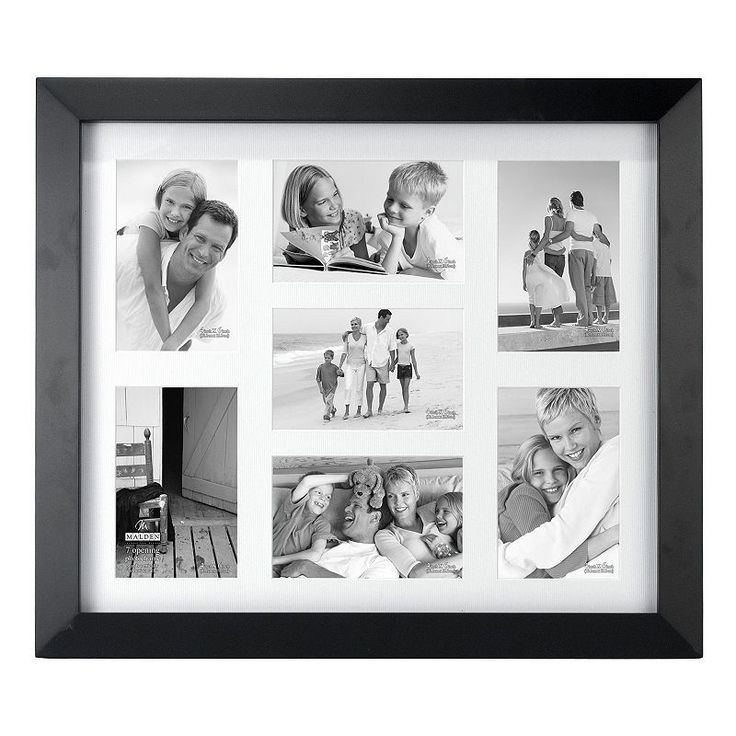
Fourth generation picture frame
Generation Photo Tutorial - Moose Photography
| 6/3/2013 84 Comments
UPDATE:It's been six years since I posted this blog and this photo has literally made it all the way across the globe! It's been featured on blogs, in magazines, and even on Ellen's page! Thank you so much to each and every one of you that share this post on all the different medias. I've seen countless families taking this idea and making beautiful keepsakes. I also want to thank all of you that have helped one another in the comments with all your questions. I apologize for abandoning this post - life got busy so fast! After a four year blog hiatus, I'll be returning this May for my next big Mother's Day blog! Check it Out HERE. So about a year or so ago this photo got leaked onto Pinterest and went viral. Since then I've had countless people contact me wondering how you create this photo. A few things to remember before taking your photos: You will take each person's photo while they hold the empty frame except the person who will be in the last frame. In my photo this was the toddler, Sofia. Sofia didn't need to hold a frame because obviously she is the last in the row. I actually ended up using a quick snapshot we got later in the day. You can use any photo you want here. Once you pick out your photos you should be looking at something like this. Hope this helps everyone who has been wanting to try this! Let me know if you have any questions! 84 Comments | Moose Tracks BlogInstagram Archives October 2020 RSS Feed Visit Amber's profile on Pinterest. |
 The next step is just a simple copy and paste act in Photoshop. As long as you crop each photo to the size of the frame before copying it you should able to create your final image within minutes.
 With All My Heart Photography Blog
12/21/2012
14 Comments
I found this super cute 4 Generation Portrait idea on Pinterest! I love it when an idea translates so well from "Idea" to "Finished Product"! It was surprisingly easy to put it together too. So this is what I did for Christmas gifts for my grandparents (Spoiler Alert! If you are one of my grandparents, stop reading now! You will see in just a couple days.)
Ta da! Something fun, and different; not the traditional picture of just my daughter...again. Let me tell you how I did it!
1) I started out re-purposing a fun frame from a thrift store. I had this great turquoise acryllic craft paint that I painted the frame with. (Actually, I used wall paint on the other two, Sedona Red and Scottish Loch...Liked it even better than the craft paint. Any paint you have lying around will do nicely!) Take out the glass and the inserts, leaving just the backing.
2) Take all 4 pictures at the same spot, and pretty close to the same time to get the lighting the same. (If this is a surprise for Grandma, be sneaky... don't let her know you are taking the other pictures. Be strong! She will ask questions about why you are taking her picture with an empty frame.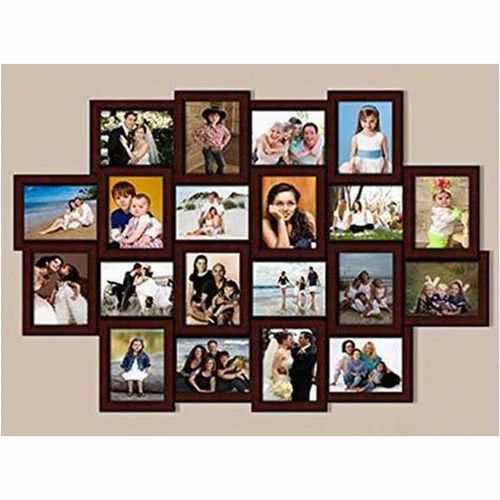 )
)
Word of Advice:
{Make sure that everyone holds the frame up close to their chin and shoulders. The child will get a very small surface area to work with by default. The closer you are to the shoulders the more space you will lend to the last
picture. Also, as much as it is possible, keep fingers clear of the interior.}
3) Take your pictures (no particular order necessary). Take a couple of each person so you have the best selection when editing. As you can see the youngest doesn't hold the frame.
4) Time to crank up Photoshop. Open all four images, as well as a new document sized to match your frame. (i.e. 8 x 10, 300 pixels)
5) Start with the oldest generation. Size your image to 8x10, 300 pixels Drag the picture onto the new canvas, creating a new layer. Zoom in on the picture frame. Select the interior of the frame using the Polygonal Lasso Tool. Be mindful of fingers! When you are satisfied with your selection delete it.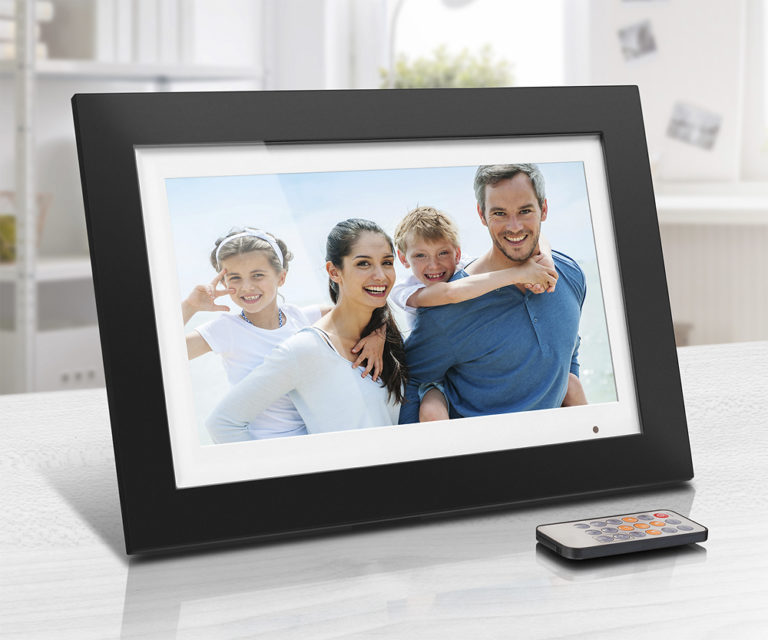
6) Get an aproximate measurement of the picture frame on Grandma's layer. (i.e. 3x4). Resize the next generation to this measurement 3x4, 300 pixels. Then move the image to the project canvas on top of the frame. Chances are it will still be a little off on size. Use shortcut "Ctrl+T" to select the Transform command. This will allow you to resize the image as needed. Go at it from the corner of the selection and hold down Shift as you do. This will maintain proportions. You can also rotate it to get the right angle. I left a little bit of overlap to get in closer. When you get the right size/angle, move the Mom layer behind Grandma on the Layer station.
7) Zoom in on Mom's picture frame. Delete interior. Repeat step 6, etc.
8) Don't forget to save!
9) Once it is printed you of course frame it in the re-assembled frame:0)
Thing I learned along the way....
~Don't go any smaller than 8x10!
~You might as well plan on doing prints for the others involved. I was intending it for Grandma, but of course Mom wants one too... might as well paint that frame to match. ( I will worry about my copy after the hustle and bustle... priorities, you know)
~ I already mentioned holding the frame up by the chin/shoulders.
~ If you have 2 Grandparents, just stage it a little different. Take their picture horizontaly. They will still hold the frame vertically, and everyone else will be the same. Then frame horizontally.
( look how much more space because of the chin /shoulder thing!
I am telling you, it makes a difference!)
~Check for a hangy-do on the back of your frame. One of mine didn't have one... oops.
I would be glad to include this portrait with your family picture package! Or
if photoshop is uncharted territory, I can create it using your pictures.
Contact me for pricing.
Next time: A DIY collage frame.......
May Christ bring you hope and peace this Christmas! - Naomi
14 Comments
Ritmix digital frames for your home and office
Photos are not just some images that are taken for Instagram, but memories. Now this photo from the party is just a reminder of the recently spent fun for you, and in a few years it will cause a storm of emotions, among which, of course, the feeling of nostalgia will be the main one. You can view photos from your phone, computer or TV, but this is not the same. It is much better when the photo is in a frame in a prominent place, and as you pass by, you involuntarily glance at the image that is pleasant for you.
Classic photo frames are great, but they “show” one static image. And, if you want to change the image, you have to get the photo out of the frame, choose a new one and put it in the frame. Much more interesting option with a digital photo frame. This device is a digital photo album with the ability to change the image after a certain time, and some models even allow you to play audio and video. Today we will tell you about eleven digital frames with a diagonal from 7 to 10.1 inches from the Ritmix brand.
Ritmix RDF-710
Ritmix RDF-710 is a photo frame with 7 inch TFT display, 800×480 pixels resolution and 16:9 aspect ratio.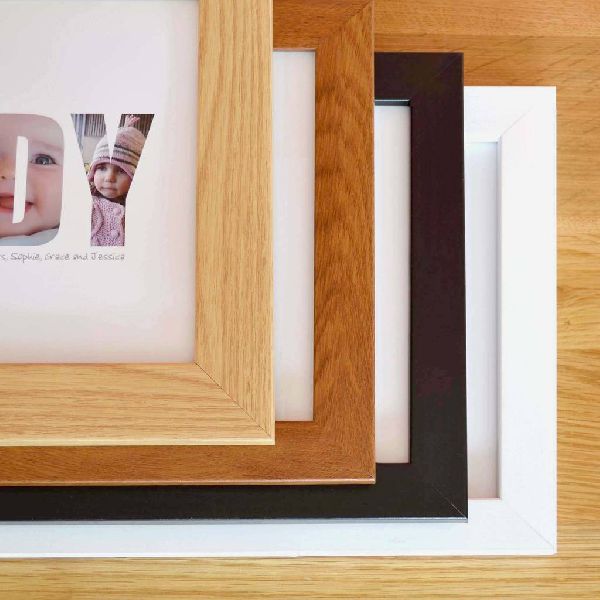 Despite such a low resolution for modern devices, on the 7-inch Ritmix RDF-710 screen, photos are displayed in high quality, without visible pixels. Of course, against the background of other models from Ritmix, this frame looks less technological, because it can only show photos and only in jpeg format, but think for yourself: how often do owners of photo frames turn on audio or video playback, if such a function is available? Usually several photos are played on the screen, and the Ritmix RDF-710 copes with this perfectly. Considering that this is a basic model with entry-level features, the Ritmix RDF-710 is a good option for a first-time photo frame buyer. Built-in memory is enough for 1-3 photos, but it can be expanded by installing a memory card or USB flash drive.
Learn more about Ritmix RDF-710
Ritmix RDF-808W
The difference from the previous frame is that this one has an 8-inch display diagonal and a resolution of 1024×768. The aspect ratio is 4:3, so old photos will look good on this photo frame. In addition, the difference is the ability to play not only photos, but also audio and video. It is also worth noting that the body of the Ritmix RDF-808W is made of natural ebony. The photo frame has a removable stand, thanks to which it can be placed both on horizontal surfaces and on walls.
Learn more about Ritmix RDF-808W
Ritmix RDF-810
Like the previous photo frame, Ritmix RDF-810 has an 8-inch display, but the resolution in this device is lower - 800 × 600. Also, the photo frame differs in functionality and design. This frame has a built-in light sensor to save energy. The design of the Ritmix RDF-810 is similar to that of the Ritmix RDF-710 with one difference - a thinner body. The thickness of the photo frame allows you to install it on almost any vertical surface.
Learn more about Ritmix RDF-810
Ritmix RDF-828
This photo frame has an 8-inch display and a 4:3 aspect ratio, but, unlike the previous ones, its resolution is already higher - 1024 × 768. Thanks to such a sufficiently high resolution, if desired, you can watch videos in HD 720p resolution on the Ritmix RDF-828 photo frame. The photo frame is different in its design. Although it is made of wood, unlike other models with a wooden body, it is the only one made of light wood. And if dark wood photo frames are well suited for the head office, then Ritmix RDF-828 will look harmoniously at home.
Learn more about Ritmix RDF-828
Ritmix RDF-836
It has the same characteristics as the previous model, but there is an important detail that distinguishes Ritmix RDF-836 from those already described in the article: IPS display. It provides more accurate color reproduction and image detail, as well as a wider viewing angle. The body of the photo frame is made of natural wood, and Ritmix RDF-836 looks like classic frames from the 90s - early 2000s, which were in almost every home. The design will please the lover of the classics, and Ritmix RDF-836 will be a good gift for parents who will love the discreet style and the ability to play photos with an aspect ratio of 4:3.
Learn more about Ritmix RDF-836
Ritmix RDF-880
This digital frame features an eight-inch display with a resolution of 1024×768 pixels and a 4:3 aspect ratio. Of the design features of the photo frame, it is worth noting the built-in stereo speakers that provide decent sound quality and allow you to watch movies like on a tablet. Ritmix RDF-880 is made in a minimalistic style and has a thin metal case. Such a photo frame will fit well into the modern atmosphere of the room.
Learn more about Ritmix RDF-880
Ritmix RDF-1003
Ritmix RDF-1003 is one of the coolest photo frames we've seen in this article. It has a 10.1-inch IPS screen with a resolution of 1024×600 and an aspect ratio of 16:9. Of course, with such a diagonal it would be better to install a display with Full HD resolution, but even at this resolution, the screen produces a high-quality HD image, on which individual pixels are not visible. The IPS-matrix displays a high-quality image and reproduces colors well, which is why there is no feeling of contrast, fading and other distortions that are noticeable on inexpensive photo frames. The photo frame is made of metal and has a stylish design that will fit well into a modern environment.
Learn more about Ritmix RDF-1003
Ritmix RDF-1010
According to the characteristics of the Ritmix RDF-1010, it does not differ from the previous frame, except for the TFT LED matrix, not IPS, but the design, despite the similarity, has them different. If the Ritmix RDF-1003 case has a polished surface with grooves, then the Ritmix RDF-1010 design resembles an iPad. Thanks to this, the Ritmix RDF-1010 photo frame will look good next to Apple technology and in a minimalist environment. The photo frame has a removable stand, which allows not only to put it on horizontal surfaces, but also to place it on the walls. 9Ritmix RDF-1010 , but this does not affect the display quality of photos and videos. The most interesting thing about this frame is the design, thanks to which Ritmix RDF-1014 will be a good gift for a traveler. All these sights on the building will emphasize the views of the unique monuments captured by you on vacation.
Learn more about Ritmix RDF-1014
Ritmix RDF-1026
The photo frame has the same features as the previous one, but differs in design. The body of the Ritmix RDF-1026 is made of natural dark wood, making this photo frame look good in a classic setting. Ritmix RDF-1026 has a removable stand that allows you to install the photo frame both on horizontal surfaces and on the walls.
Learn more about Ritmix RDF-1026
Ritmix RDF-1027
The Ritmix RDF-1027 has an IPS-matrix that provides more accurate color reproduction, image detail and a wider viewing angle, but the design is slightly different. Otherwise, it is similar to the previous frame. If Ritmix RDF-1026 has a more classic design with rounded edges, then Ritmix RDF-1027 is more minimalist. Its body is made of natural wood and has a modern design, thanks to which the Ritmix RDF-1027 will fit well in both classic and modern environments. The photo frame is equipped with a removable stand for wall mounting.
Find out more about Ritmix RDF-1027
Other articles on topics:
devices
SUN SG8 - the latest generation photo frame
The ditching of film is not the only sign indicating a major change in the photographic world. Take the traditional photo frame found in almost every home. In recent years, a digital frame created using other technologies has appeared. The purpose of this modern device and piece of furniture remains the same - to carefully preserve human memories and create an atmosphere of warmth and comfort. However, it is obvious that technological progress has made its own adjustments, significantly expanding the functionality of the photo frame. Of particular interest from this point of view is the SUN SG8 model announced by the SUN Group this summer.
This digital camera is of course equipped with an LCD display to display a series of favorite shots. Like all digital photo frames, the model in question is very compact, so no matter how big the photo is, SUN SG8 will bring its dimensions to the required denominator. Like standard frames, this one is equipped with a special stand so that it can be installed in a horizontal or vertical position.
To get started, the device must be connected to the network using the included cable, and then inserted into the appropriate slot flash drive with photos. After that, you can already view the pictures. This process can be supplemented with musical accompaniment with the help of special settings. You can also play videos. So, SUN SG8 is so functionally rich that it can already be called a real multimedia player.
The frame supports a resolution of 640x480 pixels. As already mentioned, if the displayed photo was taken in a higher resolution, then SUN will change it automatically. The device can be used to display photos in JPEG, TIFF and BMP formats (all pictures can be rotated with a radius of 90 degrees), as well as play MPEG1, MPEG2, MPEG4, WMA, MP3, AAC, Motion JPEG and Divx video and audio files.
Images are read from memory cards inserted into one of the available slots. Due to the presence of several slots for connecting memory cards, the device supports almost all existing types of removable media. In addition, the built-in USB port allows you to connect an external hard drive to the gadget. And then there will be almost no restrictions on the number of photos, volumes of music and video files.
This digital frame can be controlled remotely or using the buttons on the rear panel.
After starting the embedded operating system, you can set the inserted memory card to a locked state. The pictures will then be displayed in 4, 9, 16 or 25 picture mode. Using the remote control, photos can be zoomed in and out, rotated, and moved to the next image. You can also use the slide show mode: then the pictures will go one after another at a specified interval and, if configured, accompanied by background music.
The menu is divided into 6 main sections: Photo, Music, Video, File, Favorites and Time. It is worth noting such advantages of the menu as a friendly interface and the possibility of remote control. This simplifies and speeds up navigation. As soon as you remember the settings, the device returns to the frame state. There is also a section for selecting options such as language and screen bezels. Initially, it is just black, but it can be changed by choosing a different color and size.
The calendar built into the SUN SG8 is very handy. And if you put a frame in the bedroom and set the timer accordingly, you can turn the device into an alarm clock and wake up every day with your favorite photos to pleasant music.
The SUN-SG8 digital photo frame comes with an elegant white credit card-sized remote control.