How can i add text on a photo
How To Add Text To A Picture Or Photo In 7 Easy Free Ways
There are many reasons you might want to know how to add text to a picture, image, or photo.
Are you a blogger or an article writer? Adding a few words to your featured images is a quick and easy way to make them unique as well as highly communicative.
You can use text tools to add a credit line to an image instead of a separate caption line underneath it to prevent copying.
On social media, adding words to your photos online can make them more engaging and fun. Or you might want to add an inspirational quote to an image. Both ways will help you get more shares and likes.
How to add text to a picture
Canva
Word Swag
Microsoft Paint (PC) & Preview (macOS)
AddText
Meme Maker by ImgFlip
PicFont
Microsoft Word and Apple Pages
Summary
For authors, adding a little text to a picture in your book or ebook is an easy way to include credits or add useful annotations.
For bloggers, you often need to annotate images and add text, especially for how-to articles.
Whatever reason you have, when you need to add a line of text to your images, you want to do it quickly, easily, and preferably with a free app.
I have tried using a photo editor.
But Photoshop and Gimp are not easy to learn how to use.
It’s too slow and difficult if you don’t know how to use these programs.
I prefer to use a free tool or app with no learning curve at all.
Then I can rapidly add a title and then get on with writing.
Here are some of the fastest and easiest “add text to photo” free tools I have found.
With them, you can quickly and easily put some words on any of your images or photos.
Canva
Without a doubt, Canva is my go-to online application to quickly upload an image and add a line of text to a photo.
The text editor is easy to use and has a vast range of fonts. Just click Text in the sidebar menu, type your text and select your font style.
There are options to format text to change the font color and size, as well as to adjust line spacing.
It is easy to move your text box using drag and drop to your preferred location.
You can upload your photos or images. Or you might find the perfect picture for you from Canva’s selection of free images.
It is not a photo editing app, but you can change your image with filters for fun effects. You can also crop, resize, and flip your images.
Best of all, it is a super easy image and text tool and free for you to use. You don’t need any technical skills at all to have fun with Canva.
For authors, you can create ebook covers from hundreds of templates. Or you can create your own by adding a book title to an image.
After discovering how to overlay text on your images, you will find that there are lots of other things you can do with this great free app.
Word Swag
Word Swag will suit you if you are looking for a fun mobile app for iOS and Android on your app store.
This app will suit you if you want to learn how to add text to a photo you snapped with your phone,
The app allows you to add all kinds of text to your images with just a few taps on your phone or tablet.
Best of all, you can choose from an excellent range of fonts and ideas.
Not sure what to write on your image?
No problem, because Word Swag has hundreds of quotes and jokes that you can use and share on social media.
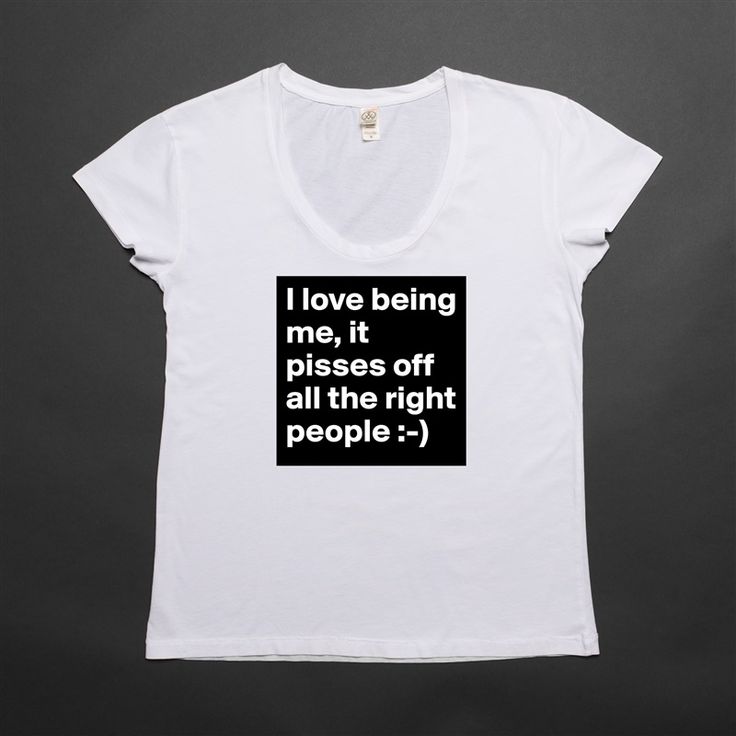
Look at some of the examples below of how to add different styles of text blocks to your pictures. It looks like a lot of fun.
Microsoft Paint (PC) & Preview (macOS)
Paint comes installed on all Windows computers, and it is so easy to use.
All you need to do is add a text box, adjust the font properties, and that’s it.
It is not fancy. But it is effective enough for you to add basic text quickly.
On Apple computers, the Preview app is a little more refined. But it also involves adding a text box.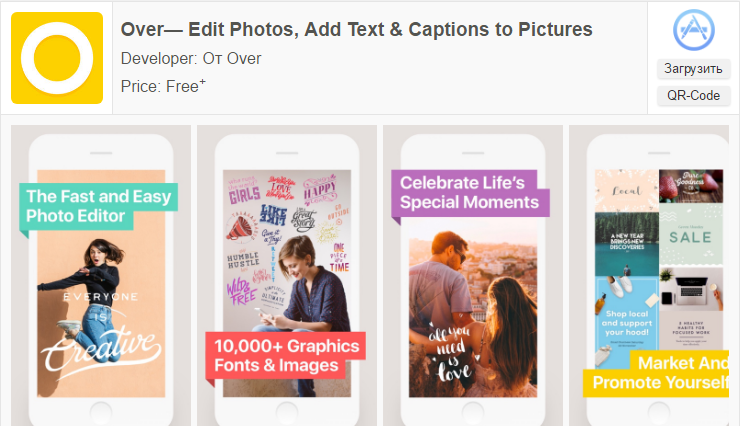
If you are not familiar with Preview, it is not so obvious where and how you can do it.
Open the photo, and then you need to go to the top menu, then select Tools> Annotate> Text. Double-click the text box to format your text.
The advantage of both Paint and Preview is that you can easily resize your images before you add your words.
Both tools are free and come pre-installed, so they are already at your fingertips and make it easy to overlay text on pictures.
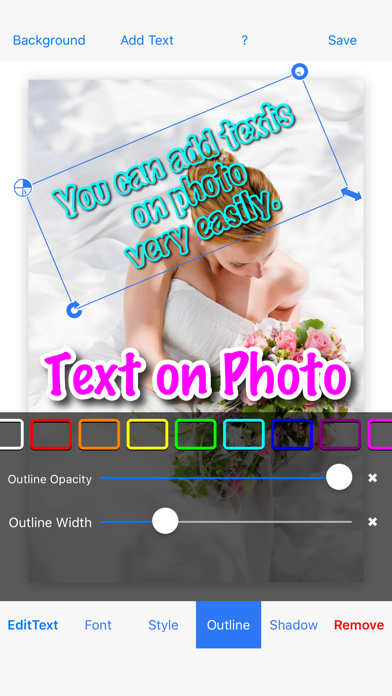
AddText
AddText is a free online app for basic functions. But if you want to do more, there is a premium version.
Again, it is merely a matter of uploading your photo or image and then using the editing box to add your line of type and then saving your work.
There are no fancy tools except to add some font candy to your photo or image.
But while it has limitations, you will not need to learn anything new at all. It makes adding text to photos very easy.
Meme Maker by ImgFlip
Why not have some fun on social media and make a meme?
Meme Maker is simple to use. It’s a great little app to add text to pictures or photos. All you need to do is fire up your imagination.
You can choose from a bundle of free templates or upload and add a little fun to your pictures.
There is a small watermark on the free version. But that is probably not going to concern you or spoil your fun on social media.
PicFont
PicFont has been around for a long time.
It is a simple photo text editor but has one advantage in that you can quickly resize images inside the editor.
There is a good choice of font files in the tool. But the user interface can be a little confusing at the beginning.
However, once you get used to which buttons to click, it is not so bad. You can download your finished images in jpeg and png.
Microsoft Word and Apple Pages
For authors, Word and Pages are the two best applications for adding text to images within a manuscript for a book or ebook.
Because you need to format images before adding them to a book, it is better to keep everything “in-house” and work within your word processor.
Most authors have either or both of these software packages already installed.
Neither of them has anything fancy when it comes to adding text. But in most cases, you will only want to add a little information or photo credits.
The only precaution you need to take is to make sure that you reduce the size of your images BEFORE you insert them into your document.
It is especially important if you are publishing on Kindle because Amazon charges a delivery fee based on your ebook file size.
You should always size your images to the dimensions to fit your book and then use an image compressor to reduce the file size.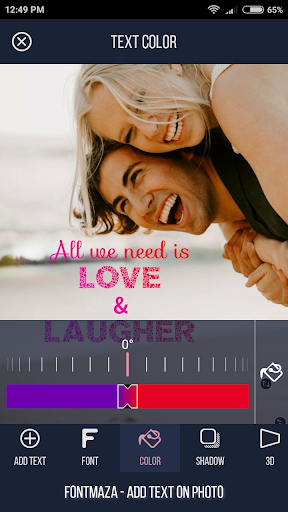
Here’s how to add text to a picture in Word and Pages.
In Word, you need to insert your image and then add a text box. Make sure you format it to the setting In Front Of Text. Then you can position it by dragging.
In Pages, you follow the same process.
However, be sure to check that you set the text box format to None.
Then, as with Word, you can click and drag your text box into position.
One advantage of these word processor programs is that they also have basic photo editing tools.
Summary
It’s so easy to learn how to add text to a photo.
There are hundreds of uses for adding text to images or photos.
Some are for purely professional uses, such as blogging or book publishing, while others are just plain fun.
All these add text to image applications above can do one or both.
The only reservation is that none of them can produce high-resolution images. Never try to use them for print book covers because you need images with very high definition.
If you need to combine text with large, high-quality images, use quality photo apps such as Photoshop or Gimp, or contact a graphic designer to help you.
However, for a Kindle ebook cover, you can produce an acceptable book cover if you use Canva.
Apart from that, bookmark the online apps above to have them on hand when you need them.
You might also want to experiment with Paint or Preview and Word or Pages so you will be ready to go next time you need to use them to put text over an image or a picture within a document.
Adding Text to Photos on Your iPhone and iPad
Reading Time: 10 minutes read
How to add text to photos on your iPhone and iPad
Adding text to your photos can uniquely enhance your image. Apple Markup makes it easier than ever to express yourself in this way.
In this guide, we’ll offer step by step instructions on how Markup can be used to add text to images and pictures with Photos with Photos, Email and Messenger. We understand that sometimes you want even more creative options – that’s why we’ve also listed some of our favorite third party photo editing apps.
Just select the area you’d like to learn more about to read our top tips:
- Using Markup in Photos
- Using Markup in Mail
- Using Markup in Messenger
- Best Apps for Adding Text to Photos
Soon, you’ll be adding text to images – quickly and easily.
Using Markup on your iPhone or iPad
On your iPhone, iPad, or iPod touch, you can use Markup on Apple’s inbuilt apps to add text, signatures, sketches, shapes, and more to photos.
There are so many creative options. In this guide, we’re focusing on adding text on devices with iOS 12 and above.
So whether you’re looking to use Markup in photos, Markup in Mail, or Markup in Messenger, our simple step-by-guides will explain.
Using Markup Editor with the Photos App
1. Launch the Photos app
Tap the Photos app icon to open it. To view all your photos, tap the Photos tab in the lower left corner of your screen. Alternatively, you can browse by Albums.
2. Select the photo you want
Found the image you want? Simply tap it to open it.
3. Tap the Edit button
Go to the top-right corner of the screen and tap Edit, then tap the More option (the three dots). From here, you can select Markup.
4. Tap the Plus button and select Text
In the bottom-right of the screen, tap the Plus button (+ symbol in a circle). This will give you a list of actions. Select Text.
5. Type your text
Simply type what you’d like to add.
6. Customize
To change your text’s color, simply use the Color menu. To change the font face, size and/or text alignment, select the aA button (next to the Plus button).
7. Double tap Done
After you’ve completed this, tap Done in the top right corner. You’ve now added text to your image and can find this in your Photos app.
Using Markup Editor with the Mail App
1. Launch the Mail app
If you want to send an edited photo, you can make changes within the Mail app. Just tap its icon to open.
2. Start composing an email
Press reply to an existing email, or tap the pen on paper logo in the bottom right corner to start a new email
3. Tap inside the body of your email and tap Insert Photo…
Tapping inside the body of your email will trigger a pop-up with various options. Select Insert Photo or Video or Add Attachment. If you can’t see this, tap the icon of a small triangle in a box for additional options.
4. Select the photo you want to edit
Select the photo (or PDF file) that you want to attach to the email and edit, then tap Choose.
5. Tap the attachment and open up Markup
Click on the attachment again, then tap the Markup icon.
6. Tap the Plus button and select what you’d like to add
Go to the bottom-right of the screen and tap the Plus button (the + symbol in a circle). This will give you a list of actions. Select Text to add writing of your choice. Alternatively, choose Signature to sign – this is a great time-saving tool for emailing contracts.
7. Type your text
If you’ve selected the Text option, simply type what you’d like to add. If you’ve selected Signature (and don’t want to add extra text), skip to step 9.
8. Customize
To change your text’s color, simply use the Color menu. To change the font face, size and/or text alignment, select the aA button (next to the Plus button).
9. Double tap Done
After you’ve completed this, tap Done in the top right corner.
10.Send
Once you’ve composed the rest of your email, tap the send button and your email (complete with its edited attachment) will be on its way.
Using Markup Editor with the Messenger App
1. Launch the Messages app
To share a newly edited photo with someone via text or iMessage, tap on the Messages app icon
2. Select who you want to send your image to
Open an existing conversation thread or tap the pen on paper icon to start a new one.
3. Tap the Photos app icon
To select a photo, tap the Photos icon. Once you’ve found your image, tap it to select it.
4. Tap the photo in the message
Once you’ve selected a photo, it will appear within a message. Tap this photo here, then tap Markup.
5. Tap the Plus button and select what you’d like to add
In the bottom-right of the screen, tap the Plus button (the + symbol in a circle). This will give you a list of actions. Select Text.
6. Type your text
Simply type what you’d like to add.
7. Customize
To change your text’s color, simply use the Color menu.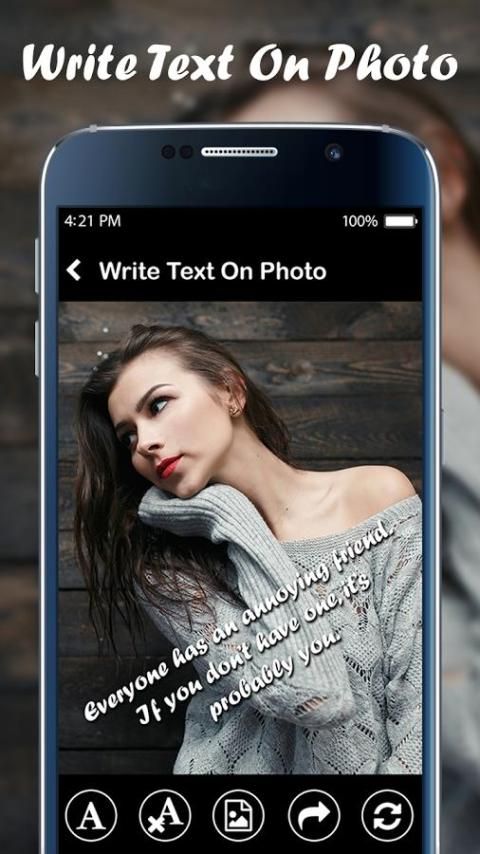 To change the font face, size and/or text alignment, select the aA button (next to the Plus button).
8. Tap Save, then Done
Once you’re finished, select Save, then Done (top right corner).
9. Send
Press the blue up-arrow logo to send your creation.
Best Apps for Adding Text to Photos
Markup is a great way of adding simple text to your images without downloading an app. But, you may want something else to get even more creative.
Benefits of an app may include:
- More fonts and features than Markup
- Stickers and animations are available through apps
- Unlike Markup, gradient and other effects can be added through the apps that allow the text to better stand out
We’ve chosen the following apps based on their impressive features and positive customer reviews.
Over App
Over is a free photo editing app (with a paid professional option).
With over 10,000+ templates, graphics & fonts available, it’s great for customization. It’s particularly good at making your social media posts stand out – you can even share and schedule posts directly in the app.
Download Over
Phonto App
Phonto is a simple app designed to help you add text to pictures. It’s available for free, and add-ons are available to go ad-free and buy additional kits and packs.
It has more than 400 fonts available, and you can even install your own additional fonts. It gives you the option to change text size, color, gradient, stroke, shadow, rotation, kerning, spacing and much more. If you’re looking for flexibility, Phonto has it.
Download Phonto
Transform Your New Photos Into a Story
Now that you know how to add text and other features to images, the possibilities are endless.
You can turn your customized images into a story by creating a beautiful photobook. Download the Motif app and start creating today.
What did you think of this article?
- Author
- Recent Posts
Pete
Editor at Large at Motif Photos
A natural born storyteller based in NYC and the Catskills. Pairing stories with photos for safe keeping and telling.
Latest posts by Pete (see all)
Adding text to a photo
In Microsoft Office, you can add text over a photo using wordArt or a text box. You can move the WordArt text or text box onto the photo, and then, depending on the Microsoft Office program you're using, rotate the text to best fit on the photo.
The recommended method depends on the desired results and the Microsoft Office program you are using. Need text to be stylized? Do you want to achieve the same effect that is used on postcards? Is the text short? If yes, then you might be better suited to WordArt.
Another option is to create a text box, enter the desired text into it, and then make its background and outline transparent. You can also format the text in the caption just like any text in Office. This option is especially useful when you need to add rather long text to a photo.
Select an Office program from the drop-down list.
What program are you using?
- Which program are you using?
- Excel
- PowerPoint
- Word
Adding text to a photo using WordArt
-
Insert a photo into a spreadsheet.
-
On the Insert tab, in the Text group, click the WordArt button, select the style you want, and then enter the text.

-
Click the outer edge of the WordArt to select it, drag the text onto the photo, and rotate it to the desired angle if necessary.
-
Click the outside border of the photo, CTRL-click the edge of the WordArt to select both.
-
Under Drawing Tools , click the Format tab, in the Arrange group, click the arrow next to the 9 button0037 Group , and then select Group .

Adding text to a photo with caption
-
Insert a photo into a spreadsheet.
-
On the Insert tab, in the Text group, click the Text Box button, click anywhere in the picture, and type your text.
-
To change the text font or style, select the text, right-click it, and select the formatting you want from the context menu.
-
Click the outer border of the text box to select it, drag the text onto the photo, and rotate it to the desired angle if necessary.
-
Make sure the text box is still selected, then in the Drawing Tools section on the Format 9 tab0038 in group Shape styles do the following:
-
Click the Shape fill button and choose No fill .
-
Press the button Shape outline and select No outline .
-
-
Click the outside edge of the photo, press CTRL, and then click the edge of the text box to select both.
-
Under Drawing Tools open tab Format , in the Arrange group, click the arrow next to the Group button, and then select Group .

Top of page
Adding text to a photo using WordArt
-
Insert a photo into the presentation.
-
On the Insert tab, in the Text group, click the WordArt button, select the style you want, and then enter the text.
-
Click the outer edge of the WordArt to select it, drag the text onto the photo, and rotate it to the desired angle if necessary.
-
Click the outside border of the photo, CTRL-click the edge of the WordArt to select both.
-
Under Drawing Tools , click the Format tab, in the Arrange group, click the arrow next to the Group button, and then select Group .
Adding text to a photo with caption
-
Insert a photo into the presentation.
-
On the Insert tab, in the Text group, click the Text Box button , click next to the picture, and drag the pointer to draw a text box, and then type your text.
-
To change the text font or style, select the text, right-click it, and select the formatting you want from the context menu.
-
Click the outer border of the text box to select it, drag the text onto the photo, and rotate it to the desired angle if necessary.
-
Make sure the text box is still selected, then under Drawing Tools on the Format tab under Shape Styles do the following:
-
Click the Shape fill button and select the command No fill .
-
Press the button Shape outline and select No outline .
-
-
Click the outside edge of the photo, press CTRL, and then click the edge of the text box to select both.
-
Under Drawing Tools , click the Format tab, in the Arrange group, click the arrow next to the Group button, and then select Group .
Top of page
Adding text to a photo using WordArt
-
In the document, click where you want to insert the photo.
-
On the Insert tab, in the Illustrations group, click the Shapes button, and then click New Canvas.
-
Click canvas and then on tab Insert in group Pictures press button Pictures .
-
Find and double-click the photo you want to use.
-
On tab Box in the Text group, click the WordArt button, select the style you want, and then enter the text.
-
Click the outer edge of the WordArt to select it, drag the text onto the photo, and rotate it to the desired angle if necessary.
-
Click the outside border of the photo, hold down the CTRL key and click the edge of the WordArt to select both.

-
In the Picture Tools section, on the Format tab, in the Arrange group, click the arrow next to the Group button, and then click Group .
Adding text to a photo with caption
-
In the document, click where you want to insert the photo.
-
On the Insert tab, in the Pictures group, click the Shapes button, and then click New canvas .
-
Click the canvas, and then on the tab Insert in the group Pictures click the button Pictures .
-
Find and double-click the photo you want to use, and then click outside the canvas.
-
In tab Insert in group Text press the Text field button, and then select Add text at the bottom of the menu.
-
Enter text and drag the label to the desired location.
-
To change the font or text style, select the text and choose the formatting you want from the context menu.
-
Click the outside edge of the decal and drag it onto the photo.
-
Make sure the text box is still selected, then under Drawing Tools on the Format tab under Shape Styles do the following:
-
Click the Shape fill button and choose No fill .
-
Press the button Shape outline and select No outline .
-
-
Click the outside border of the photo, CTRL-click the edge of the WordArt to select both.
-
Under Drawing Tools , click the Format tab, in the Arrange group, click the arrow next to the 9 button0037 Group , and then select Group .
Top of page
Important: Office 2007 is no longer supported . Move to Microsoft 365 to work remotely from any device and continue to receive support.
Update
Select an Office program from the drop-down list.
What program are you using?
- Which program are you using?
- Excel PowerPoint
- Word
Adding text to a photo using WordArt
-
Insert a photo into a spreadsheet.
-
On the Insert tab, in the Text group, click the WordArt button, select the style you want, and then enter the text.

-
Click the outer edge of the WordArt to select it, drag the text onto the photo, and rotate it to the desired angle if necessary.
-
Click the outside border of the photo, CTRL-click the edge of the WordArt to select both.
-
Under Drawing Tools , click the Format tab, in the Arrange group, click the arrow next to the Group button, and then select Group .

Adding text to a photo with caption
-
Insert a photo into a spreadsheet.
-
On the Insert tab, in the Text group, click the Text Box button, click anywhere in the picture, and type your text.
-
To change the text font or style, select the text, right-click it, and select the formatting you want from the context menu.
-
Click the outer border of the text box to select it, drag the text onto the photo, and rotate it to the desired angle if necessary.
-
Make sure the text box is still selected, then under Drawing Tools on the Format tab under Shape Styles do the following:
-
Click the Shape fill button and select the command No fill .
-
Press the button Shape outline and select No outline .
-
-
Click the outside edge of the photo, press CTRL, and then click the edge of the caption to select both.
-
Under Drawing Tools , click the Format tab, in the Arrange group, click the arrow next to the Group button, and then select Group .

Top of page
Adding text to a photo using WordArt
-
Insert a photo into the presentation.
-
On the Insert tab, in the Text group, click the WordArt button, select the style you want, and then enter the text.
-
Click the outer edge of the WordArt to select it, drag the text onto the photo, and rotate it to the desired angle if necessary.
-
Click the outside border of the photo, CTRL-click the edge of the WordArt to select both.
-
Under Drawing Tools , click the Format tab, in the Arrange group, click the arrow next to the 9 button0037 Group , and then select Group .
Adding text to a photo with caption
-
Insert a photo into the presentation.
-
On the Insert tab, in the Text group, click the Text Box button , click next to the picture, and drag the pointer to draw a text box, and then type your text.
-
To change the font or text style, select the text, right-click it, and select the formatting you want from the context menu.
-
Click the outer border of the text box to select it, drag the text onto the photo, and rotate it to the desired angle if necessary.
-
Make sure the text box is still selected, then under Drawing Tools on the Format tab in the Shape Styles group, do the following:
-
Click the Shape fill button and choose No fill .
-
Press the button Shape outline and select No outline .

-
-
Click the outside edge of the photo, press CTRL, and then click the edge of the text box to select both.
-
Under Drawing Tools , click the Format tab, in the Arrange group, click the arrow next to the Group button, and then select Group .
Top of page
Adding text to a photo using WordArt
-
In the document, click where you want to insert the photo.
-
In tab Insert in group Illustrations click Shapes and then select New canvas .
-
Click the canvas, and then on the tab Insert in the group Illustrations click the button Picture .
-
Find and double-click the photo you want to use.
-
On the Insert tab, in the Text group, click the WordArt button, select the style you want, and then enter the text.
-
Click the outer edge of the WordArt to select it, drag the text onto the photo, and rotate it to the desired angle if necessary.
-
Click the outside border of the photo, CTRL-click the edge of the WordArt to select both.
-
Under Drawing Tools , click the Format tab, in the Arrange group, click the arrow next to the Group button, and then select Group .
Adding text to a photo with caption
-
In the document, click where you want to insert the photo.
-
On the Insert tab, in the Illustrations group, click the Shapes button, and then click New Canvas.
-
Click the canvas, and then on the tab Insert in the group Illustrations click the button Picture .
-
Find and double-click the photo you want to use, and then click outside the canvas.
-
On the Insert tab, in the Text group, click the Text Box button, and then select Add Text at the bottom of the menu.

-
Enter text and drag the label to the desired location.
-
To change the font or text style, select the text and choose the formatting you want from the context menu.
-
Click the outside edge of the decal and drag it onto the photo.
-
Make sure the label is still selected, then under Label Tools on the Format tab under Label Styles do the following:
-
Click the Shape fill button and choose No fill .
-
Press the button Shape outline and select No outline .
-
-
Click the outside border of the photo, CTRL-click the edge of the WordArt to select both.
-
Under Drawing Tools , click the Format tab, in the Arrange group, click the arrow next to the Group button, and then select Group .
Top of page
Crop photos online for free - contour and circle |Watermarkly
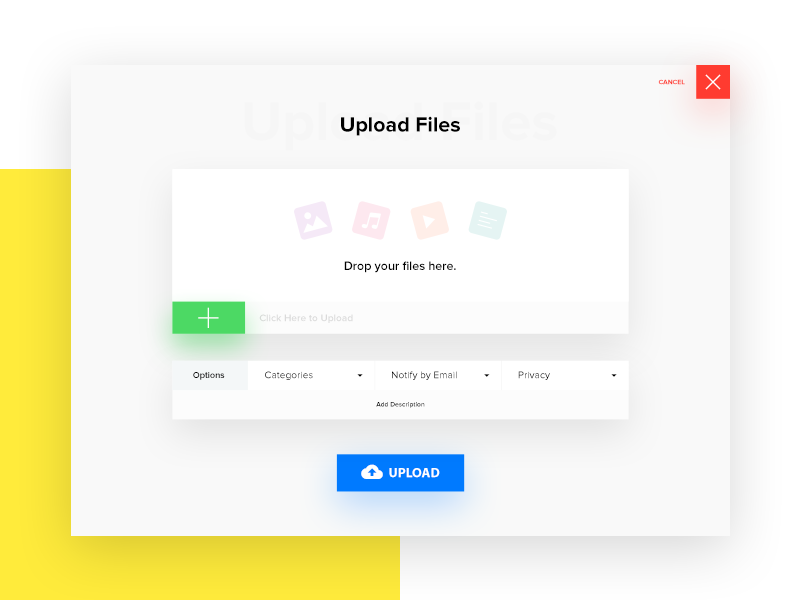
To get started, you need to drag the photo into the application or click on "Select Images" , after which a pop-up window with a choice will appear. You can upload photos from your computer, Google Drive, Google Photos or DropBox.
Watermarkly supports image formats such as JPG , JPEG , PNG , HEIC , WEBP , GIF , B There are no restrictions on the size of uploaded photos, except for the amount of free memory on your computer or phone.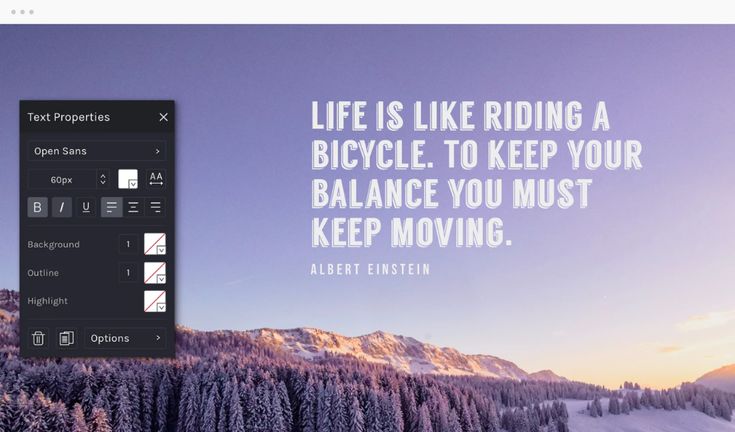
If you select "From my computer" , you need to find the desired folder in the window that opens and select the images you want to crop. To select all photos in a folder, press Ctrl+A on Windows or Cmd+A on Mac.
If you select one of the following - "with Google Drive" , "with Google Photos" or "with DropBox" - you will see a window where the application will ask you to access your online storage. You should click on "Allow access" . This will open a new window for selecting images. If you want to select multiple photos, click on them while holding down the Shift key. Then press the key "Select" .
If you want to add more photos, click on "Add photo" . If you want to delete all photos from the application and upload more, you should click on "Clear" .
To adjust the cropping area, use the "Desired size or aspect ratio" drop-down list located at the top of the page. Click on it. The following ratio options are available to you.
Crop shape selection
With our application, you are not limited in cropping possibilities. You can crop your photo in a circle, rectangle or square. To start image processing, you need to select one of the forms: “Rectangle” – can be easily transformed into a square – or “Round” .
Regardless of which shape you choose, the crop area can be adjusted manually : increase or decrease the radius, width or height. To do this, just move the blue frame using the cursor on a computer or with your finger on a mobile device. In this case, you can set any boundaries you want.
If you have chosen a rectangle, the height and width can be changed separately from each other, if a circle - you change only the radius.
Alternatively, you can click in the selection box and enter a specific crop size in pixels . If you enter 1000 for the round cropping option, your processed photos will be cropped in a circle with a diameter of 1000 pixels. If you specified 1000 for a "rectangle", then in this way you set the width of the cropped images, while the height will be selected automatically based on the cropping shape.
You can also specify the width and height at once in the input field (for example, 1200 × 1900). In this case, the resulting photos will have a size of 1200 × 1900 pixels.
If you just want to move the blue frame to another location on the photo without changing its size, click inside the crop and move it.
Previously used cropping options
The Watermarkly application saves the processing history of your photos . This greatly simplifies and speeds up the cropping process if you regularly use the same cropping options.
If you are not using the program for the first time, you will see the previously selected settings in the drop-down list of proportions under the choice of basic shapes.
Standard aspect ratio
This is the set aspect ratio of the crop area.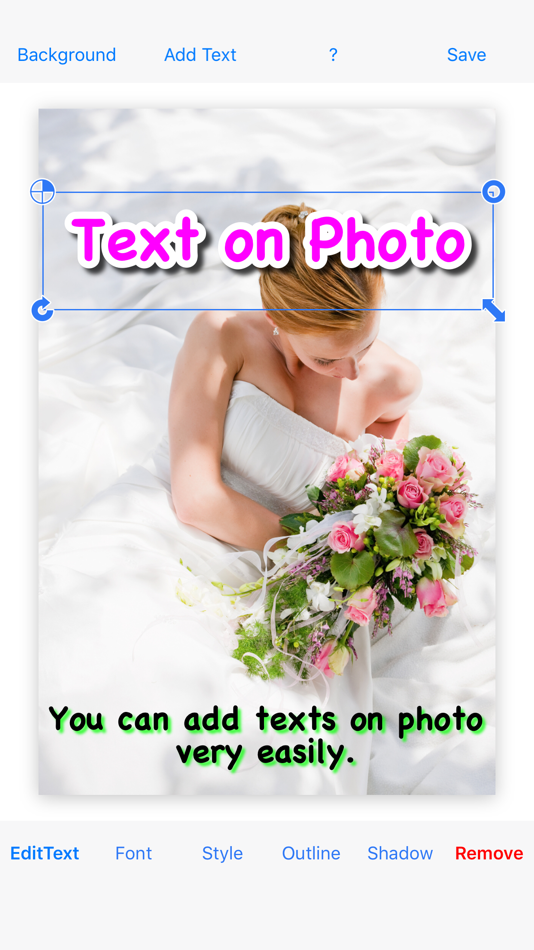
In this case, the absolute size of the sides in pixels is not taken into account, but only the ratio of width to height . To your choice of ratio: 1:1, 3:2, 4:3, 16:9, 2:3, 3:1, 2:1, 1:2. If you are interested in a proportion that is not listed, you can specify your ratio directly in the selection field, entering, for example, 4:5.
You can also resize the crop area up or down, or move the crop area anywhere in the image. In this case, the set aspect ratio will be preserved.
When uploading multiple photos, you can set one cropping option for all images or different ratios for each photo individually.
Proportions for social networks
This sample contains the most popular proportions for such social networks as Instagram , Facebook , Twitter , Youtube , LinkedIn 9094 .
In contrast to the standard proportions, here not only the ratio of width to height is taken into account, but also the specific size in pixels. The same size will be taken into account when saving cropped photos. For example, if you chose the proportion of Instagram Stories Story 1080 × 1920, the cropped photo saved will be 1080 pixels wide and 1920 pixels high.
In this case, you can also manually change the size of the crop area by specifying your width and height dimensions in pixels. For example, you can enter 1200 × 1900.
Horizon Adjustment
On the right side of the aspect ratio selection you will see a blue slider that will allow to adjust the angle of the image.
It is initially set to the 0° position. Depending on which direction you want to tilt the photo, the tilt indicator can be changed from -7° to 7° by moving the blue circle to the left or right.
Output settings
After you have finished adjusting the crop area and made all the changes, click on Crop Photo . You will see Output Settings.