Camera polarizer filters
Understanding & Using Polarizing Filters
Polarizing filters can increase color saturation and decrease reflections — and are one of the only lens filters which cannot be replicated using digital photo editing. They are an indispensable tool that should be in every photographer's camera bag. However, developing an intuition for how a polarizer might impact a photo often requires extensive experimentation. This tutorial aims to accelerate that process by demonstrating how and why polarizing filters can help — and in some cases harm — different types of scenes.
OVERVIEW
In the above example the polarizer removes the harsh direct glare from the water's surface.
Polarizers are placed in front of your camera lens, and work by filtering out sunlight which has been directly reflected toward the camera at specific angles. This is beneficial because the remaining light is often more diffuse and colorful, but it also requires a longer exposure time (since light has been discarded). The angle that is filtered is controlled by rotating the polarizer itself, and the strength of this effect can be controlled by changing the camera's line of sight relative to the sun.
USING POLARIZERS: SUN ANGLE & FILTER ROTATION
A polarizing filter will be capable of its maximum effect when one's line of sight (in red below) is perpendicular to the direction of the sun:
The red disks represent the directions of maximum polarizing capability.
The green lines represent the ground/horizon.
A good way to visualize this is to aim your pointer finger at the sun while holding your thumb straight up. Everywhere your thumb points when you rotate your hand (while still pointing at the sun) is where the polarizer is capable of the strongest impact.
However, just because the filter is capable of its maximum effect in the above directions, this doesn't necessarily mean this is where the image will appear most effected. Rotating your filter will toggle the angle (relative to the sun) that appears most polarized. The best way to get a feel for this is to rotate the filter while looking through the camera's viewfinder (or rear LCD), but you can also consult the box below for specifics on how this process works.
Notes on Filter Rotation Angle. At one extreme, you can rotate your filter so that the direction of maximum polarization will be perpendicular to the direction of the sun (as shown in the above examples). In that case, the polarizing effect will be as pronounced as possible. If you then rotate your filter just a little (say 10-20°), you can shift the angle of maximum effect slightly towards or away from the sun, but in this case the polarizing effect won't be as pronounced as before. As this angle gets progressively closer to the direction into or away from the sun, the polarizing effect will appear progressively less pronounced. Finally, once the filter has been rotated a full 90° (to the other extreme), then no polarizing effect will be visible. Any more rotation than this and the polarizing effect increases again and the cycle repeats.
Hearst Castle - San Simeon, CA
Since a polarizer's effect varies with angle, results can appear uneven when using a wide angle lens. Some portions of the scene might be in a direction which is directly into the sun, whereas others might be at a right angle to the sun. In that case, one side of the photo would have a strong polarizer effect, whereas the other side would not.
In the example to the left, the sun was near the horizon, so the strip of sky directly overhead was most influenced by the polarizer (causing it to appear darker), whereas the upper left and lower right regions (nearer the horizon) were much less impacted. If a telephoto lens had been used to photograph just the tower, then the sky would have appeared much more even.
Although wide angle lenses certainly aren't ideal, rotating the polarizing filter can sometimes make the effect appear more realistic. One approach is to ensure that the most pronounced polarization coincides with the image's edge or corner.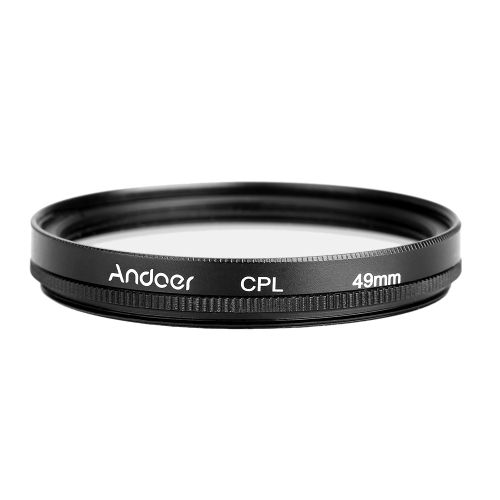 This way the change in polarization will look more like a natural gradient across the sky (such as how the sky might appear during twilight).
COLOR SATURATION
One of the first characteristics that you're likely to notice with polarizers is how they increase color saturation:
Columbia River Gorge State Park - Oregon, USA
When direct reflections are reduced, a greater fraction of the subject's light is of the diffuse variety — resulting in a more colorful representation. Foliage will be rendered with a brighter green, skies will have a deeper blue and flowers will appear more intense.
| Select: | No Polarizer | Polarizer at Max |
However, saturation isn't always increased uniformly. This all depends on whether a particular object is at an optimal angle to the sun, and whether this object is highly reflective. In general, more reflective objects will see a greater increase in saturation when using a polarizer.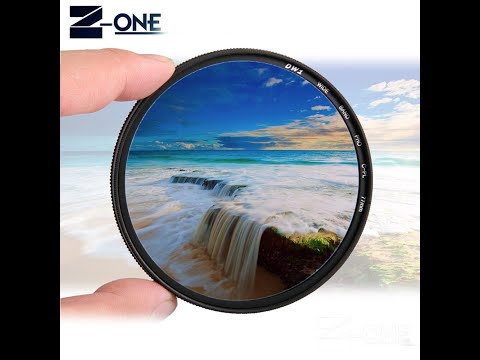 Clear sunny days are also much more heavily influenced by polarizers than overcast or rainy days.
In the example to the right, the effect on the stone and foliage is subtle, but the sky becomes a noticeably darker blue. Take care not to overdo this effect; unusually dark mid-day skies or overly vibrant foliage can easily make photos appear unrealistic.
REFLECTIONS, WINDOWS & TRANSPARENCY
A polarizing filter can be an extremely powerful tool for removing reflections and isolating objects which are wet, underwater or behind a window. In the example below, a polarizer enables the photographer to select between subjects which are reflected from or are underneath the water's surface:
above examples are courtesy of rickleemorlang
In the above example, note how the polarizer was unable to remove reflections entirely (although it did a pretty good job). This isn't ever possible, but fortunately polarizers are usually able to make reflections imperceptible unless they're relatively intense.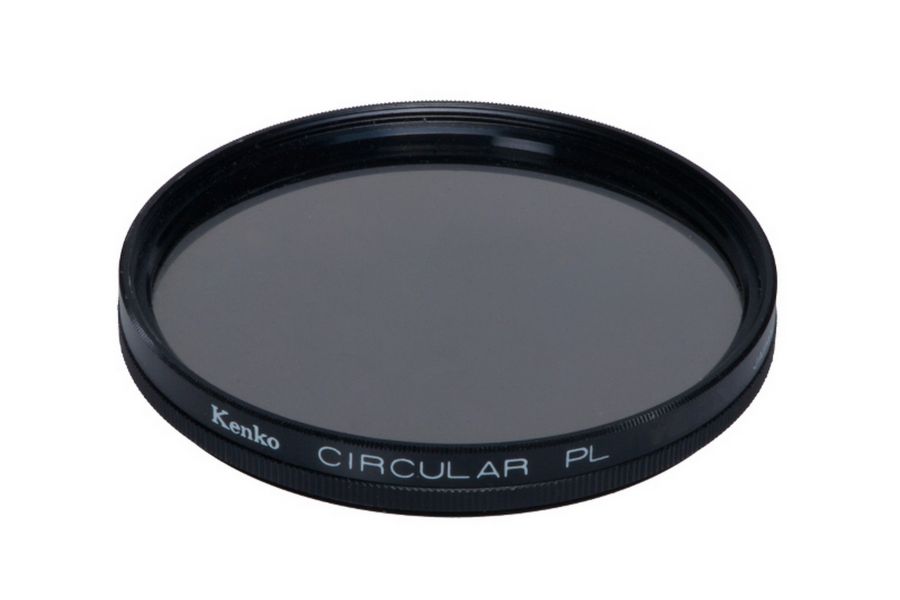 Unfortunately the one exception is with metal surfaces — which often also happens to be the brightest and least desirable type of reflection.
above example
courtesy of mararie
A polarizer can also remove unwanted reflections when taking a photo out of a window or other transparent barrier. Move your mouse over the example to the left to see how a polarizer eliminates the window reflections. This can be a very useful tool when photographing objects within store windows, out a moving train or within a glass case, for example.
However, polarizers can also sometimes create an unrealistic-looking rainbow or ripple effect on windows which are uneven, have been tinted or are treated with coatings. A good example of this is something called "birefringement," which appears when taking a polarized photo through an airplane window:
above birefringement example courtesy of eaghra (but in a modified form)
CONTRAST & GLARE
Since polarizers reduce direct reflections, this often has the consequence of also reducing image contrast. This can make it easier to capture scenes with a broad dynamic range, such as trying to balance a bright sky with relatively unreflective land (which can even make using a graduated neutral density filter or high dynamic range less important).
However, less glare/contrast is sometimes undesirable. In the example below, the artistic intent was to (literally) highlight the curving road by portraying it in stark contrast to its surroundings. Using a polarizer actually detracted from this goal:
entrance to Canyonlands Island in the Sky National Park - Utah, USA
On the other hand, in most other situations a decrease in glare is desirable and generally creates a more pleasing photo. For instance, in the above example the light doesn't appear as harsh and reflective on the rocks to the far right.
In other situations polarizers can instead increase contrast. In the next example, the polarizer increased contrast by filtering the light reflecting off of the haze and sea spray. This effect appears most pronounced in the hills and the puffy clouds directly overhead:
above examples are courtesy of mikebaird (but in a modified form)
In general, using a polarizer on clouds and skies will almost always increase contrast, but if the subject itself is highly relfective then a polarizer will instead likely decrease cotrast.
DISADVANTAGES
While polarizing filters are clearly very useful, their disadvantages are that:
- They can make the exposure require 2-3 stops (4-8X) more light than normal.
- They are one of the most expensive types of filters.
- They require the camera to be pointed at a right angle to the sun for maximal effect.
- They can take longer to compose with since they need to be rotated.
- They can be difficult to visualize when using the camera's viewfinder.
- They can potentially reduce image quality if the filter isn't kept perfectly clean.
- They cannot ordinarily be used with stitched panoramic photos or wide angle shots.
The above panorama would have appeared uneven with a polarizer, and the rainbow could have even disappeared at some positions. Photo from Arches National Park - Utah, USA.
Furthermore, sometimes reflections are essential to a photograph. Two key examples include sunsets and rainbows*; use a polarizer on either and the colorful, reflected light may disappear if the polarizer is rotated for maximum effect.
*Note: polarizers can sometimes enhance the color and contrast of a rainbow by darkening background clouds, but only if the filter has been rotated just right. Furthermore, including both ends of a rainbow usually requires a wide angle lens, in which case the scene/rainbow may appear uneven.
OTHER TIPS & FURTHER READING
- Substitute Neutral Density Filter. A polarizing filter can sometimes be used when a longer exposure is needed. This can enable an exposure time which is 2-3 stops (4-8X) longer than otherwise possible, which is often sufficient for shots of water/waterfalls.
- Pre-Visualize Using Polarized Sunglasses. Wearing untinted polarized sunglasses can be a helpful way to pre-visualize how your scene will be captured in a photograph. Just be sure to take these off though when looking through the camera's viewfinder, since the combined effect can prevent you from being able to see the image.
- Thin Filters on Wide Angle Lenses. A polarizer can sometimes create visible darkening in the corners of the image ("vignetting") when used on a wide angle lens. To avoid this, you'll likely need to opt for the more expensive "thin" variety.
- Circular vs. Linear Polarizers. The circular polarizing variety is designed so that the camera's metering and autofocus systems can still function. Linear polarizers are much less expensive, but cannot be used with most digital SLR cameras (since these use through-the-lens (TTL) metering and phase detection autofocus).
For further reading on this topic, also see:
- Understanding and Choosing a Camera Lens Filter: Polarizers, UV, ND & GND.
This is a broad overview of all the different filter options available to photographers.
Want to learn more? Discuss this and other articles in our digital photography forums.
How to choose a polarizing filter in 5 steps
After explaining in a recent article what a polarizing filter is used for, and its usefulness especially in landscape photography, I then felt it was important to explain how to choose a polarizing filter? There are so many choices and options that it is sometimes difficult to work out which to choose. These filters are most often used to enhance the contrast and brighten photos. As a beginner, the best way to start in photography is by learning to use a polarizing filter. Bear in mind that all standard camera lenses, regardless of their brand, can accommodate a polarizing filter.
This is the second article in the series on polarizing filters on my photography blog and hopefully it helps you understand photography in a more clear, concise way.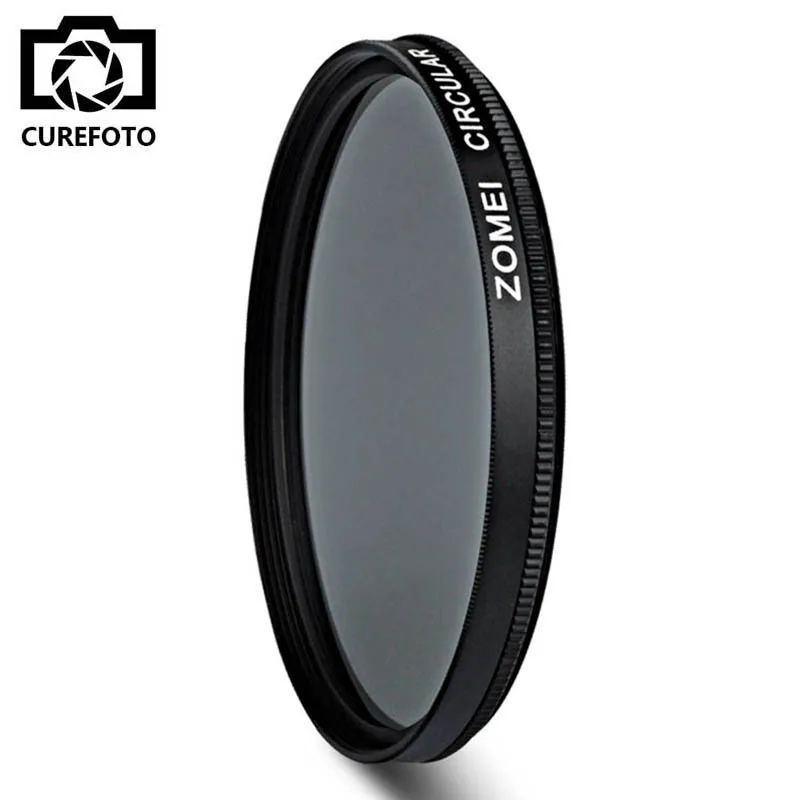 So, depending on how you take your photographs, you’ll find that certain situations will require using a polarizing filter to compensate, correct or simply remove reflections on a photo. The purpose of this article is not to test the best 82mm polarizing filter (assuming there is one), but to guide you in your choice, according to your needs, your budget and your photography practice.
Save this post on Pinterest and come back to it later!
One important thing to keep in mind is that a polarizing filter is used to improve your photos when actually taking them, and therefore reduce the number of hours spent in post-processing (or post-production = time spent with editing software on a computer). Just place the filter and look, without using the viewfinder, to see the magic happen: a beautiful saturation of colors and a beautiful polarized light, just as I like them. With this in mind, it is therefore necessary to choose a polarizing filter of the best quality you can afford. See your purchase as a long-term investment and try not to skimp for the sake of saving a few pounds/dollars. It is clearly better to choose a good quality polarizing filter right from the beginning. So, which one to choose and how?
You should also know that it’s possible to us polarizing filter on DSLR camera or mirrorless camera !
Table of Contents
Reminder on the polarizing filter
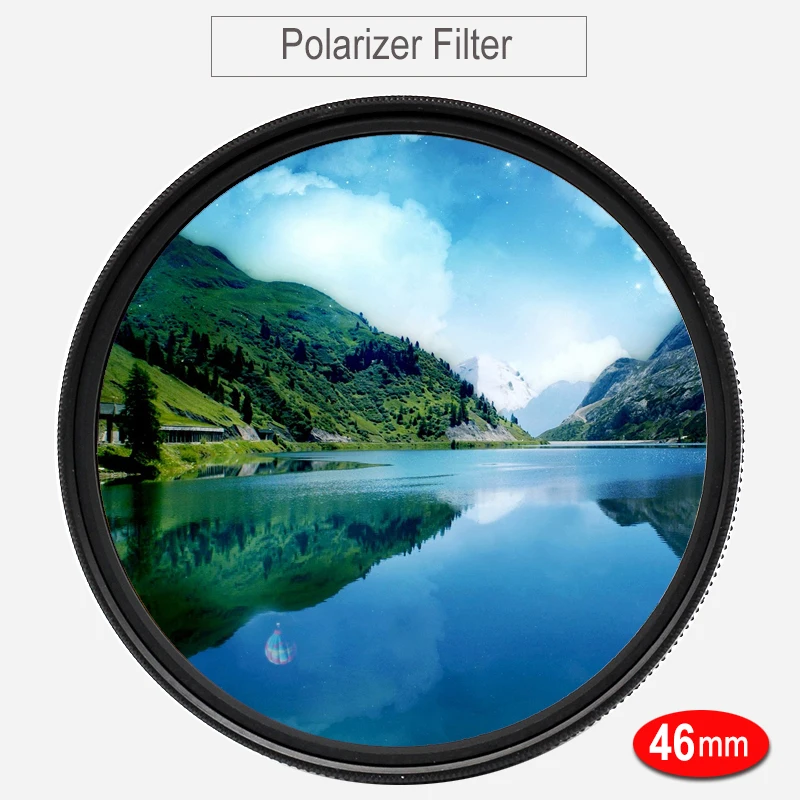
1. The diameter
2. The Type
3. The Brand
4. The thickness
5. The budget
6. Which filters to choose? My recommendations
As Amazon Associates, we earn from qualifying purchases. It means that, all the links linking to camera gear in this post are redirecting to Amazon stores
If you are not familiar with the polarizing filter and its usefulness, I invite you to read my article dedicated to this. Basically, the polarizing filter is a photography filter which is widely used in landscape photography. It is one of the most useful and perhaps even most essential accessories you should have in your photography bag (i.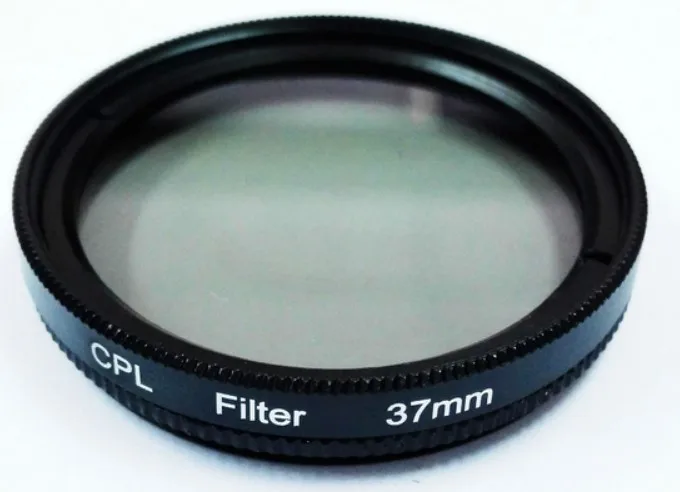 e. tripod, memory card, neutral filter (ND)). In bright sunlight it may very well save your entire shoot! A polarizing filter is very often coupled with a wide-angle lens (this allows you to take even more beautiful pictures).
Here are some things to remember
In my opinion, there are five main criteria to consider when purchasing a polarizing filter:
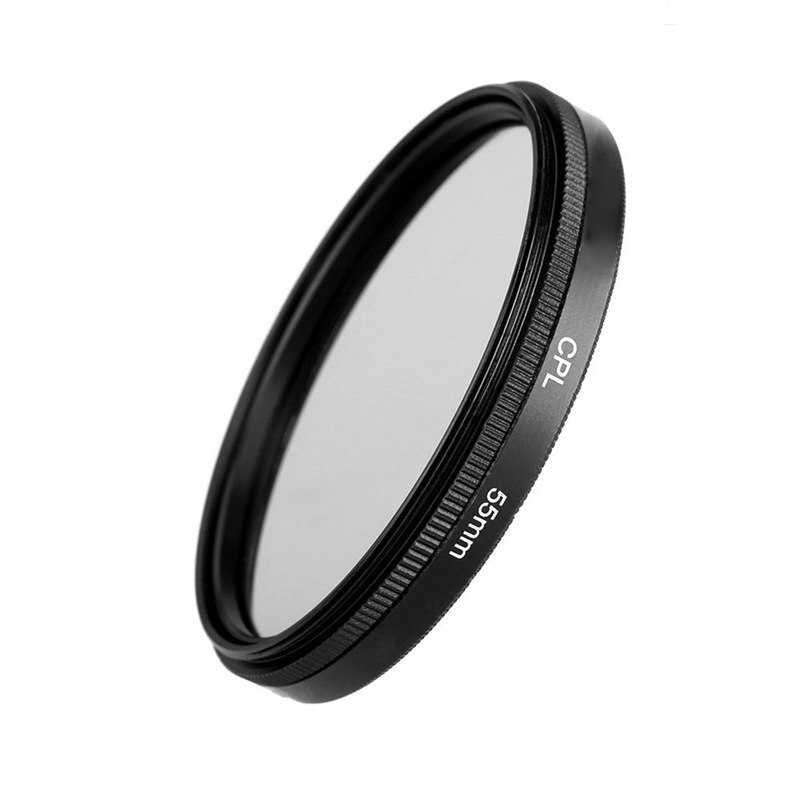
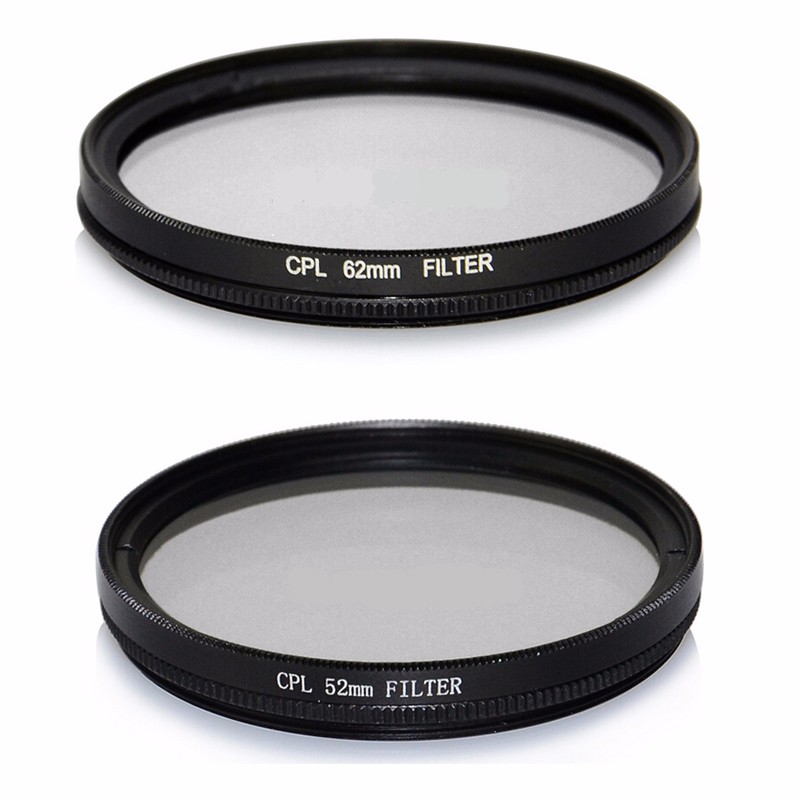
This is definitely the first thing to look at when choosing a polarizing filter. The filter needs to fit the diameter of your camera’s lens therefore check your camera lens first. The diameter size is indicated on the top in millimeters (Ex: 16mm, 35mm, 50mm, 55mm, 65mm, 77mm, 82mm, 100mm, 300mm, etc.).
Example of a high quality Marumi polarizing filter – More details on Amazon
In theory, one polarizing filter of the correct size should fit all. I say “in theory” because there is a technique to avoid having to buy a polarizing filter for each lens you have, which can be very expensive if you have 4 or 5.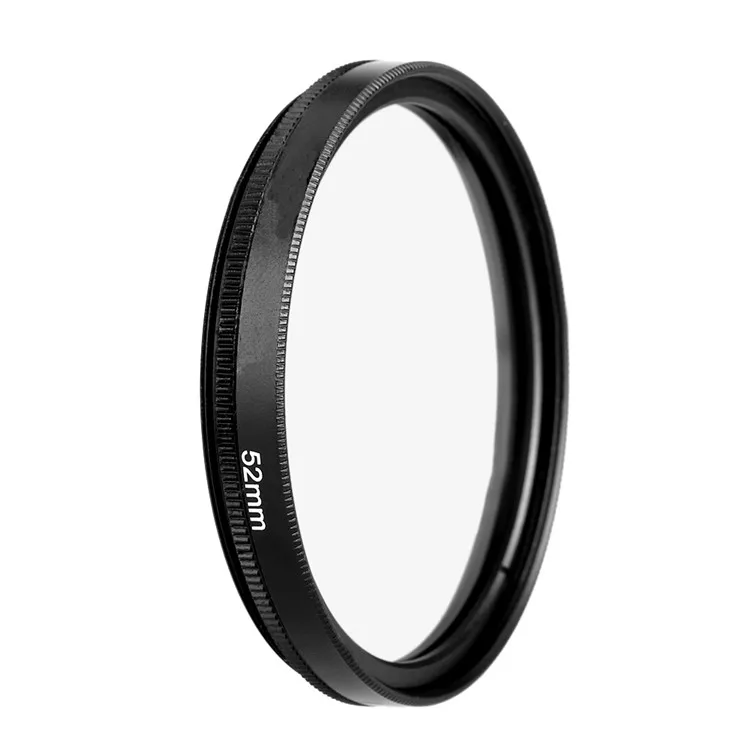
Basically, if you have several lenses you can buy an adapter ring to make your filter fit them all. Choose a polarizing filter that fits the largest (in diameter) of your lenses and then buy an adapter, which reduces the diameter, thereby allowing you to use your polarizing filter on smaller lenses.
Here is another criterion to take into account, even if it is less and less relevant today. Overall, there are two types of filters:
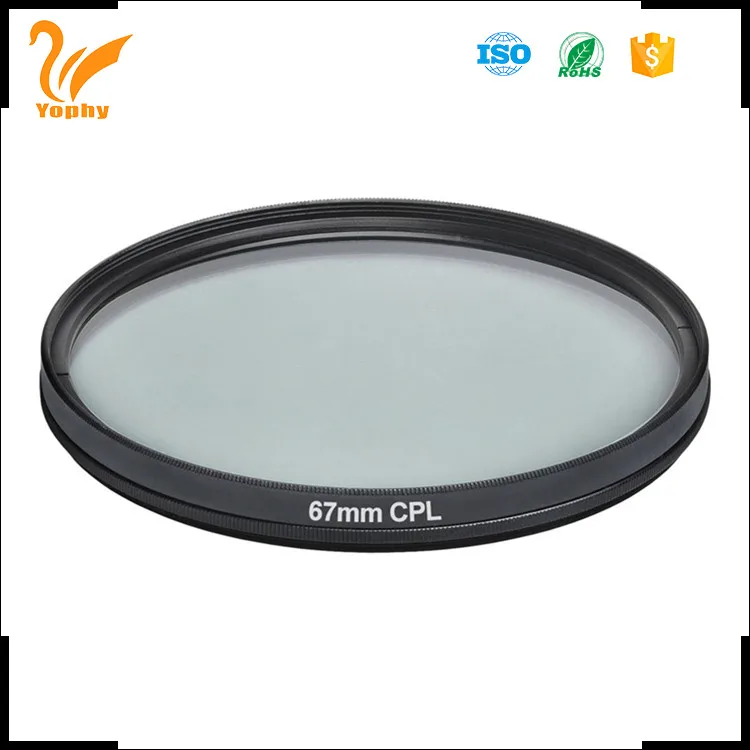
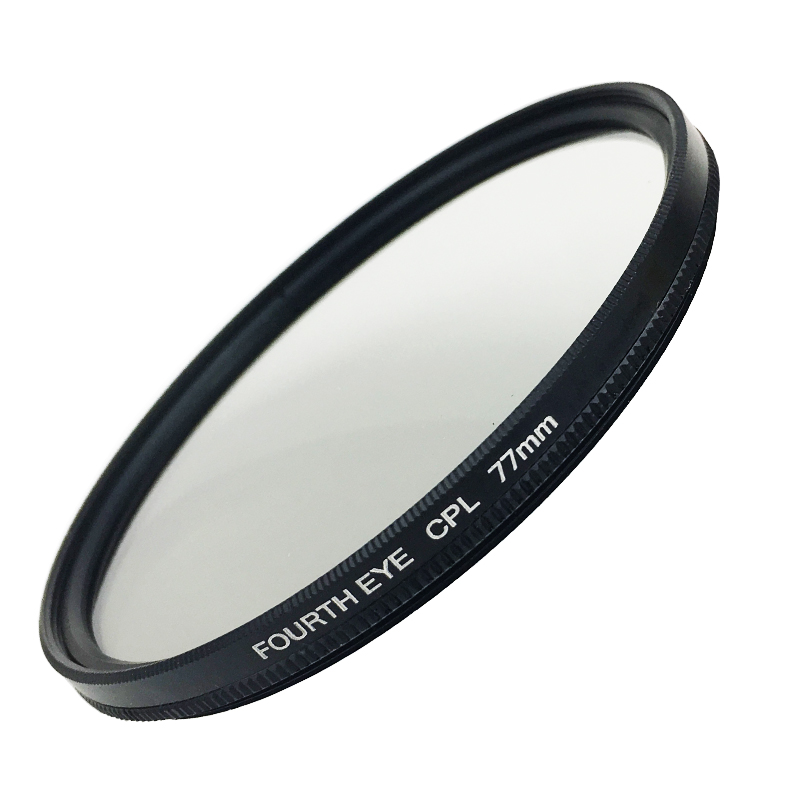
Circular Polarizing Filters (CPL): the majority of the commercial polarizing filters these days are of this type. These filters are able to measure the desired polarizing effect on your photo. Once attached, you can measure the polarity and accentuate or reduce the effect depending on the scene and the lighting conditions of the shot. I often make several attempts when choosing the level of polarization I want for a landscape. These filters are the easiest to use and the ones I particularly recommend.
These filters are also easy to use; you simply place your polarizing filter on to the thread of your camera lens, screw it on and rotate it according to the desired effect.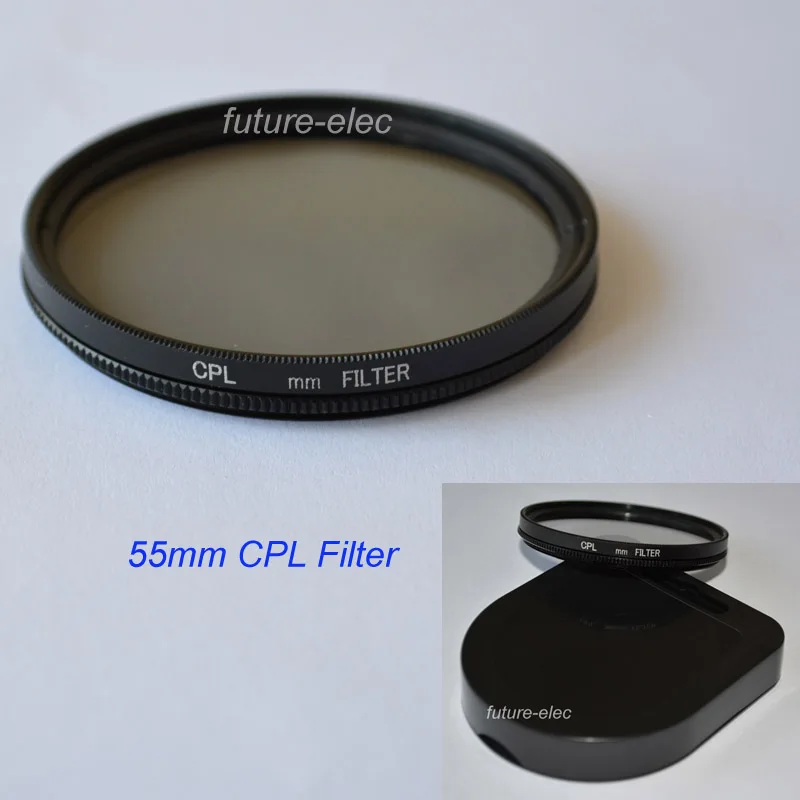 It should be noted that the use of a lens hood would be limited in most cases. Once finished, simply unscrew the filter, clean it with a cloth and store it in its box to prevent it from collecting dust.
I have been using Hoya HD polarizing filters for a long time – More details on Amazon
Square/rectangular polarizing filter : this is an alternative to the CPL filter. Some well-known brands offer these as an alternative, including Cokin and Lee. However, these filters have a major disadvantage: they are linear polarizing filters. It is therefore impossible for you to play around with the desired level of polarization for your scene. Note also that these must be mounted on a filter holder.
Example of a NISI square polarizing filter – More details on Amazon
You should also know that you can use a polarizing filter along with other filters (GND, ND) thanks to a filter holder system. I have just ended my first complete test of the K9 filter holder from KASE and their filters.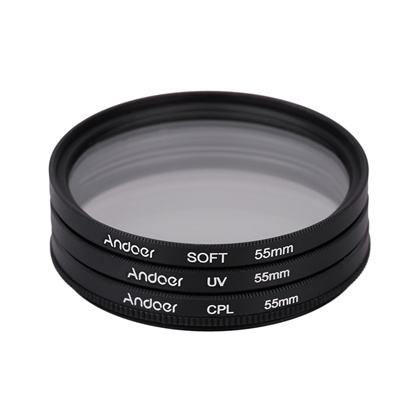
Wondering which brand to choose? Is there a good brand? In my opinion, this is an important criterion to take into account when choosing a polarizing filter. There are indeed some brands that stand out from the crowd, and which all photographers agree are the best on the market: :
- Lee polarizing filter
- Hoya polarizing filter
- Heliopan polarizing filter
- Cokin polarizing filter
Other brands however do exist such as Hama or Marumi.
Note that if you have a Canon lens, a Nikon lens, a Zeiss lens or similar brands, all polarizing filters can be mounted on them. You should also know that even the major camera brands have made their own filters. Thus, the Canon polarizing filter and the Nikon polarizing filter exist, even if few people actually choose to use them.
Here is my Lee polarizing filter that I use on my wide angle lens – More details on Amazon
I generally advise to stay with well-known brands; you will have less surprises on the quality of the filter and its impact on your photos.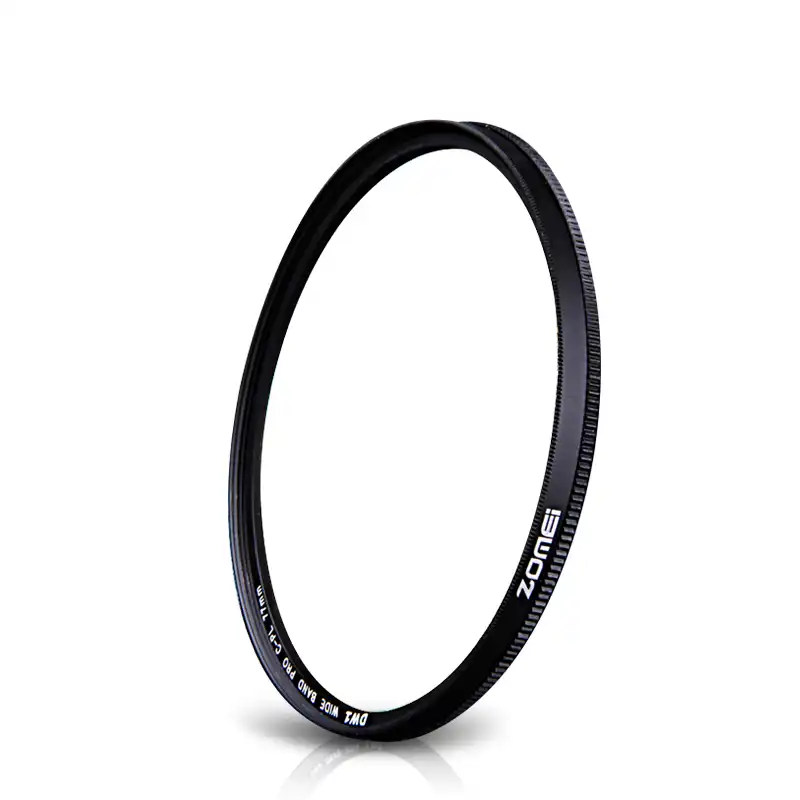
This is also one of the key criteria when choosing your polarizing filter. There are two types to choose from, normal and slim / Ultra slim (“thin”). Thin models are almost mandatory for wide-angle lenses. Depending on the focal length used, the type of camera (aps-c or full frame), and the aperture of the diaphragm used while taking your photographs, you will see more or less vignetting on the edges of your photos. Concerning the aperture, the more you use a large aperture (e.g.: f/2.8), the more you will see vignetting appear. In practice, you see less filtering on the edges of the photo…, which is not great!
The normal filter is simply a thicker filter than the Slim. In order to solve this problem, you will need to determine the focal length you use the most and the type of camera you use. With wide-angle and ultra-wide-angle lenses, vignetting can occur quite quickly, starting from 21 mm in Full Frame (full format), and 16/17 mm in APS-C.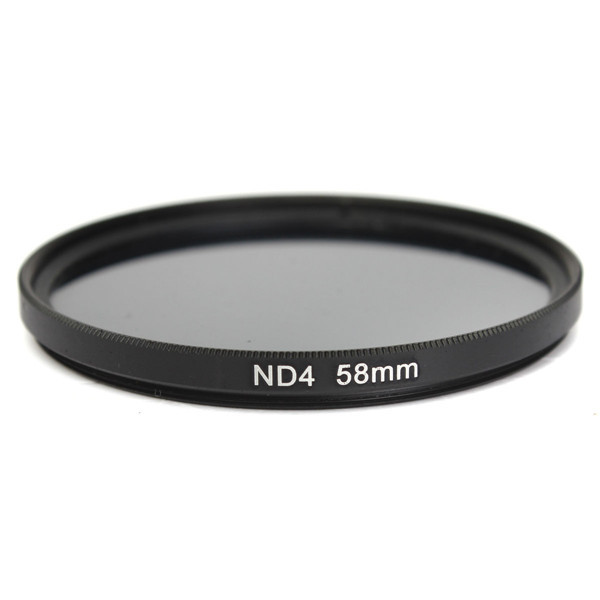
Example of a superb quality slim polarizing filter from B+W – More details on Amazon
Standard polarizing filter B+W (not slim) – More details on Amazon
It is impossible for me to list here all the types of lenses + polarizing filters, and say whether or not there will be vignetting or not. It is best to check the forums before buying. With long focal lengths, zooms, you will obviously not have any problems with vignetting.
I have a very good polarizing filter for my Canon 70-300 L IS Zoom which is perfect.
Regarding my lens for landscape photography, my 24-70 mm L f/2.8, I use Lee’s system, with the Foundation Kit and an 82 mm wide angle adapter ring to mount my Lee Landscape Polarizing Filter (105 mm). It all cost an arm and a leg, but I’m delighted!
For information, I can stack 2 lens filters on my filter holder (Big Stopper filters + GND Soft Edge 0.9 Gradient Filter) and my polarizer on top, without seeing any vignetting at 24 mm.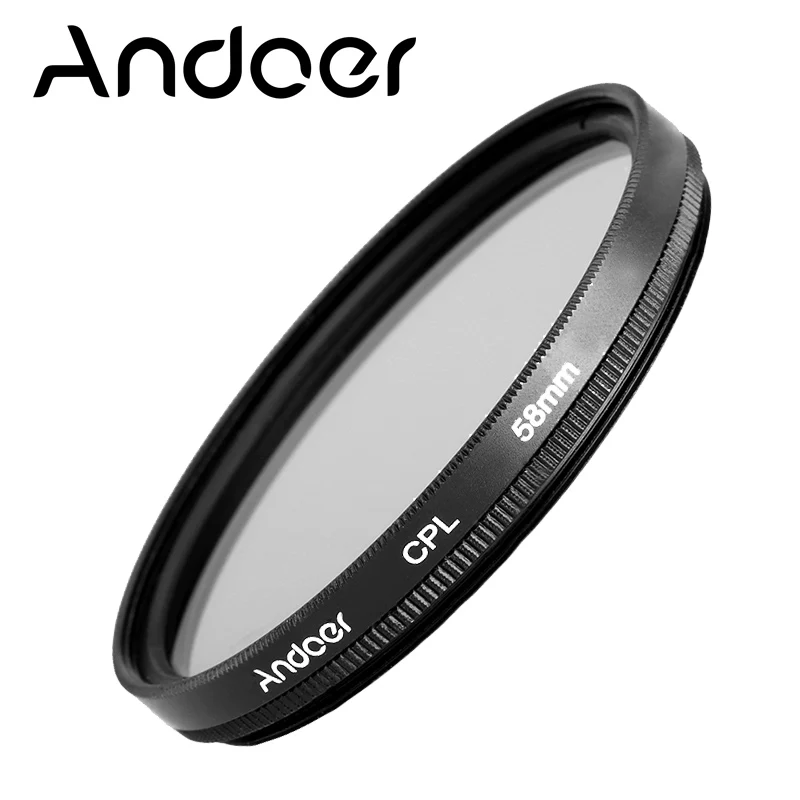
The budget remains the most sensitive aspect for some people. I know I’m repeating myself but do not skimp on the quality of your polarizing filter at the risk of degrading your photos.
There are polarizing filters for all budgets. From good value for money to very expensive, from €20 to over €200 per filter. Everything will depend essentially on:
- Diameter : the larger the diameter of your lens, the more expensive the filter will be,
- Brand : well-known (and better quality) brands are also more expensive,
- Quality : this has to be paid for (the treatment of the glass is not always the same) and a
good quality filter will obviously cost more than a poor quality or low-end filter.
To find out how to choose a polarizing filter, gather as much information as you can about the different types of filters available and make comparisons in order to make the best choice. In the following paragraph, I will give you some recommendations regarding polarizing filters used for different purposes.
Here are some of my recommendations to help you choose your polarizing filter according to a variety of lenses. I prefer slim filters when possible, especially for wide-angle lenses.
Here are the filter recommendations by lenses, classified by diameter (it’s easier)
67mm : Hoya filter, Marumi filter
- Canon EF-S 10-18 mm f/4,5-5,6 IS STM – 67 mm
77mm : Hoya filter, B+W filter and Marumi filter
- CANON EF 17-40 mm f/4L USM – 77 mm
- CANON EF-S 10-22 mm f/3.5–4.5 USM – 77 mm
- Nikon AF-S DX 10-24 mm f/3.5-4.5 – 77 mm
- Nikon Nikkor AF-S 16-35 mm f/4G ED VR – 77 mm
- Tamron AF 10-24 mm f/3,5-4,5 DI II LD IF – 77 mm
- Tokina AT-X PRO DX II 11-16 mm f/2.8 – 77 mm
82mm : Hoya filter, B+W filter, Marumi filter
- CANON EF 16–35 mm f/2.
 8 L USM II – 82 mm
 - Sigma 10-20 mm f/3,5 EX DC HSM – 82 mm
- Tokina 11-20 mm f/2,8 AT-X PRO DX – 82 mm
Here are my recommendations for standard lenses
77mm : Hoya filter, B+W filter, Marumi filter
- Canon EF-S 18-55 mm f/3,5 – 5,6 IS STM – 77 mm
- Canon 24-70 mm f/4.0 L IS USM : 77 mm -> I personally use the Foundation Kit and a 82mm wide-angle adapter ring to shoot with my Lee Landscape Polarizing filter (105 mm).
- Nikon AF-S 24-70 mm f/2.8G ED – 77 mm
82mm : Hoya filter, chez B+W filter, Marumi filter
- Canon EF 24-70 mm f/2,8 L II USM – 82 mm
- Sigma 24-70mm f/2.8 DG OS HSM – 82 mm
- Tamron SP 24-70 mm f/2,8 Di VC USD – 82 mm
And for telephoto lenses :
67mm : Hoya filter, Marumi filter
- Canon 70-200 mm f/4.
 0 L USM – 67 mm
 - Canon EF 70-300 f/4-5.6 L IS USM – 67 mm
- Nikon 70-200 mm f/4,0 G ED VR AF-S – 67 mm
77mm : Hoya filter, B+W filter, Marumi filter
- Canon EF 70-200 mm f/2,8 L IS II USM – 77 mm
- Canon EF 70-200 mm F/2,8 L USM – 77 mm
- Nikon AF-S NIKKOR 70-200 mm f/2.8G ED VR II – 77 mm
- Sigma 70-200 mm f/2,8 DG APO OS EX HSM – 77 mm
- Tamron SP AF 70-200mm f/2,8 Di VC USD – 77 mm
So there you are, I hope this article has helped you choose a polarizing filter and that you are now ready to make your purchase in an informed way. If you don’t know what the effects of a polarizing filter are yet, take a look at this article to find out what a polarizing filter is used for.
Once you have made your purchase, feel free to come and read the article that explains how to use a polarizing filter in photography.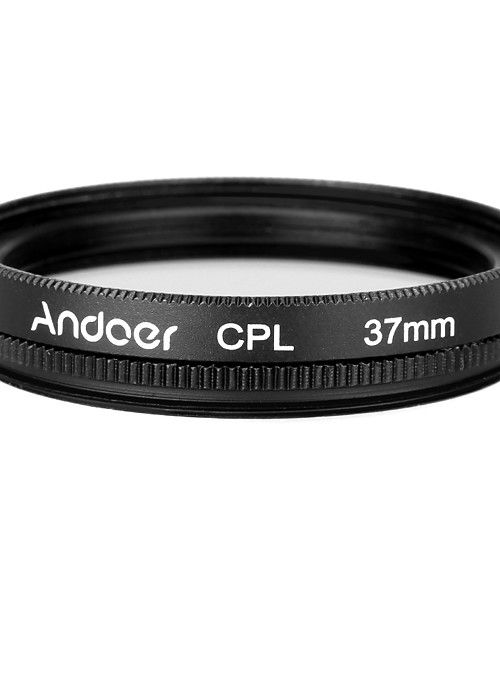
If you are in any way hesitating between several filters or have any questions regarding this article, do not hesitate to leave me a comment at the bottom of the article, I will be happy to answer it!
Today, I consider a polarizing filter to be an essential accessory for the landscape photographer, mine never leaves my photo bag! You don’t need to be a professional photographer to use a polarizing filter. Passionate amateur photographers, like you and me, can easily use them, with a little practice of course.
As for you, do you already use this type of filter? Taking pictures with a polarizing filter soon becomes a breeze!
Sylvain
Did you liked the post? Follow us!
Lens Filter Selection
Filters still have many uses in digital photography and should be an important part of any photographer's gear. These can be polarizing filters to reduce brightness and increase saturation, or simply protective filters to protect the front lens. This chapter will introduce you to these and other filters that cannot be reproduced with digital editing. Common problems and disadvantages, as well as filter sizes, are discussed at the end.
Overview: Filter Types
The most commonly used filters in digital photography are polarizing (linear or circular), protective (UV/haze), neutral, gradient, and cold/warm or color filters. Examples of how to use each are shown below:
| Filter type | Main application | Survey type |
|---|---|---|
| Linear and circular polarized | Brightness reduction Saturation increase | Sky, water, foliage Landscape and landscape |
| Neutral (ND) | Holding time extension | Waterfalls, rivers in bright light |
| Gradient Neutral (GND) | Correction of strong illumination gradients Vignetting reduction | Landscape in dramatic light |
| Protective (UV / Haze) | Enhance transparency on film Front lens protector | Any |
| Warm/cold | Change white balance | Landscape, underwater Special lighting |
Linear and circular polarizing filters
Polarizing filters ("polarizers") are designated by the abbreviation PL (C-PL).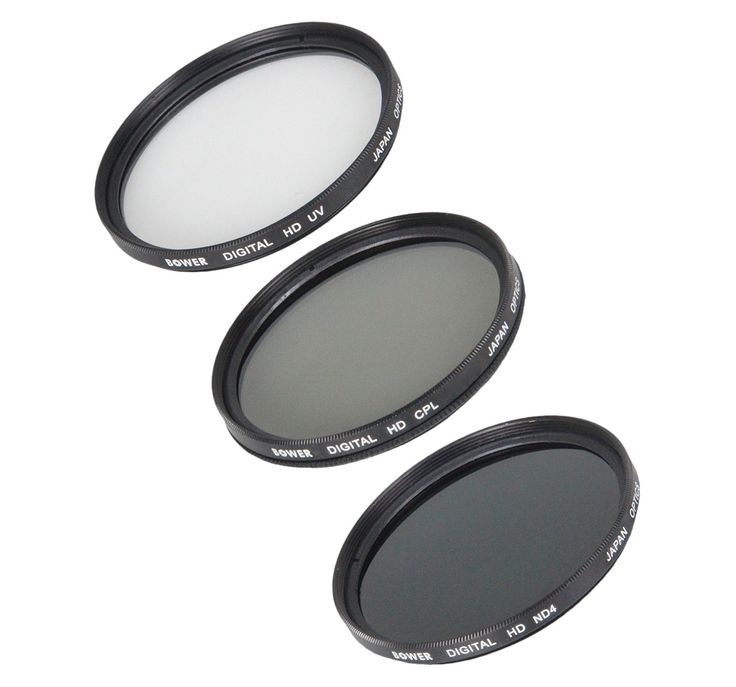 These are perhaps the most important filters in landscape and landscape photography. Their job is to reduce the amount of reflected light that hits the camera sensor. Similar to polarizing glasses, polarizers will give the skies a deeper blue, reduce brightness and reflections from water and other surfaces, and reduce the contrast between sky and ground.
| Select: | Without polarizer | Polarizer adjusted |
two independent shots taken one after the other
Notice how the sky gets much bluer and how the foliage and rocks add color. The intensity of the polarizing effect can be changed by rotating the filter, although it does not make sense to rotate it more than half a turn (180°), since then all possible intensities are repeated. Use the viewfinder or camera screen to observe the effect of rotating the polarizing filter.
The effect of polarization may be greatly increased or decreased depending on the direction of the camera relative to the sun.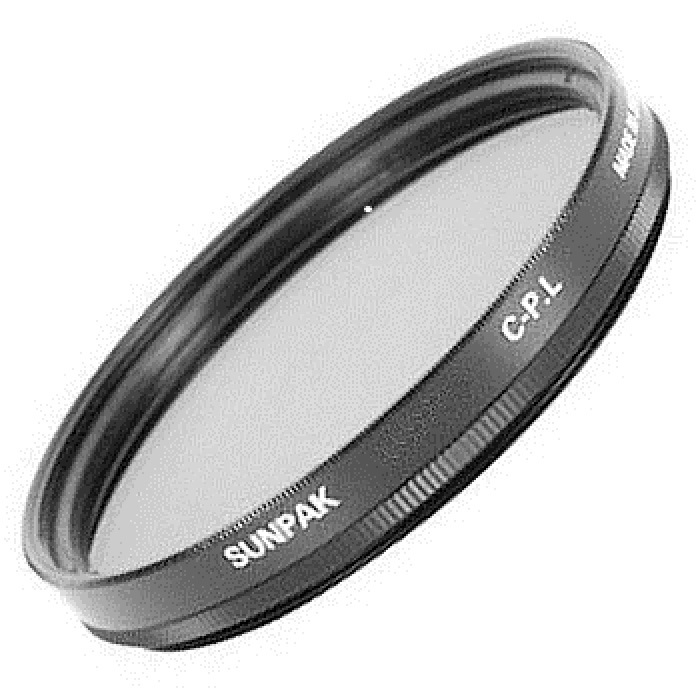 The effect is enhanced in a direction perpendicular to sunlight . This means that if the sun is at its zenith, the maximum effect will be achieved in all directions.
However, polarizing filters should be used with caution, as they can adversely affect the image. Polarizers significantly reduce the amount of light that reaches the camera's sensor, often at 2-3 f-stops (1/4 to 1/8 the amount of light). This means that the risk of blur when shooting handheld is greatly increased and in some cases can make capturing motion shots impossible.
In addition, using a polarizer on a wide angle lens can create uneven or unnatural looking skies with visible darkening. The example on the left shows unevenness and excessive darkening of the sky.
Linear and circular polarizers : A wide variety of circular polarizers have been developed to date that allow the camera's metering and autofocus systems to function correctly.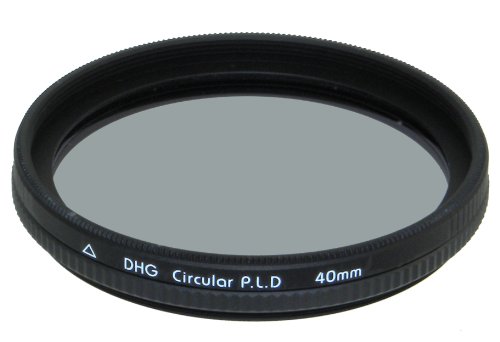 Linear polarizers are much cheaper, but cannot be used with cameras that use a through-the-lens method of metering and autofocus, also called TTL (through-the-lens), which is used in almost all digital SLR cameras. It would be possible, of course, to do preliminary metering and autofocus, but this is hardly convenient.
Neutral density filters
Neutral density filters are designated by the abbreviation ND (neutral density). Their action is to evenly reduce the amount of light that hits the camera sensor. They are useful for obtaining sufficiently long exposure times that cannot otherwise be achieved within the range of available apertures (at minimum ISO speed).
Situations where ND filters can be useful:
- Smoothing the movement of water in waterfalls, rivers, oceans, etc.
- Achieving shallow depth of field in very bright light
- Reducing diffraction (which reduces sharpness) by opening the aperture
- Blur or exclude moving objects (such as people and cars)
- Creating a blur to convey the movement of objects (motion blur)
photograph with water smoothing effect due to slow shutter speed
Use ND only when absolutely necessary as they effectively reduce light that could be used to get faster shutter speeds (to freeze motion), close aperture (for depth sharpness) or lower the ISO sensitivity (to reduce visual noise). In addition, some ND filters may slightly change the color balance of an image.
It is sometimes difficult to understand how much light is reduced by a particular ND filter, since manufacturers use different designation formats:
| Light reduction rate | Hoya, B+W and Cokin | Lee, Tiffen | Leica | |
|---|---|---|---|---|
| f-stages | Parts of | |||
| 1 | 1/2 | ND2, ND2x | 0.3ND | 1x |
| 2 | 1/4 | ND4, ND4x | 0.6ND | 4x |
| 3 | 1/8 | ND8, ND8x | 0.9ND | 8x |
| 4 | 1/16 | ND16, ND16x | 1.2ND | 16x |
| 5 | 1/32 | ND32, ND32x | 1.5ND | 32x |
| 6 | 1/64 | ND64, ND64x | 1. 8ND 8ND | 64x |
Usually a few stops are sufficient for most waterfall-like scenes, so most photographers simply carry one or two different ND filters with them. Extreme light suppression can allow fairly long exposures even on a bright sunny day.
Gradient neutral density filters.
Graduated neutral density filters are abbreviated as GND (graduated neutral density). They reduce the amount of light in the image according to a soft geometric pattern. Sometimes they are also called "split filters". Gradient filters are ideal for shooting scenes with simple light geometry, such as the dark-to-light linear change that often occurs in landscape and landscape photography (below).
| Filter GND | Filter GND |
Before the advent of digital cameras, gradient filters were an absolute must when shooting dramatic landscapes. Digital cameras allow you to take two different pictures and combine them programmatically using a linear gradient.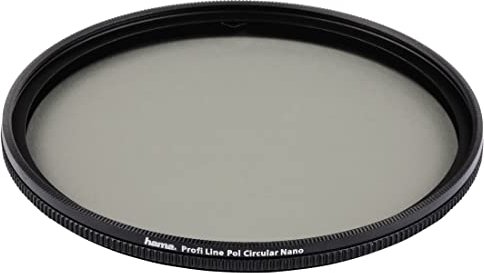 On the other hand, this technique is not possible for fast moving subjects or changing lighting (unless you are dealing with a single exposure taken twice from a RAW file, which multiplies the noise). Many people prefer to use GND to see what the final image will look like in the viewfinder or on the LCD screen.
There is a wide variety of gradient filters. The most important parameter is the rate of change from light to dark , which is usually referred to as a "soft" or "hard" edge for a gradual or more abrupt change, respectively. They are chosen based on how abruptly the illumination of the scene changes, where a sharp transition from dark ground to bright skies may require a harsher filter, for example. Otherwise, the darkening may be circular to add or subtract highlights at the edges of the image (vignetting).
| Soft GND | Hard GND | Circular filter |
note: in the diagrams shown, white means transparent, allowing 100% light to pass through.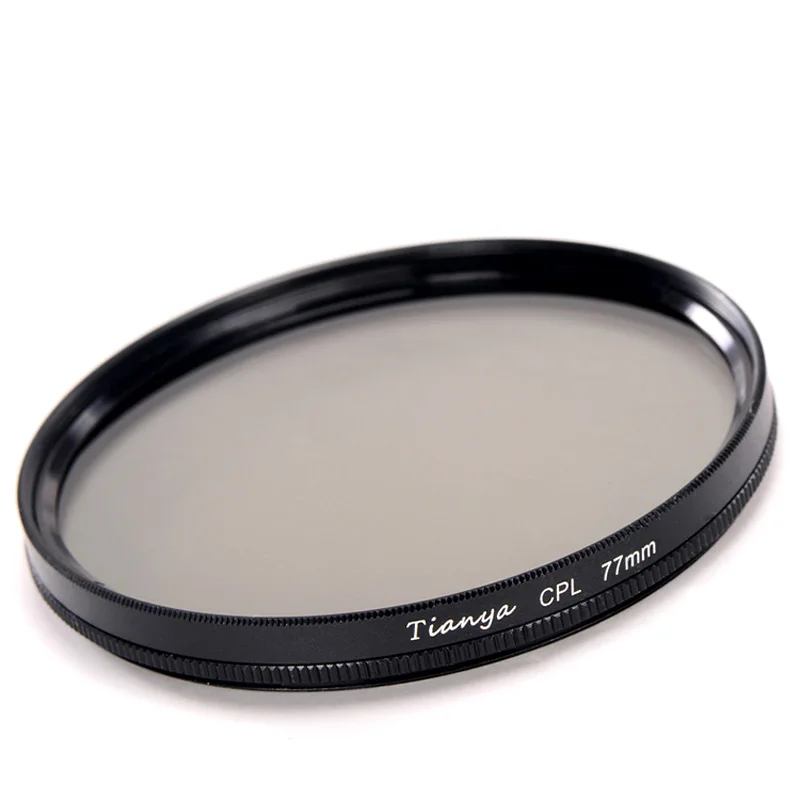
Using a filter requires care and usually requires a tripod. A soft filter is usually more flexible and tolerant of inaccuracies. On the other hand, a soft edge can lead to excessive darkening or lightening near the lightness transition zone, if this transition is sharper than the filter. It is also worth taking into account that vertical objects crossing the transition zone may appear unnaturally dark.
| Select: | Result frame | Filter position |
Notice how the tops of the stones become unnaturally black;
often when using gradient filters this effect cannot be avoided.
The problem with soft and hard transition terminology is that it is not standardized and varies from manufacturer to manufacturer. What one company calls a soft filter, another calls a hard filter. Therefore, it makes sense to consider each filter individually in order to evaluate its type. Most manufacturers show an example of a filter on their websites.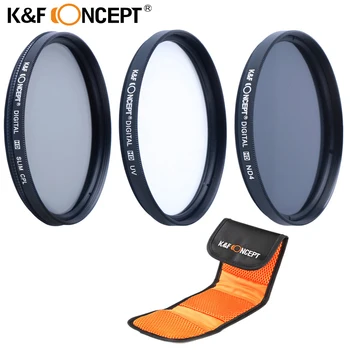
The second important characteristic is the difference between the light transmission at the ends of the gradient (in the examples above, between the top and bottom). This difference is expressed in the same terms as for the ND filters from the previous chapter. "0.6 ND" in this case means 2 f-stops (1/4) less light transmitted at the dark end than at the light end of the filter. Similarly, 0.9 ND means 3 f-stops less light (1/8) on one side. For most landscapes, 1-3 f-stops are sufficient.
Anti-fog and UV filters
Today, UV filters are mainly used to protect the front lens of a lens, as they are transparent and do not cause noticeable changes in the image. For film cameras, UV filters reduced haze and increased contrast by minimizing UV exposure to film. The problem with ultraviolet light is that it is invisible to the human eye, but often when the sun is hazy, a significant amount of ultraviolet is scattered into the atmosphere and affects exposure by reducing contrast. Fortunately, digital camera sensors are so much less sensitive to UV than film that filtering is no longer necessary.
UV filter 77mm
However, UV filters have the potential to degrade image quality by adding flare, changing colors or reducing contrast. Layered filters are virtually flare-free, and keeping the filter clean minimizes image quality loss (although even invisible micro-scratches will affect sharpness and contrast). High-quality UV filters do not make any changes to the color ratio.
For digital cameras, the benefits of a UV filter (protection) versus potential loss in image quality are a subject of frequent debate. For expensive lenses, the protection factor is often the determining factor, since it is much easier to change the filter than to fix the lens. However, for mid-range lenses or compact digital cameras, protection is much less important and the choice is more a matter of personal preference.
Another consideration is that protective filters can increase the resale value of a lens by keeping its front element intact.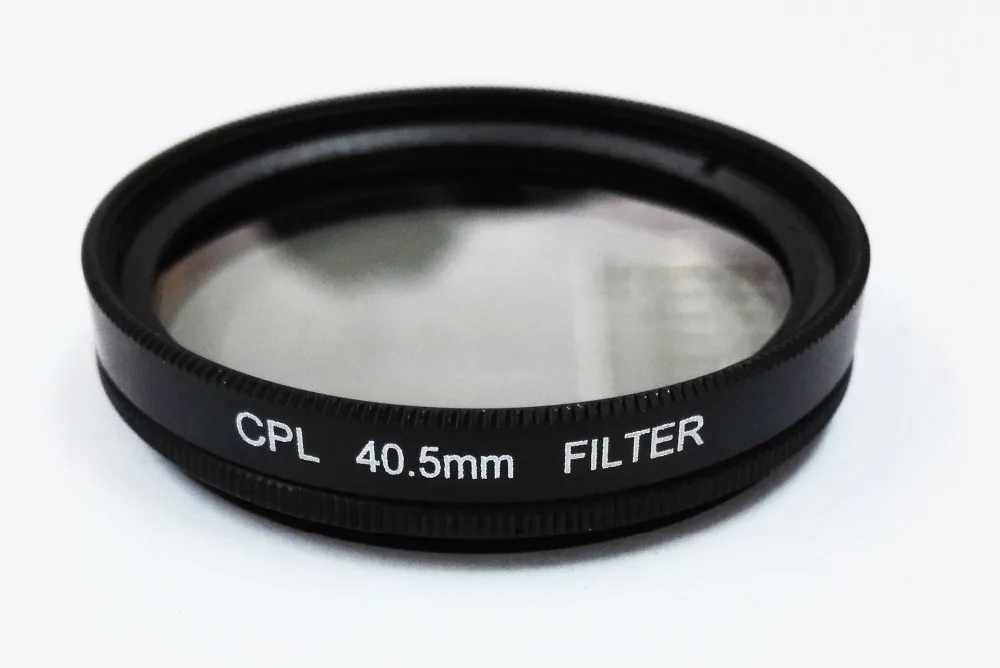 In this sense, the protective filter can even be considered as improving the image quality (compared to an unprotected lens), since it can be easily replaced as soon as it becomes noticeable in the image.
Warm and cool filters
Warm and cool filters change the balance of white light reaching the camera's sensor. This can either be a means of correcting unnatural color relationships, or a means of creating one, for example by adding warmth to a cloudy day to make it look like a sunset.
The orange light above is caused by monochromatic street lights;
with this type of light source, almost no white balance correction of
is able to restore the full color.
Cool or special street light filter can be used with
to restore color to other light sources.
Such filters have lost much of their importance with the advent of digital cameras, as they automatically correct the white balance, which can then be corrected manually when shooting in a RAW file. On the other hand, some situations may still require color filters, such as unusual lighting (in the example above) or when shooting underwater, since the abundance of monochromatic light makes it impossible to restore color without introducing a lot of noise in individual color channels.
Problems using filters
Visible vignetting
caused by filter
Filters should only be used when necessary, as they can also adversely affect the image by introducing an extra layer of glass between the camera sensor and the subject and as a result can reduce image quality. This usually manifests itself in the form of a change in the color ratio, a decrease in local or general contrast, and the appearance or increase in the number of highlights caused by light reflected unexpectedly inside the filter.
Filters can also cause physical vignetting (darkening at the edges of the image) if their frame gets in the way of light entering the lens (example on the right). This vignette is caused by placing a polarizing filter on top of a protective filter when using a wide-angle lens, which caused the outer filter's frame to enter the frame. Applying filters can exacerbate all of the above problems.
Choice of lens filter size
There are two main types of filters: screw-on and clip-on. The latter offer more flexibility as they can be used with almost any lens, but can also be more cumbersome to use as they have to be held in front of the lens. On the other hand, there are filter fixing kits that can make the process easier. Screw-on filters can provide the tight seal needed for protection and cannot be accidentally moved during exposure. The main disadvantage is the fixed thread diameter.
The size of a screw-on filter is expressed by its diameter, which corresponds to the diameter of the front edge of the lens, usually marked on it. This diameter is expressed in millimeters and typically ranges from 46mm to 82mm for digital SLR cameras. Adapter rings can allow a larger or smaller diameter filter to be used on a given lens, however reducing the diameter can cause severe vignetting (because the filter can block light at the edges of the lenses), and increasing the diameter means the filter protrudes beyond the lens edges (and introduces potential inconvenience) .
The height of the filter frame can also be important. Ultra-fine and other special filters have been developed for use on wide-angle lenses without vignetting. On the other hand, they can be significantly more expensive and often don't have a front thread for a superimposed filter (and sometimes space for attaching a lens cap).
Polarizing Filters: Theory and Practice
Polarizing filters can increase color saturation and reduce reflections - and this is the only filter that cannot be reproduced in post-processing. It is an essential tool that any photographer should have in their bag. However, developing an intuition for how a polarizer can affect an image often requires extensive experimentation. This article aims to speed up this process by demonstrating how and why polarizing filters can help (and sometimes hurt) in a variety of conditions.
General
| Without polarizer | With polarizer |
In the example above, the polarizing filter removes harsh, direct reflections on the surface of the water.
Polarizers are placed in front of the front lens of the objective and work by filtering out direct sunlight reflections at certain angles . This is useful because other light is often more diffuse and richer in hue, but it also requires a longer exposure time (because some of the light is discarded). The filtering angle is controlled by rotating the polarizing filter, and the strength of the effect depends on the position of the camera's line of sight relative to the sun.
Using polarizers: sun position and filter rotation
The polarizing filter is most effective when the camera's line of sight (shown in red below) is perpendicular to the sunlight:
| Sun at zenith (midday) | Sun at the horizon (morning/evening) |
The red discs indicate the direction of maximum filtration efficiency.
Green lines represent ground/horizon.
A good way to represent this is to point your index finger at the sun while holding your thumb at a right angle to it.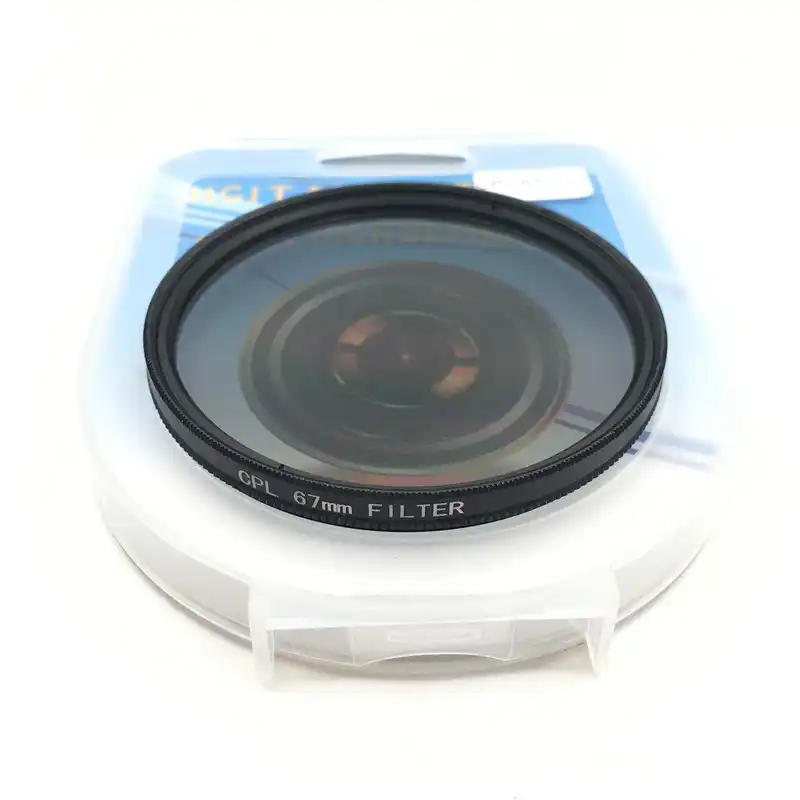 Whichever direction your thumb points as you rotate your hand while continuing to point towards the sun will be the direction of maximum polarizer effect.
However, the fact that the filter has the greatest effect in the indicated directions does not necessarily mean that the effect will look most noticeable in this direction. Rotating the filter will change the angle (relative to the sun) at which the polarization appears to be at its maximum . The best way to get a feel for how the filter works is to rotate it while looking through the viewfinder (or display) of the camera, but you can also use the following explanation of the specifics of this process.
Note regarding the angle of rotation of filter . At the limit, you can rotate the filter so that the direction of maximum polarization is perpendicular to sunlight (as shown in the examples above). In this case, the effect of polarization will be expressed as much as possible. If you then rotate the filter slightly (say 10-20°), the polarization effect becomes less pronounced. As the angle falls further towards or away from the sun, the effect of polarization will be progressively weaker, and finally, when the filter is rotated a full 90° will no longer be visible. Subsequent rotation will lead to a new increase in the polarization effect and a repetition of the cycle.
Hurst Castle - San Simeon, CA
Because the polarization effect is angle dependent, wide-angle lenses can produce undesirable results. . Part of the image may be towards the sun, and part at right angles to it, in which case the effect of polarization will be noticeable on one side of the image, but not on the other.
In the example on the left, the sun was near the horizon, making the sky directly overhead the most affected by the polarizer (which made it darker), while the upper left and lower right corners (closer to the horizon) were almost completely unaffected. affected. If the shot had been taken with a telephoto lens (only one tower would fit in the angle of view), the sky would have looked much more even.
While wide-angle lenses are obviously not perfect, rotating the polarizing filter can sometimes make the effect more realistic. One way is to locate the most pronounced polarization effect closer to the edge or corner of the image. This will make the change in polarization look like a more natural gradient in the sky (such as happens at dusk).
Saturation
One of the first things you'll notice about polarizers is how much they increase color saturation:
| Without polarizer | With polarizer |
Columbia Estuary State Park - Oregon, USA
When direct reflected light is filtered out, the amount of stray light from the subject is increased, resulting in a more colorful image. The greenery of the foliage will become brighter, the blueness of the sky will become brighter, and the flowers will also become brighter.
| Select: | without polarizer | maximum polarization |
However, color saturation does not always increase in the same way. It all depends on the optimal angle to the direction of the sun, as well as on the reflectivity of the object. In general, objects that reflect light more will benefit more in color when using a polarizer. In addition, on a clear sunny day, the effect of polarizers is much more noticeable than on cloudy or rainy weather.
For example on the right, the effect on the rock and foliage is barely noticeable, but the sky becomes noticeably darker. Take care not to exaggerate this effect; typically dark midday skies or incredibly bright foliage can make shots look unrealistic.
Reflections, windows and transparency
A polarizing filter can be an extremely powerful tool for removing reflections and highlighting objects that are wet, under water or behind glass.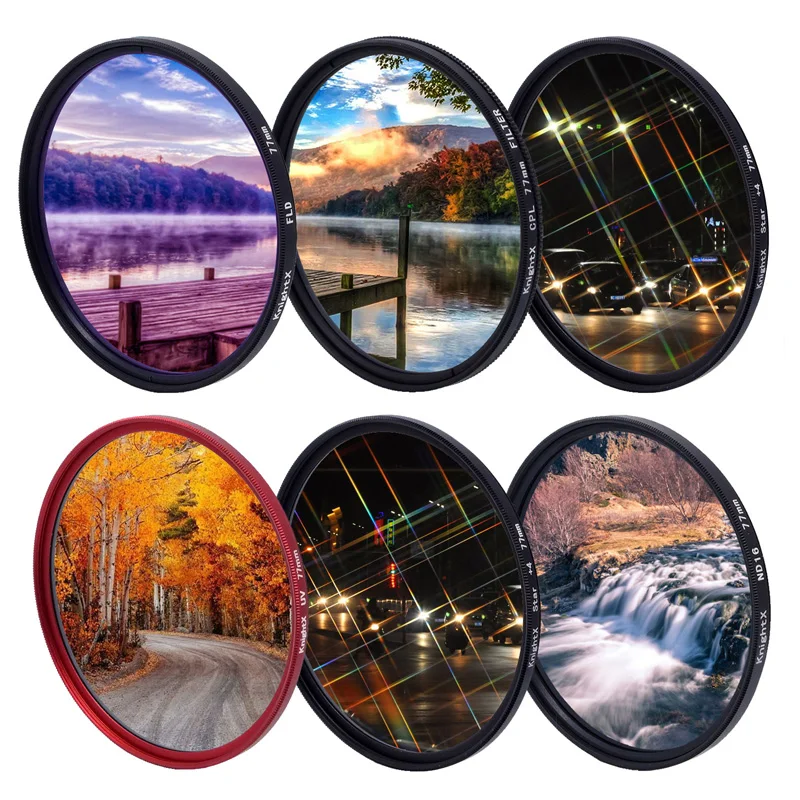 In the following example, the polarizer allows the photographer to choose between the reflection in the water and objects below its surface:
| Without polarizer | With polarizer |
examples by rickleemorlang
Note that the polarizer was unable to completely remove reflections (although it did a very good job). It is impossible in principle to achieve this, but fortunately polarizers are able to make reflections that would otherwise be very intense almost imperceptible. Unfortunately, the exception to the rule is metallic surfaces, which also often produce the brightest and least acceptable reflections.
example posted by
mararie
A polarizer can also remove unwanted reflections from a window or other transparent barrier. Hover over the example on the left to see how the polarizer removes reflections in the window. This can be very useful when shooting from a shop window, a moving train, or a glass case, for example.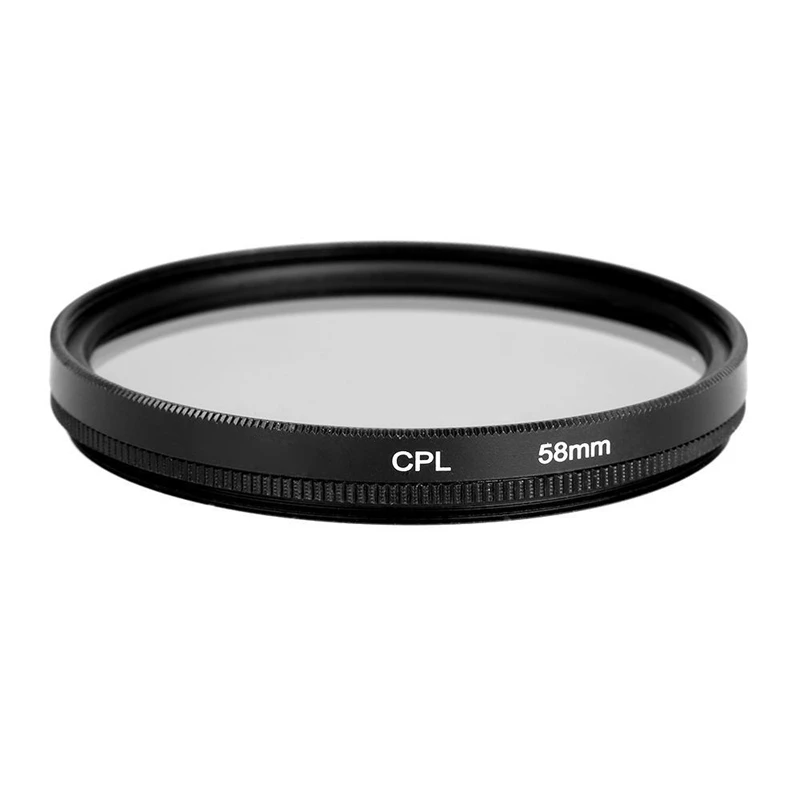
However, polarizers can also create an unnatural streak or ripple effect on uneven, tinted or coated windows. A good example on the topic is the so-called "birefraction", which appears when shooting with a polarizer from an airplane window:
Birefractive example by eaghra (however the example has been changed)
Contrast and brilliance
Since polarizers suppress direct reflections, this often means a loss of image contrast as well. This can make it easier to shoot scenes with a wide dynamic range, such as when trying to balance bright skies and relatively dim ground (so a gradient ND filter or high dynamic range might even be unnecessary).
However, reducing gloss and contrast is not always desirable. In the following example, the artistic intention was to (figuratively) highlight the curve of the road, which made it stand out against the background. The use of the polarizer actually prevented the achievement of the goal:
| Without polarizer | With polarizer |
entrance to the Isle of Canyons in Skye National Park - Utah, USA
On the other hand, in most situations, removing the glare is desirable and usually produces a more pleasing shot.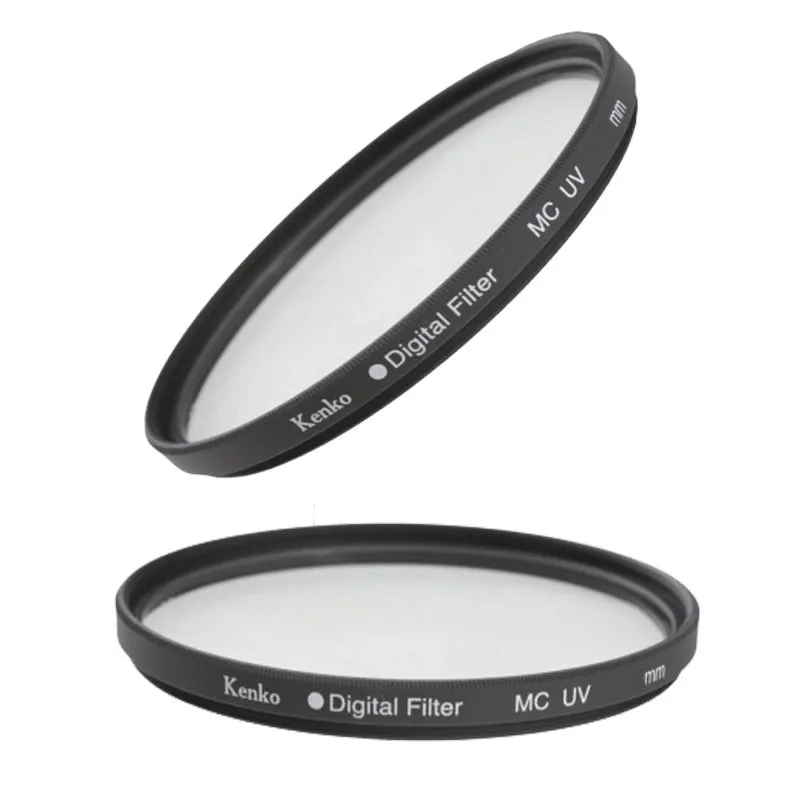 In the same example, the light on the rocks on the far right doesn't look so harsh.
In other situations, polarizers, on the contrary, can increase contrast. In the following example, the polarizer has increased contrast by filtering out light reflected from haze and sea vapor. This effect is most pronounced on hills and cumulus just behind them:
| Without polarizer | With polarizer |
example by mikebaird (but the example has been changed)
In general, using a polarizer for clouds and sky will almost always increase contrast, but if the subject itself is highly reflective, the polarizer will almost certainly reduce its contrast.
Disadvantages
Although polarizing filters are obviously very useful, they have their drawbacks:
- Because of them, the exposure may require 2-3 stops (4-8 times) more light than usual.
- This is one of the more expensive filters.
- They require a certain angle to the sun for maximum effect.
- They can increase composition time as they require rotation.
- They can be difficult to navigate through the camera's viewfinder.
- They can potentially reduce image quality (if the filter is not perfectly clean).
- They cannot normally be used for panoramic or wide-angle shots.
This panorama would look uneven with a polarizer, and the rainbow could simply disappear in some positions. Photo taken in Arches National Park, Utah.
Moreover, sometimes reflections in a photograph are necessary. The two most striking examples are sunsets and rainbows*; it is worth applying a polarizer to any of them, and color reflections may fade or disappear altogether.
*Note: sometimes polarizers can enhance the color and contrast of the rainbow by shading the background clouds, but only at the correct rotation angle. Also, full coverage of the rainbow usually requires a wide-angle lens, which can result in an uneven scene or rainbow.
Other tips and additional information
- Replacing the ND filter . A polarizing filter can sometimes be used when longer exposure times are required. Since a polarizer can reduce transmitted light by 2-3 stops (4-8x), this is often enough for water/waterfall shots.
- Evaluation with polarized glasses . Untinted polarized glasses can help you judge how the photo will look. Just remember to take them off before looking through the camera's viewfinder, as the doubling effect may prevent you from seeing anything.
- Fine filters on wide angle lenses . A polarizer can sometimes create a noticeable darkening of the edges of an image ("vignetting") when worn on a wide-angle lens. To avoid this, you will probably have to invest in a more expensive "thin" option.
- Circular and linear polarizers . Circular polarizers were designed to ensure that the camera's metering and autofocus systems continue to function while the filter is in place.
Learn more